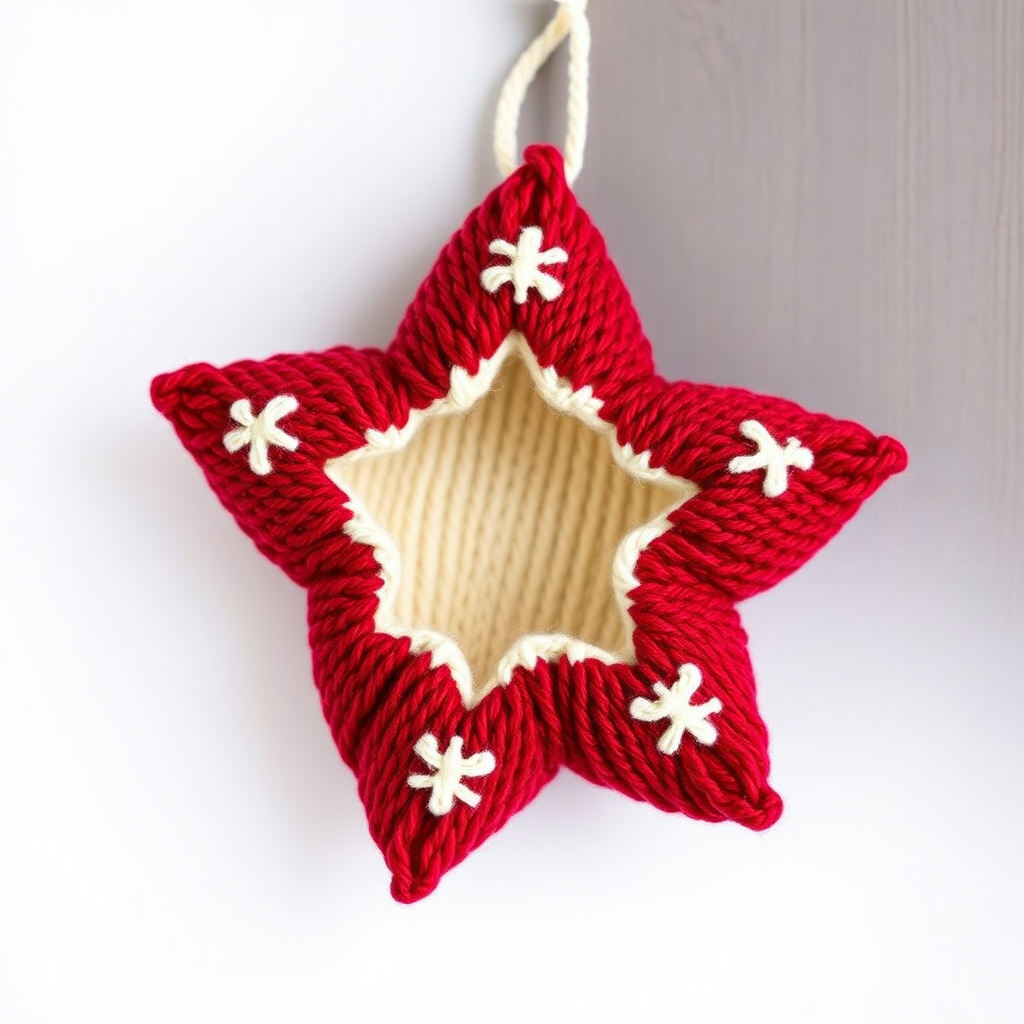
Frosted Berry Wreath Ornament Free Pattern – Knitted Holiday Decoration

Frosted Berry Wreath Ornament Free Pattern – Knitted Holiday Decoration
Bring a touch of woodland charm to your Christmas tree this year with this delightful knitted wreath ornament. Featuring plump red berries nestled among delicate frosty white leaves, this quick and satisfying project adds a handmade, cozy feel to any holiday setting. Whether you're a seasoned knitter or just starting out, this pattern is simple enough to complete in an evening, making it perfect for gift-giving or adding a personal touch to your own festive décor.
This ornament is knitted flat in pieces and then sewn together, making it an ideal project for beginners who want to practice shaping and seaming. The wreath base is a simple garter stitch ring, while the berries and leaves are knitted separately and attached for a dimensional, textured look. Let's get started!
Materials Needed
Before you begin, gather the following supplies. This project uses small amounts of yarn, making it a great way to use up scraps from your stash.
- Yarn: Worsted weight yarn in three colors:
- Red (A) – for the berries (small amount)
- White (B) – for the leaves (small amount)
- Green (C) – for the wreath base (small amount)
- Knitting Needles: US 6 (4.0 mm) knitting needles
- Tapestry Needle: For sewing pieces together and weaving in ends
- Fiberfill: A small amount for stuffing the wreath base and berries
- Scissors
Gauge: 20 stitches and 28 rows = 4 inches in stockinette stitch. Gauge is not critical for this project, but it will help ensure your ornament is the right size.
Step-by-Step Instructions
Follow these detailed instructions to create your own Frosted Berry Wreath Ornament. Take your time, and enjoy the process!
Wreath Base (Make 2)
The wreath base is made from two identical garter stitch rings that are sewn together and lightly stuffed. This creates a sturdy, plump base for your ornament.
- With green yarn (C), cast on 8 stitches.
- Row 1: Knit all stitches.
- Repeat Row 1 until the piece measures 6 inches from the cast-on edge. This will create a long, narrow strip of garter stitch.
- Bind off all stitches.
- Sew the short ends together to form a ring. Weave in the ends securely.
- Repeat steps 1-5 to create a second identical ring.
- Place the two rings together, aligning the edges. Using the tapestry needle and green yarn, whipstitch around the inner and outer edges to join them. Leave a small opening (about 1 inch) to stuff lightly with fiberfill.
- Stuff the wreath base with a small amount of fiberfill to give it a plump, rounded shape. Do not overstuff; you want it to be soft and squishy.
- Close the opening with whipstitch. Weave in the ends.
Berries (Make 5)
These adorable berries are knitted in the round using a simple technique that creates a smooth, round ball. They are the star of the ornament!
- With red yarn (A), cast on 3 stitches.
- Row 1: Knit front and back (kfb) into each stitch across. You will now have 6 stitches on your needle.
- Row 2: Knit all stitches.
- Row 3: Knit 2 together (k2tog) across. You will now have 3 stitches on your needle.
- Cut the yarn, leaving a long tail (about 8 inches). Thread the tail through a tapestry needle.
- Slide the needle through the remaining 3 stitches on the knitting needle, then remove the knitting needle.
- Pull the yarn tight to gather the stitches and form a ball shape.
- Sew the seam to close the berry, leaving a small hole to stuff with a tiny bit of fiberfill.
- Stuff the berry with a small amount of fiberfill to make it plump.
- Sew the hole closed and weave in the ends.
- Repeat steps 1-10 to make a total of 5 berries.
Leaves (Make 6)
These delicate white leaves have a subtle ribbed texture from the garter stitch, giving them a frosted appearance. They are quick to knit and add the perfect finishing touch.
- With white yarn (B), cast on 5 stitches.
- Row 1: Knit all stitches.
- Row 2: K1, k2tog, k2. You will now have 4 stitches on your needle.
- Row 3: Knit all stitches.
- Row 4: K1, k2tog, k1. You will now have 3 stitches on your needle.
- Row 5: Knit all stitches.
- Row 6: K1, k2tog. You will now have 2 stitches on your needle.
- Row 7: Knit all stitches.
- Row 8: K2tog. You will now have 1 stitch on your needle.
- Cut the yarn, leaving a tail, and pull it through the last stitch to secure. Weave in the ends.
- Repeat steps 1-10 to make a total of 6 leaves.
Assembly
Now it's time to bring all the pieces together to create your beautiful wreath ornament.
- Arrange the 5 berries and 6 leaves evenly around the wreath base. Play with the placement until you are happy with the look. A good pattern is to alternate berry, leaf, berry, leaf, etc., spacing them evenly.
- Using the tapestry needle and matching yarn, sew each berry securely to the wreath base. Make sure to stitch through the berry and the wreath base several times to ensure it is firmly attached.
- Sew each leaf securely to the wreath base in the same manner. Position the leaves so they fan out slightly from the base.
- Create a hanging loop by threading a piece of green yarn (about 6 inches long) through the top of the wreath. Tie the ends together in a secure knot to form a loop.
- Weave in all remaining ends with the tapestry needle. Trim any excess yarn.
Your Frosted Berry Wreath Ornament is now complete! Admire your handiwork and hang it on your tree, give it as a thoughtful handmade gift, or use it to add a festive touch to gift wrapping. This pattern is so quick and fun, you may find yourself making several to share with friends and family. Happy knitting!