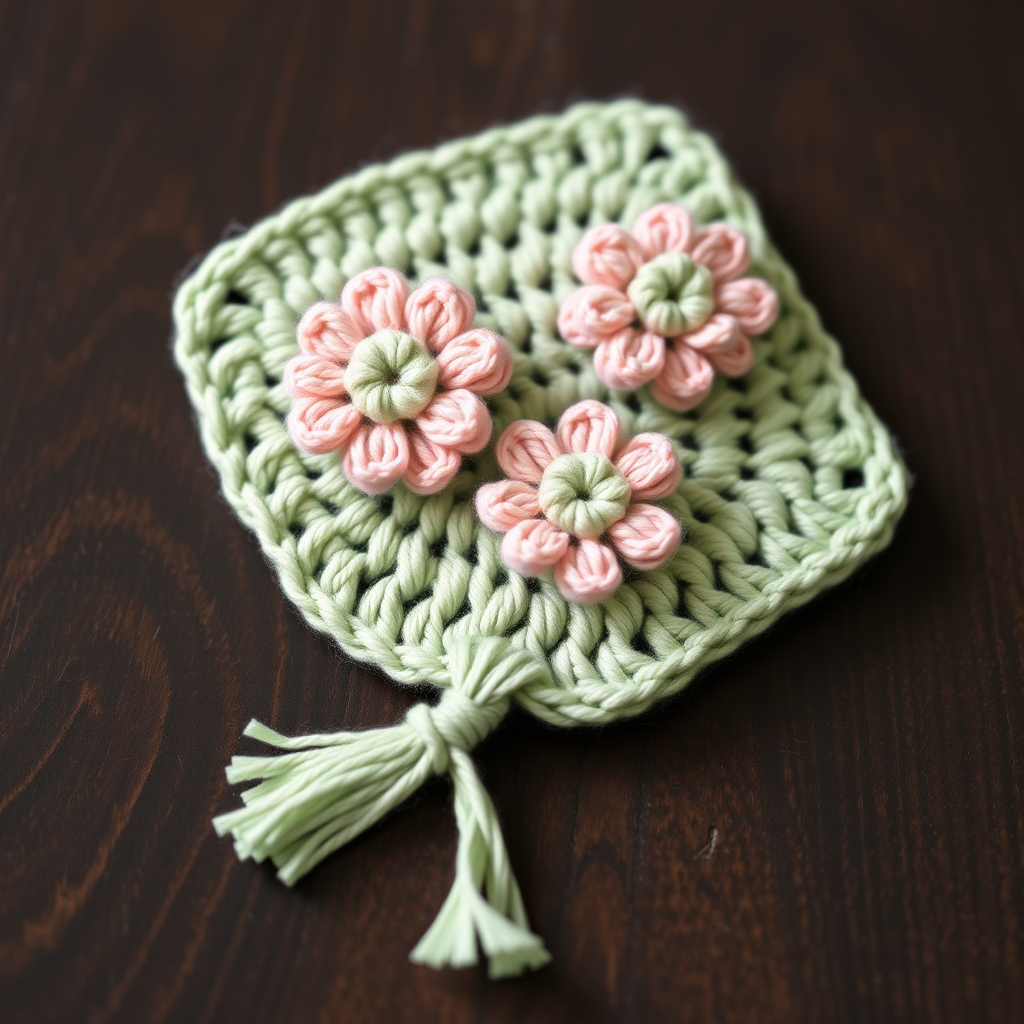
Free Pattern: Star Row Ladder Crochet Bookmark in Sage & Cream

Star Row Ladder Crochet Bookmark in Sage & Cream
Introduction
If you have never held a crochet hook before, this little bookmark is the perfect first project to fall in love with. It is a slim, soft tube about one inch wide and seven inches long, worked in chunky t-shirt yarn so it grows quickly under your fingers and you can see your progress with every round. Alternating bands of sage green and cream wrap around the tube, while a single column of cream spike stitches climbs up one side like a ladder of tiny stars. The finished piece is dense, slightly ribbed, and wonderfully tactile — it holds your page gently without bending the spine, and it looks like a small piece of dark academia magic tucked between the pages of an old book. Best of all, it uses only two stitches, so you can learn the basics while making something you will actually keep.
Materials Needed
- Yarn: T-shirt yarn (ribbon yarn, approximately 5–7 mm wide). You need a small amount of Sage Green (A) and a small amount of Cream (B) — roughly 15–20 yards (14–18 m) of each is plenty for one bookmark.
- Crochet hook: 5.0 mm (US size H-8). If your stitches come out tight, go up to a 5.5 mm (US I-9).
- Stitch marker: 1 removable marker (a safety pin or a scrap of contrasting yarn works too).
- Tapestry needle: A blunt-tipped needle with an eye large enough for ribbon yarn, for weaving in ends.
- Scissors: Any sharp pair for cutting yarn.
- Finished size: Approximately 1 in / 2.5 cm wide × 7 in / 18 cm long.
Abbreviations and Beginner Glossary
- ch – chain: yarn over the hook, pull the loop through the loop already on your hook. Makes a small link.
- sc – single crochet: insert your hook into the stitch, yarn over, pull up a loop (2 loops on hook), yarn over again, pull through both loops. One sc made.
- sl st – slip stitch: insert hook into the stitch, yarn over, pull the loop straight through both the stitch and the loop on your hook. Makes an almost invisible join.
- st / sts – stitch / stitches.
- spike – spike stitch: insert your hook into the stitch of the round below the next stitch, draw up a loop to the height of the current round, yarn over, pull through both loops. This makes a long stitch that sits on top of the fabric.
- A – Sage Green yarn.
- B – Cream yarn.
- Magic ring – an adjustable loop you crochet into, then pull closed so there is no hole in the middle.
- Continuous rounds (spiral) – you work round and round without joining at the end, so the rounds spiral upward like a spring.
- Fasten off – cut the yarn, pull the tail all the way through the last loop, and tighten.
- Weave in ends – thread the yarn tails onto a tapestry needle and sew them back and forth through the fabric so they disappear.
Gauge
16 sc × 18 rounds = 4 in / 10 cm in continuous single crochet worked in the round.
Why gauge matters: Gauge is how big your stitches come out. If your stitches are looser than mine, your bookmark will be wider and longer; if tighter, it will be smaller. Because this tube is only 8 stitches around, even a small difference changes the finished width a lot.
How to make a gauge swatch: With your 5.0 mm hook and one color, make a magic ring, work 8 sc into it, then work sc in each stitch around for about 20 rounds. Lay it flat and measure across the tube — it should be about 1 inch (2.5 cm) wide. If it is wider, switch to a smaller hook; if narrower, switch to a larger hook. You can unravel the swatch and reuse the yarn.
Beginner Tips Before You Start
- Use your stitch marker every single round. Because you never join the rounds, the first stitch of each round moves. Move the marker up to the first stitch of the new round each time so you never lose your place.
- Do not pull the yarn too tight. Tension is the number one beginner struggle. Keep your loops relaxed and even; tight stitches make a stiff, narrow tube.
- Keep the spike stitches loose. If a spike is pulled tight it sinks into the tube and the star disappears. Draw it up gently to the height of the current round and let it sit proudly on the surface.
- Change colors at the end of a round. Finish the last sc of the round with the new color: pull the new color through the final two loops. This keeps the color change neat.
- Count your 8 stitches at the end of every round. Eight is a tiny number, so a mistake is easy to spot and easy to fix.
- Work in good light. Ribbon yarn is chunky but the stitches are small, and good light makes the loops much easier to see.
Step-by-Step Instructions
Set-Up
With A (Sage), make a magic ring.
Round 1: Work 8 sc into the ring. Do not join. (8 sc) Pull the ring tail gently to close the center. Place your stitch marker in the first stitch of the round.
Body
Note: The pattern below repeats a 6-round sequence. Each sequence is: 2 sage rounds, 2 cream rounds, 1 cream star round, 1 sage round. The star round always works its spikes into the cream round two rounds below, in the same column, so the stars stack into a ladder.
Rounds 2–3: sc in each st around. (8 sc) [Sage band]
Round 4: With B, sc in each st around. (8 sc) [Cream band]
Round 5: sc in each st around. (8 sc)
Round 6 (star round): With B, sc in first 4 sts; then work 4 spike sts, each into the stitch directly below the next stitch (into the corresponding stitch of Round 4), keeping the working loop at the height of Round 6. (8 sts)
Round 7: With A, sc in each st around. (8 sc)
Rounds 8–9: sc in each st around. (8 sc) [Sage band]
Round 10: With B, sc in each st around. (8 sc) [Cream band]
Round 11: sc in each st around. (8 sc)
Round 12 (star round): With B, sc in first 4 sts; work 4 spike sts into the stitches of Round 10 directly below the next 4 sts. (8 sts)
Round 13: With A, sc in each st around. (8 sc)
Rounds 14–15: sc in each st around. (8 sc) [Sage band]
Round 16: With B, sc in each st around. (8 sc) [Cream band]
Round 17: sc in each st around. (8 sc)
Round 18 (star round): With B, sc in first 4 sts; work 4 spike sts into the stitches of Round 16 directly below the next 4 sts. (8 sts)
Round 19: With A, sc in each st around. (8 sc)
Rounds 20–21: sc in each st around. (8 sc) [Sage band]
Round 22: With B, sc in each st around. (8 sc) [Cream band]
Round 23: sc in each st around. (8 sc)
Round 24 (star round): With B, sc in first 4 sts; work 4 spike sts into the stitches of Round 22 directly below the next 4 sts. (8 sts)
Round 25: With A, sc in each st around. (8 sc)
Rounds 26–27: sc in each st around. (8 sc) [Sage band]
Round 28: With B, sc in each st around. (8 sc) [Cream band]
Round 29: sc in each st around. (8 sc)
Round 30 (star round): With B, sc in first 4 sts; work 4 spike sts into the stitches of Round 28 directly below the next 4 sts. (8 sts)
Round 31: With A, sc in each st around. (8 sc)
Rounds 32–33: sc in each st around. (8 sc) [Sage band]
Round 34: With B, sc in each st around. (8 sc) [Cream band]
Round 35: sc in each st around. (8 sc)
Round 36 (star round): With B, sc in first 4 sts; work 4 spike sts into the stitches of Round 34 directly below the next 4 sts. (8 sts)
Round 37: With A, sc in each st around. (8 sc)
Rounds 38–39: sc in each st around. (8 sc) [Sage band]
Round 40: With B, sc in each st around. (8 sc) [Cream band]
Round 41: sc in each st around. (8 sc)
Round 42 (star round): With B, sc in first 4 sts; work 4 spike sts into the stitches of Round 40 directly below the next 4 sts. (8 sts)
Round 43: With A, sc in each st around. (8 sc)
Rounds 44–45: sc in each st around. (8 sc) [Sage band]
Round 46: With B, sc in each st around. (8 sc) [Cream band]
Round 47: sc in each st around. (8 sc)
Round 48 (star round): With B, sc in first 4 sts; work 4 spike sts into the stitches of Round 46 directly below the next 4 sts. (8 sts)
Round 49: With A, sc in each st around. (8 sc)
Rounds 50–51: sc in each st around. (8 sc) [Sage band]
Round 52: With B, sc in each st around. (8 sc) [Cream band]
Round 53: sc in each st around. (8 sc)
Round 54 (star round): With B, sc in first 4 sts; work 4 spike sts into the stitches of Round 52 directly below the next 4 sts. (8 sts)
Finishing Rounds
Round 55: With A, sc in each st around. (8 sc)
Round 56: sc in each st around. (8 sc)
Sl st in next st. Fasten off, leaving a 6 in / 15 cm tail.
Assembly and Finishing
Close the top opening: Thread the 6 in / 15 cm tail onto your tapestry needle. Working through the front loop only of each of the 8 stitches in the final round, sew a running stitch all the way around the opening. Pull the tail gently — the opening will gather closed into a soft rounded end. Take one small stitch across the gathered center to lock it, then weave the tail down inside the tube.
Close the bottom opening: Find the starting tail at the bottom of the tube. Thread it on the needle and sew a running stitch through the 8 stitches of Round 1, then pull gently to close. Lock with a small stitch and weave the tail inside the tube.
Weave in all ends: Thread each color-change tail on the tapestry needle and sew it back and forth through the inside of the tube for about 1 inch (2.5 cm), changing direction once so it cannot work loose. Trim the yarn close to the fabric. Never knot your ends — knots create lumps that show through the thin tube.
Blocking: Lightly mist the bookmark with cool water and shape it flat on a towel, gently straightening the tube. Do not press the spike stitches flat — let them stay raised so the star ladder keeps its texture. Leave it to dry completely, away from direct heat.
Pro Tips and Variations
- Change the colors: Swap sage and cream for deep burgundy and gold, charcoal and dusty rose, or navy and oatmeal. Keep one color as the star color so the ladder stays the focal point.
- Make it longer or shorter: Each 6-round sequence adds about ¾ in / 2 cm. Add or remove sequences in pairs to keep the sage and cream bands balanced, and always finish with Rounds 55–56 in sage.
- Try a different yarn: Any chunky (weight 5) or super bulky (weight 6) yarn will work — just check your gauge and adjust your hook size so the tube stays about 1 inch wide. Smooth yarns make the spike stitches easier to see; fluffy yarns make a softer, fuzzier bookmark.
- Add a tassel: Before closing the top opening, thread a small 2 in / 5 cm tassel of cream yarn through the last round and knot it on the inside. It adds a lovely finishing touch and makes the bookmark easy to find.