Enchanted Vine Twist Crochet Headband Free Pattern

Enchanted Vine Twist Crochet Headband: A Free Pattern for Boho Elegance
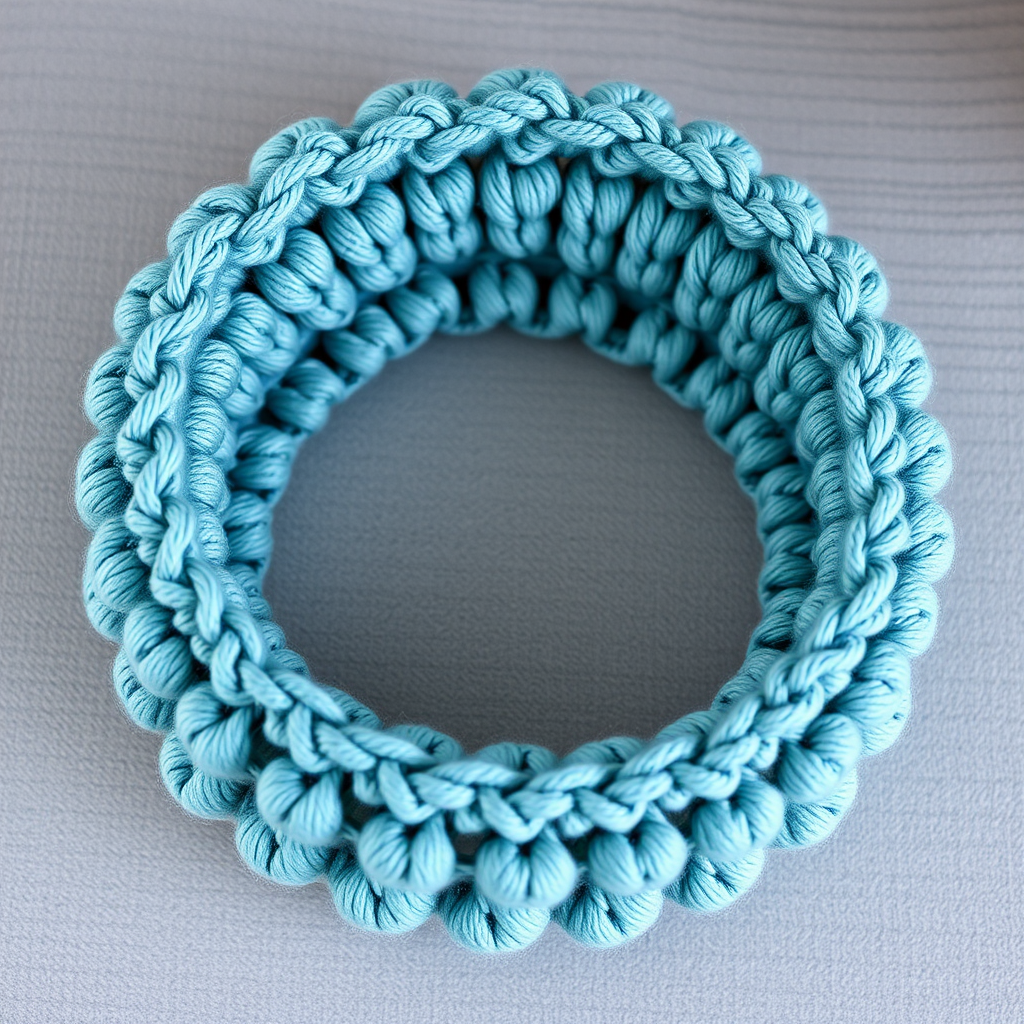
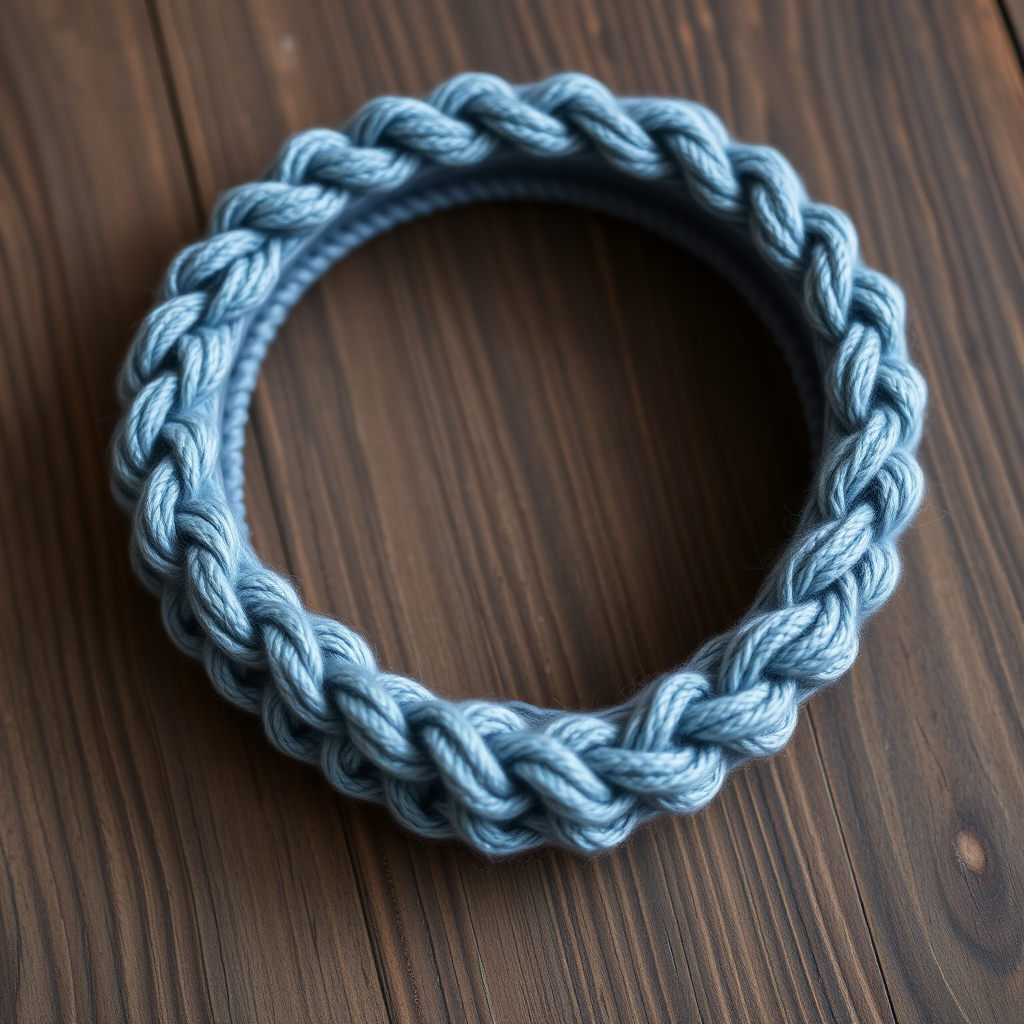
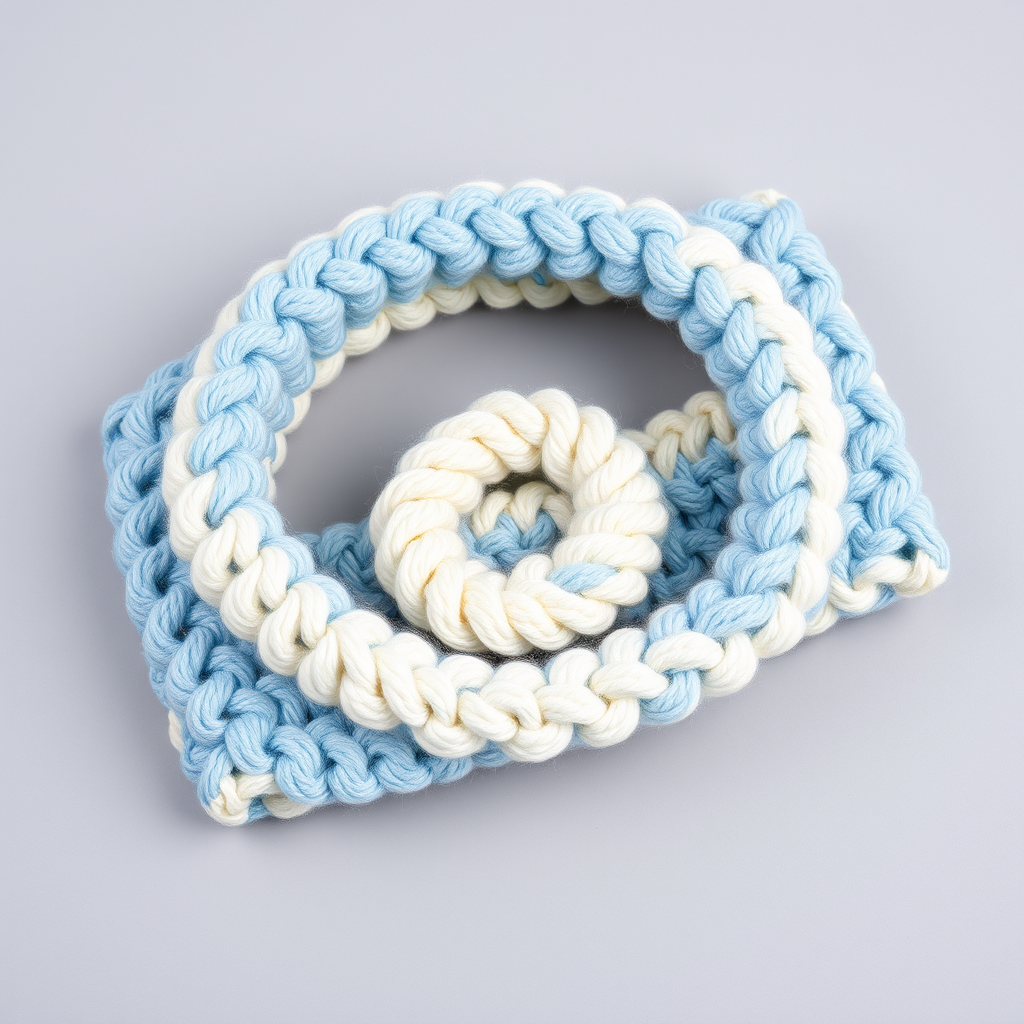
Wrap yourself in the whimsical charm of a twisted vine headband, perfect for adding a touch of bohemian elegance to any outfit. This cozy accessory features a unique spiral texture that mimics climbing ivy, making it a delightful project for intermediate crocheters. The rich sage green and cream color palette creates a striking contrast, while the dimensional, braided vine-like appearance adds an organic, botanical feel. Whether you're a seasoned crocheter or looking to expand your skills, this pattern will guide you through creating a stunning, handcrafted piece that evokes a sense of enchanted forest charm.
Materials Needed
Before you begin, gather the following materials to ensure a smooth and enjoyable crocheting experience:
- Yarn: Worsted weight (4) cotton or acrylic blend yarn in two colors:
- Color A: Sage Green (approx. 100 yards)
- Color B: Cream (approx. 100 yards)
- Hook: H/8 (5 mm) crochet hook
- Notions: Yarn needle for weaving in ends and seaming, sharp scissors
- Optional: Decorative button or small crochet flower for embellishment
Gauge & Finished Size
- Gauge: 16 single crochet (sc) x 18 rows = 4 inches (for reference, not critical for this project)
- Finished Size: Approximately 20 inches around, 3 inches wide (adjustable by changing the foundation chain length)
Step-by-Step Instructions
This pattern uses a combination of basic and post stitches to create the twisted vine effect. Follow along carefully, and you'll have a beautiful headband in no time!
Stitches Used (Abbreviations)
- ch = chain
- sc = single crochet
- hdc = half double crochet (not used in this pattern, but listed for reference)
- dc = double crochet
- sl st = slip stitch
- fpdc = front post double crochet (yarn over, insert hook from front to back around the post of the stitch, yarn over, pull up a loop, complete as a regular dc)
- bpdc = back post double crochet (yarn over, insert hook from back to front around the post of the stitch, yarn over, pull up a loop, complete as a regular dc)
Foundation Chain
With Color A (Sage Green), chain 70. Tip: To adjust the size, measure around your head and subtract 2-3 inches for a snug fit. The headband should stretch slightly to stay in place.
Row 1: Single Crochet Base
Single crochet in the 2nd chain from the hook and in each chain across. Turn. You should have 69 single crochet stitches. This row forms the sturdy base for the twisted pattern.
Row 2: Creating the V-Shaped Clusters
Chain 1 (does not count as a stitch here and throughout). Single crochet in the first stitch. *Skip the next stitch, work 2 double crochet in the next stitch, skip the next stitch, single crochet in the next stitch.* Repeat from * to * across the row. Turn. You will now have a series of V-shaped clusters (the 2 dc in one stitch) separated by single crochet stitches.
Row 3: First Twist – Post Stitches
Chain 1. Single crochet in the first stitch. *Front post double crochet (fpdc) around the first double crochet of the next cluster, back post double crochet (bpdc) around the second double crochet of the same cluster, single crochet in the next single crochet.* Repeat from * to * across the row. Turn. This row creates the initial twist, giving the headband its rope-like texture.
Row 4: Reinforcing the Twist
Repeat Row 3 exactly. This second row of post stitches deepens the twisted effect and adds density to the fabric.
Row 5: Adding Depth Between Twists
Chain 1. Single crochet in the first stitch. *Skip the next stitch (which is the first post stitch), work 2 double crochet in the next stitch (which is the second post stitch), skip the next stitch (the single crochet), single crochet in the next stitch.* Repeat from * to * across the row. Turn. Note: This row is worked into the spaces between the twisted posts, adding dimension and preventing the fabric from becoming too tight.
Row 6: Switching to Color B (Cream)
Change to Color B. Chain 1. Single crochet in the first stitch. *Front post double crochet (fpdc) around the first double crochet of the next cluster, back post double crochet (bpdc) around the second double crochet of the same cluster, single crochet in the next single crochet.* Repeat from * to * across the row. Turn.
Row 7: Continuing with Color B
Repeat Row 6 with Color B. This completes the first cream stripe.
Row 8: Returning to Color A
Change back to Color A. Chain 1. Single crochet in the first stitch. *Skip the next stitch, work 2 double crochet in the next stitch, skip the next stitch, single crochet in the next stitch.* Repeat from * to * across the row. Turn. This row mirrors Row 5, adding depth before the next green twist section.
Row 9: Green Twist Section
Chain 1. Single crochet in the first stitch. *Front post double crochet (fpdc) around the first double crochet of the next cluster, back post double crochet (bpdc) around the second double crochet of the same cluster, single crochet in the next single crochet.* Repeat from * to * across the row. Turn.
Row 10: Reinforcing the Green Twist
Repeat Row 9 with Color A. This completes the second green twist section.
Row 11: Adding Depth Again
Chain 1. Single crochet in the first stitch. *Skip the next stitch, work 2 double crochet in the next stitch, skip the next stitch, single crochet in the next stitch.* Repeat from * to * across the row. Turn.
Row 12: Second Cream Stripe
Change to Color B. Chain 1. Single crochet in the first stitch. *Front post double crochet (fpdc) around the first double crochet of the next cluster, back post double crochet (bpdc) around the second double crochet of the same cluster, single crochet in the next single crochet.* Repeat from * to * across the row. Turn.
Row 13: Completing the Cream Stripe
Repeat Row 12 with Color B. This finishes the second cream stripe.
Row 14: Final Green Depth Row
Change back to Color A. Chain 1. Single crochet in the first stitch. *Skip the next stitch, work 2 double crochet in the next stitch, skip the next stitch, single crochet in the next stitch.* Repeat from * to * across the row. Turn.
Row 15: Final Green Twist
Chain 1. Single crochet in the first stitch. *Front post double crochet (fpdc) around the first double crochet of the next cluster, back post double crochet (bpdc) around the second double crochet of the same cluster, single crochet in the next single crochet.* Repeat from * to * across the row. Turn.
Row 16: Completing the Final Twist
Repeat Row 15 with Color A. This completes the final green twist section. Your headband should now have a beautiful alternating pattern of green and cream stripes with a twisted, braided texture.
Finishing and Assembly
Fasten off, leaving a long tail (at least 12 inches) for seaming. Fold the headband in half so the short ends meet, with the right sides facing each other. Using the yarn needle, whip stitch the ends together securely, matching stitch for stitch to create a seamless join. Weave in all loose ends with the yarn needle, being careful to hide them within the fabric.
Optional Embellishments
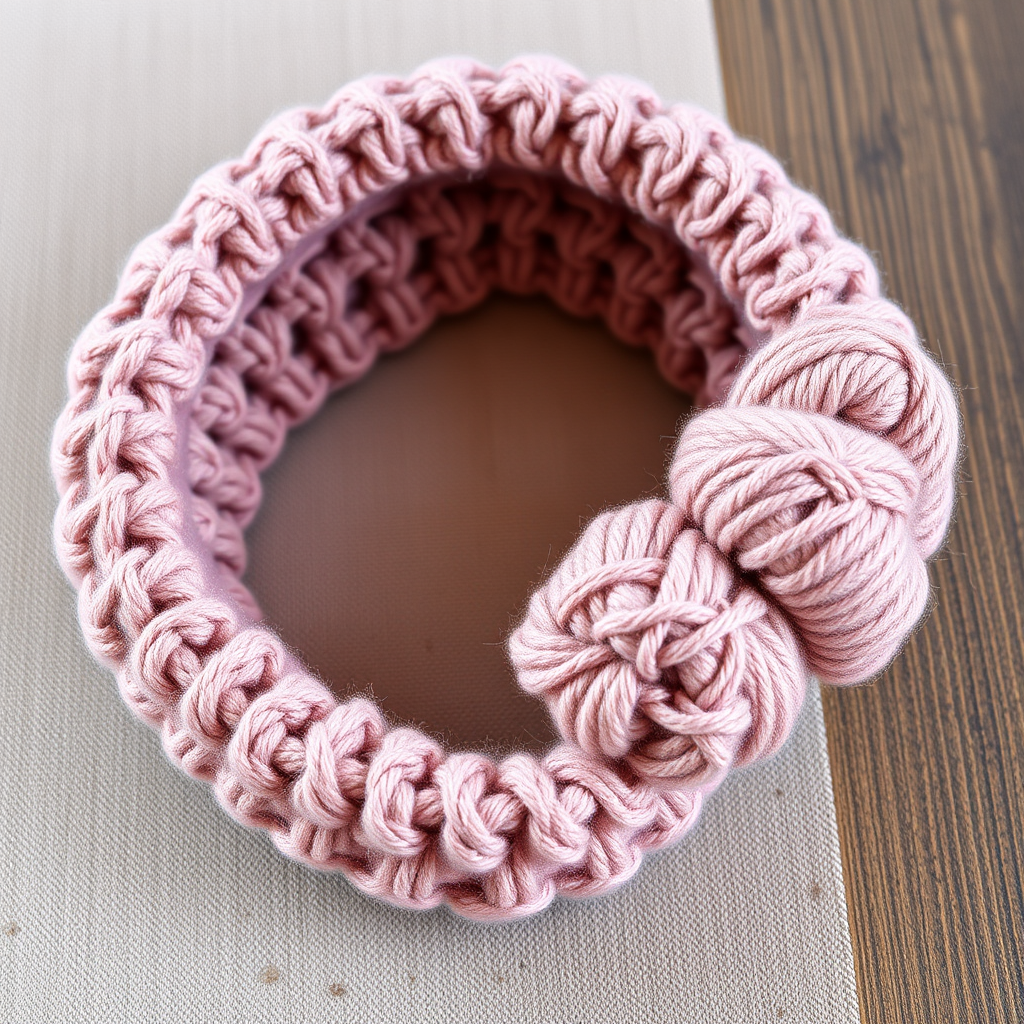
For extra flair, sew a decorative button or a small crochet flower at the seam. This adds a charming focal point and personalizes your headband.
Care Instructions
To keep your Enchanted Vine Twist Headband looking its best, hand wash it in cold water with a gentle detergent. Gently squeeze out excess water (do not wring), then lay it flat on a towel to dry. Reshape it while damp to maintain its form. Avoid machine washing or drying, as this can distort the twisted texture.
Enjoy your handcrafted headband! Its unique spiral design and earthy color palette make it a versatile accessory for any season. Happy crocheting!