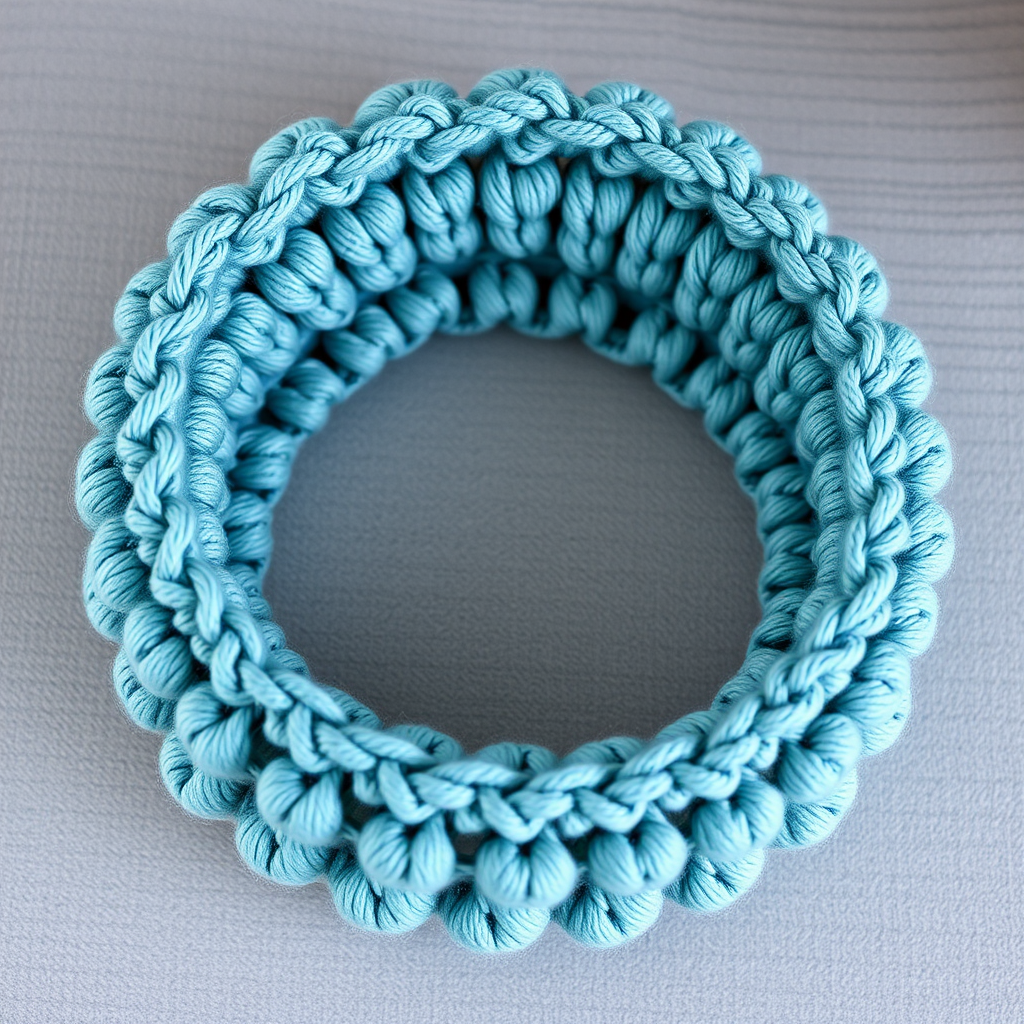
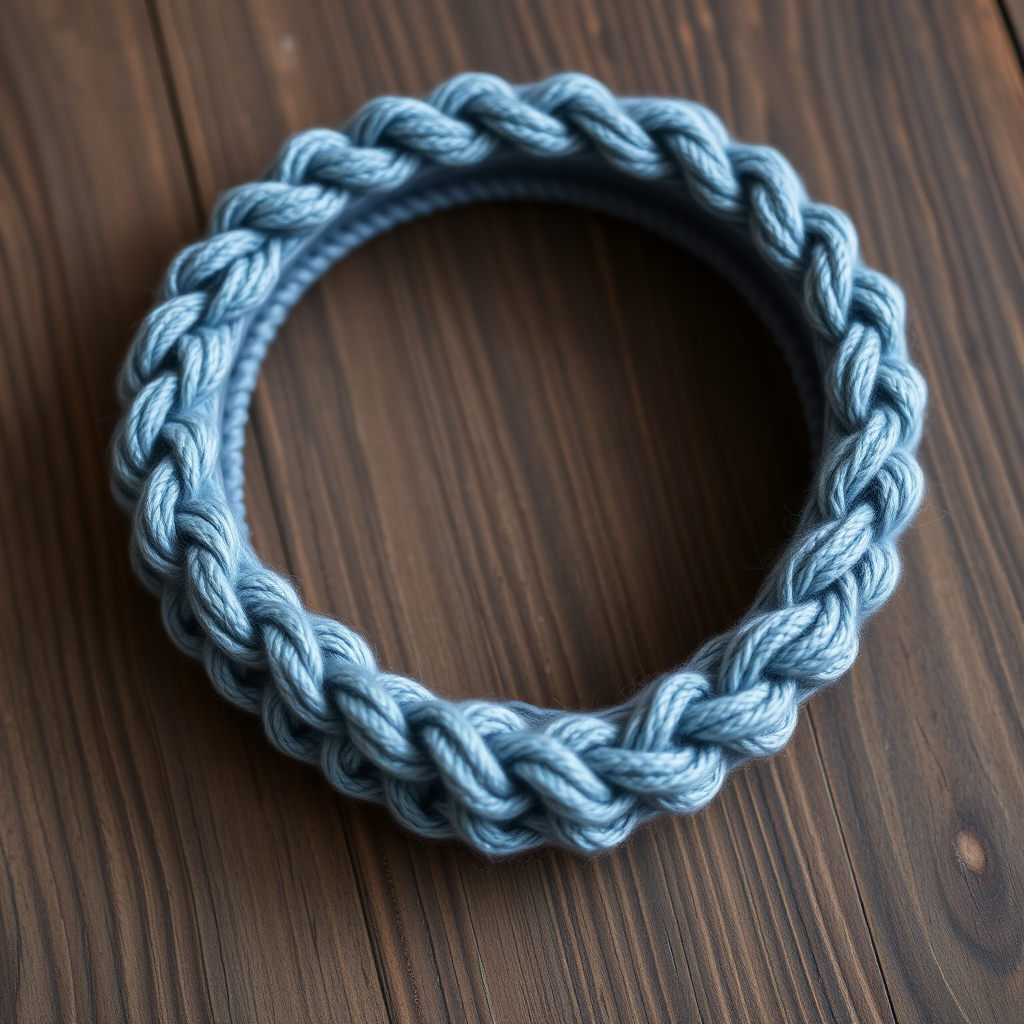
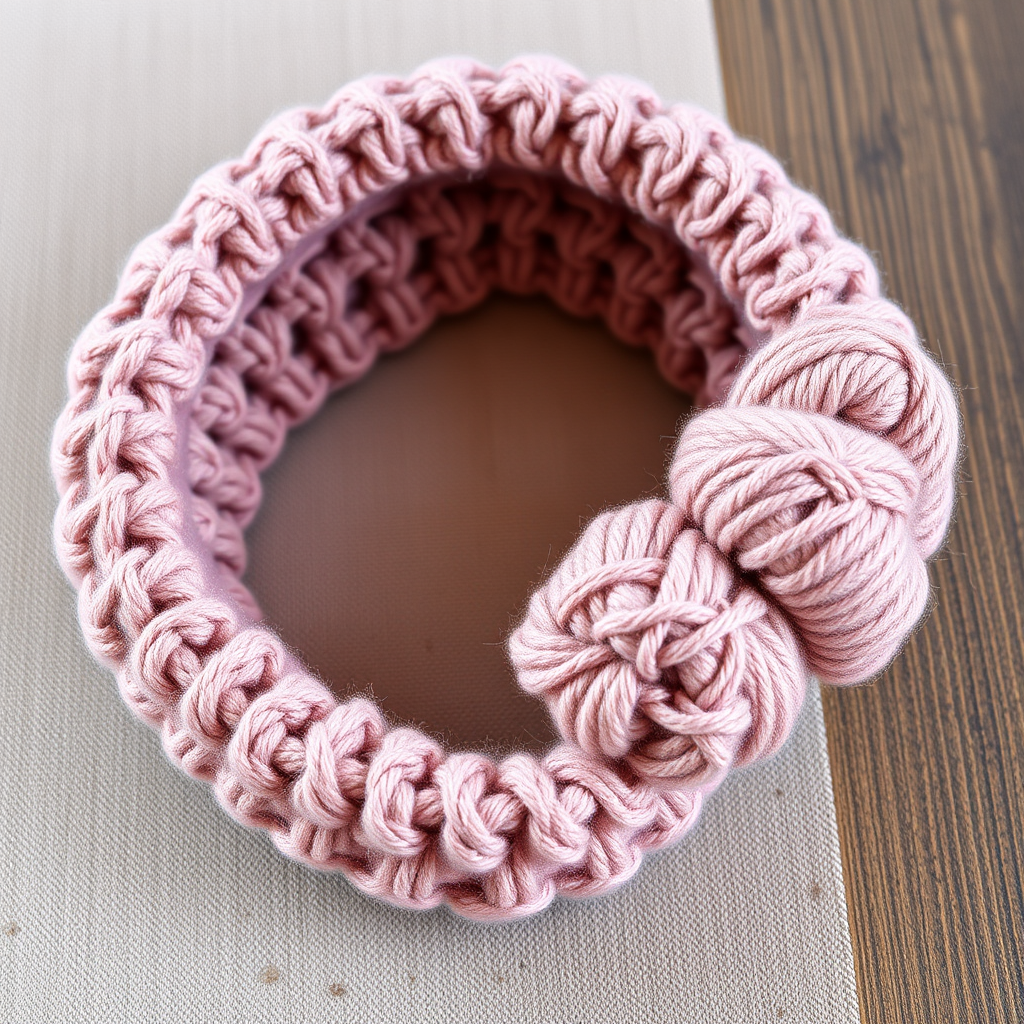
Celestial Glow Crochet Headband Free Pattern

Celestial Glow Crochet Headband Free Pattern
Wrap your head in the soft shimmer of the Celestial Glow Headband, a delicate accessory that adds a touch of starry elegance to any outfit. This quick project uses a fine yarn and a simple stitch repeat to create a textured, luminous band that's perfect for gifting or treating yourself. Whether you're a seasoned crocheter or just starting your handmade journey, this pattern is designed to be approachable, rewarding, and utterly beautiful. The subtle metallic thread woven throughout catches the light like distant stars, making this headband a versatile piece that transitions effortlessly from cozy winter days to cool spring evenings.
Materials Needed
Before you begin, gather the following supplies. This project is wonderfully portable and requires minimal materials, making it perfect for on-the-go crafting.
Yarn
- Main Yarn: 1 skein of Lion Brand Truboo (or any size 2 fine weight yarn) in 'Moonstone' (a soft silver-white). This bamboo-based yarn provides a beautiful drape and subtle sheen.
- Sparkle Thread: 1 skein of a matching metallic thread or a strand of silver lurex. You will hold this together with the main yarn throughout the entire project to achieve that celestial glow.
Hook & Notions
- Crochet Hook: D/3 (3.25 mm) crochet hook. Ensure you have a comfortable grip, as you'll be working many rows.
- Yarn Needle: A tapestry needle with a large eye for weaving in ends and seaming.
- Scissors: Sharp scissors for cutting yarn.
- Measuring Tape: To check your gauge and headband length.
Gauge
20 stitches and 24 rows = 4 inches in half double crochet (hdc) worked in the back loop only. Gauge is not critical for this project, but matching it will ensure the headband fits as intended. If your headband is too loose or too tight, simply adjust your hook size or the number of rows you work.
Step-by-Step Instructions
Follow these detailed instructions carefully, and you'll have a beautiful Celestial Glow Headband in no time. The pattern is worked flat in rows and then seamed at the ends, creating a seamless, polished look.
Finished Size
About 18 inches around and 2.5 inches wide (adjustable). The stretch of the yarn and the ribbed stitch pattern allow for a comfortable fit on most head sizes.
Stitches & Abbreviations (US terms)
- ch = chain
- hdc = half double crochet
- sl st = slip stitch
- BLO = back loop only
Pattern Notes
- The headband is worked flat in rows, then seamed at the ends.
- For the sparkle effect, hold the metallic thread together with the main yarn throughout the entire project. Simply place the two strands side by side and treat them as one yarn.
- The chain-2 at the beginning of each row counts as your first half double crochet stitch.
Getting Started
Row 1: Chain 12. Work 1 hdc into the 3rd chain from your hook (the first 2 chains count as your first hdc). Work 1 hdc into each chain across. You should have 10 hdc stitches total. Turn your work.
Row 2: Chain 2 (this counts as your first hdc). Work 1 hdc into the back loop only (BLO) of each hdc across. You will have 10 hdc stitches. Turn your work.
Rows 3-60: Repeat Row 2 until the headband measures approximately 18 inches (or your desired head circumference minus 1 inch for stretch). Do not fasten off. The BLO technique creates a lovely ribbed texture that gives the headband its stretch and elegant drape.
Seaming Your Headband
Once you've reached your desired length, it's time to join the ends. This step is crucial for creating a clean, professional finish.
- Fold the headband in half with right sides together, matching the short ends. The right side is the side with the more defined ribbed texture.
- Insert your hook through the first stitch of both ends, ensuring you go through both loops of each stitch to create a sturdy seam.
- Work a slip stitch to join the two ends together. Continue slip stitching across, matching each stitch from one end to the corresponding stitch on the other end.
- Once you reach the end of the row, fasten off and weave in all loose ends securely with your yarn needle.
Optional Twist Effect
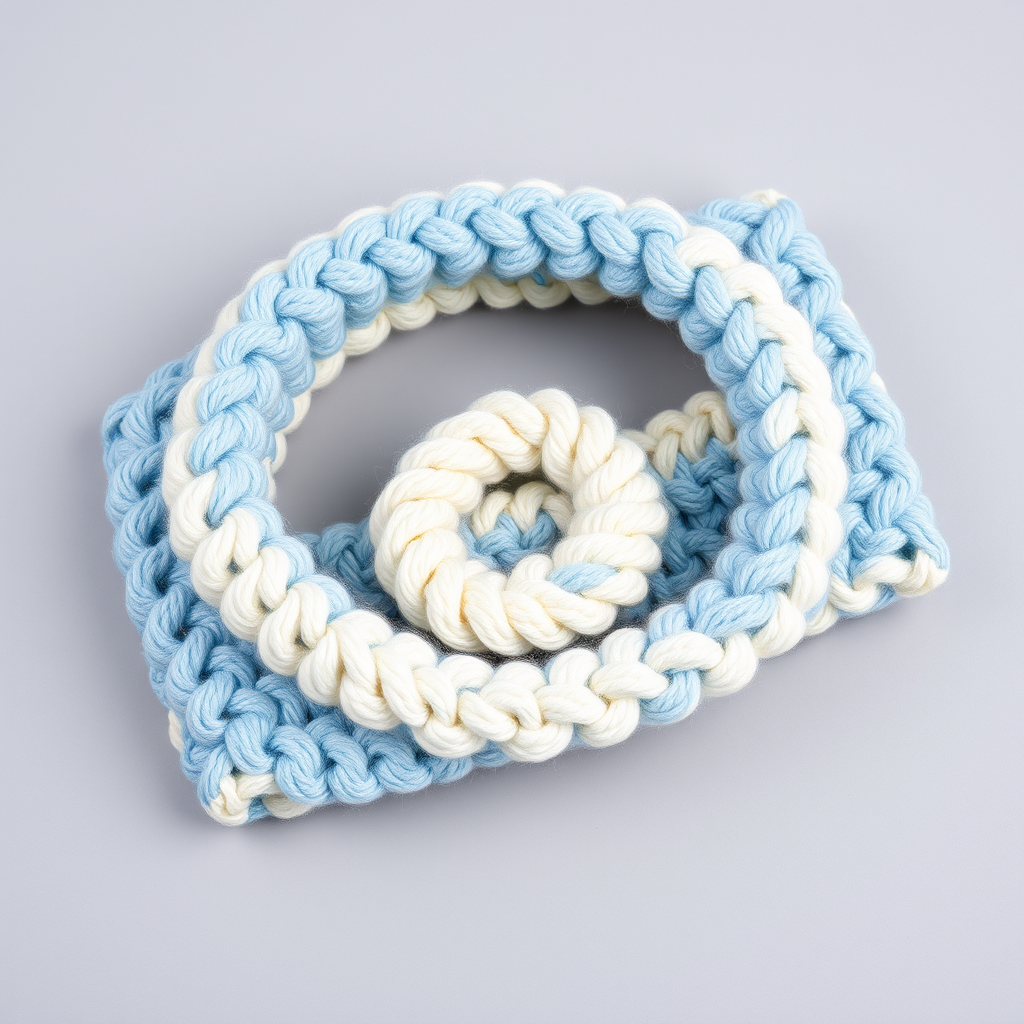
For a stylish twist that adds visual interest, you can modify the seaming process slightly. Before you begin slip stitching the ends together, give the headband a single twist. This will create a beautiful infinity-style twist that sits elegantly on the head. Hold the twisted position firmly while you slip stitch the ends together as described above.
Finishing Touches
After seaming, take a moment to inspect your work. Weave in any remaining loose ends securely, making sure they are hidden within the stitches. If desired, gently block the headband to even out the stitches and enhance the drape. To block, simply wet the headband, gently squeeze out excess water, and lay it flat to dry on a towel, shaping it to your desired dimensions.
Your Celestial Glow Headband is now complete! Slip it on and enjoy the subtle shimmer and cozy warmth it provides. This pattern is perfect for using up small amounts of fine yarn and makes a wonderful handmade gift for friends and family. Happy crocheting!