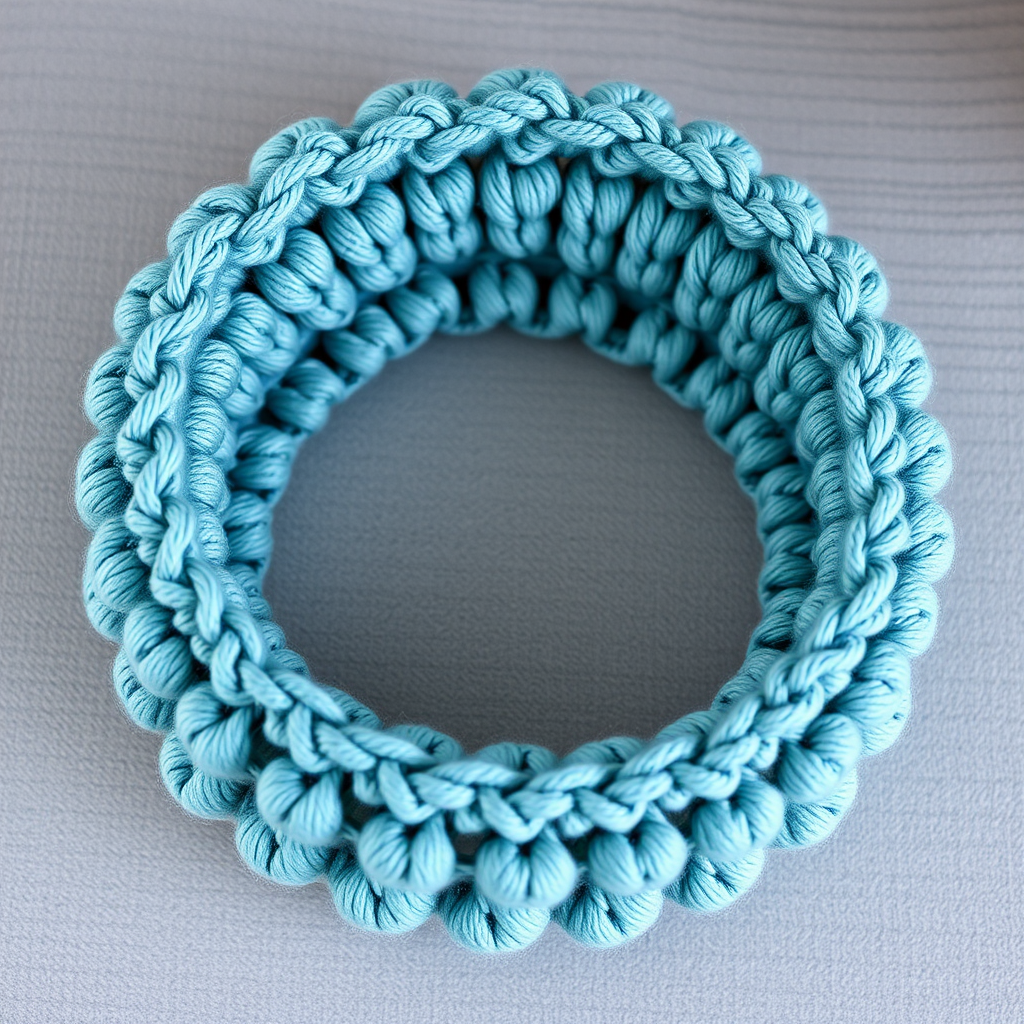
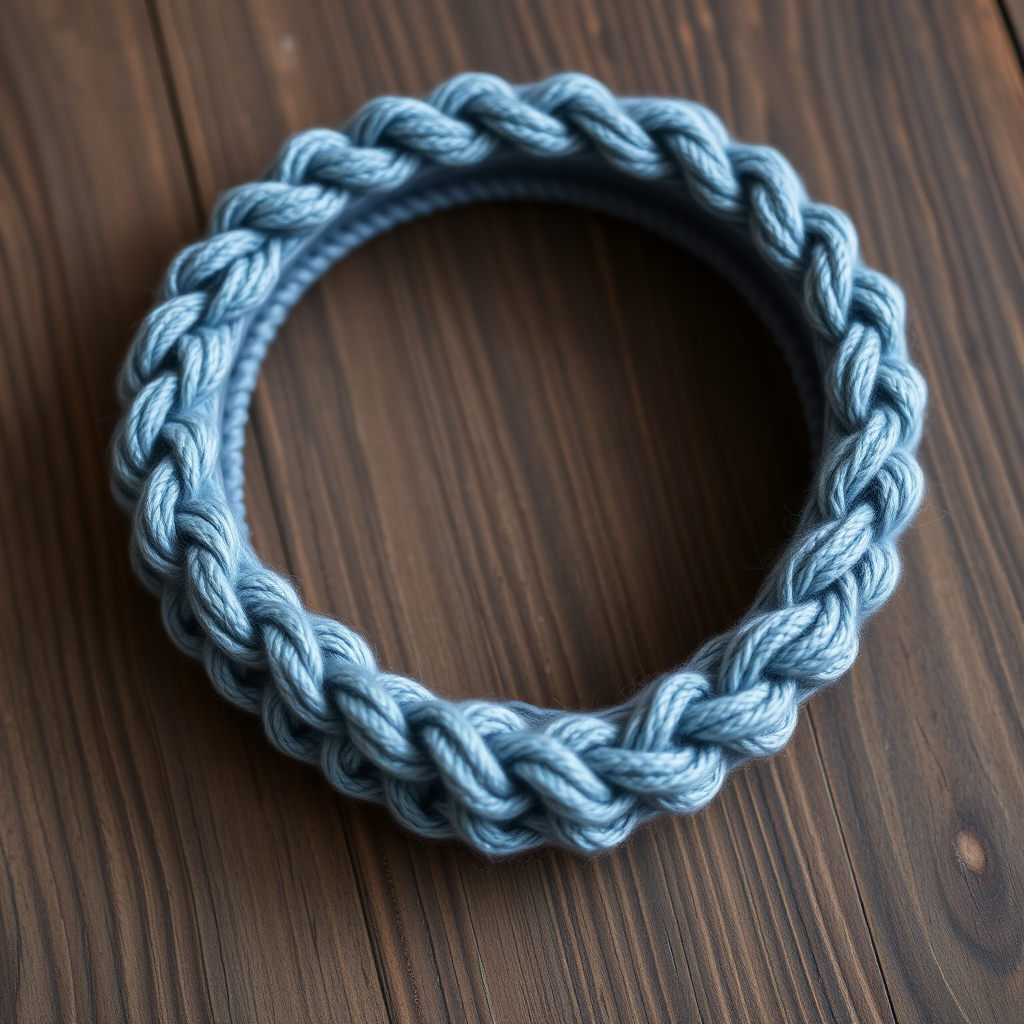
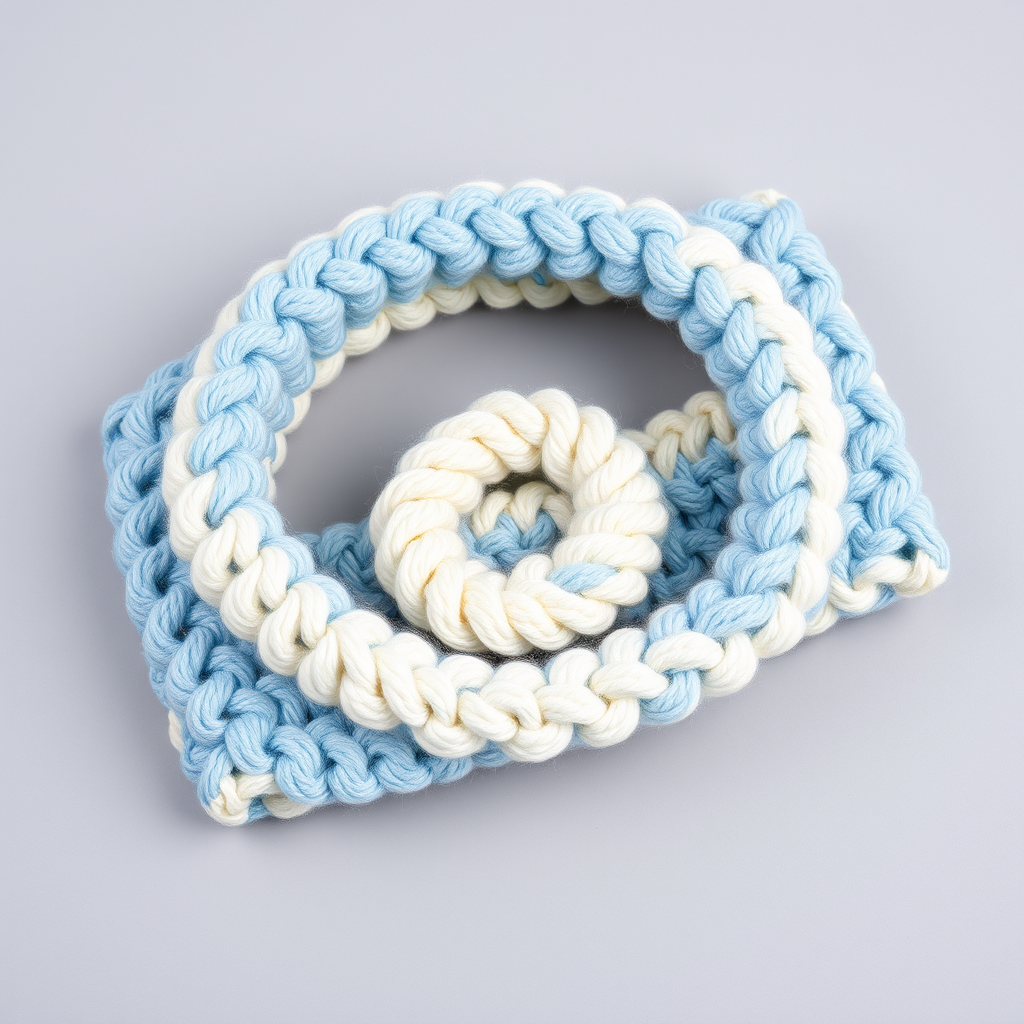
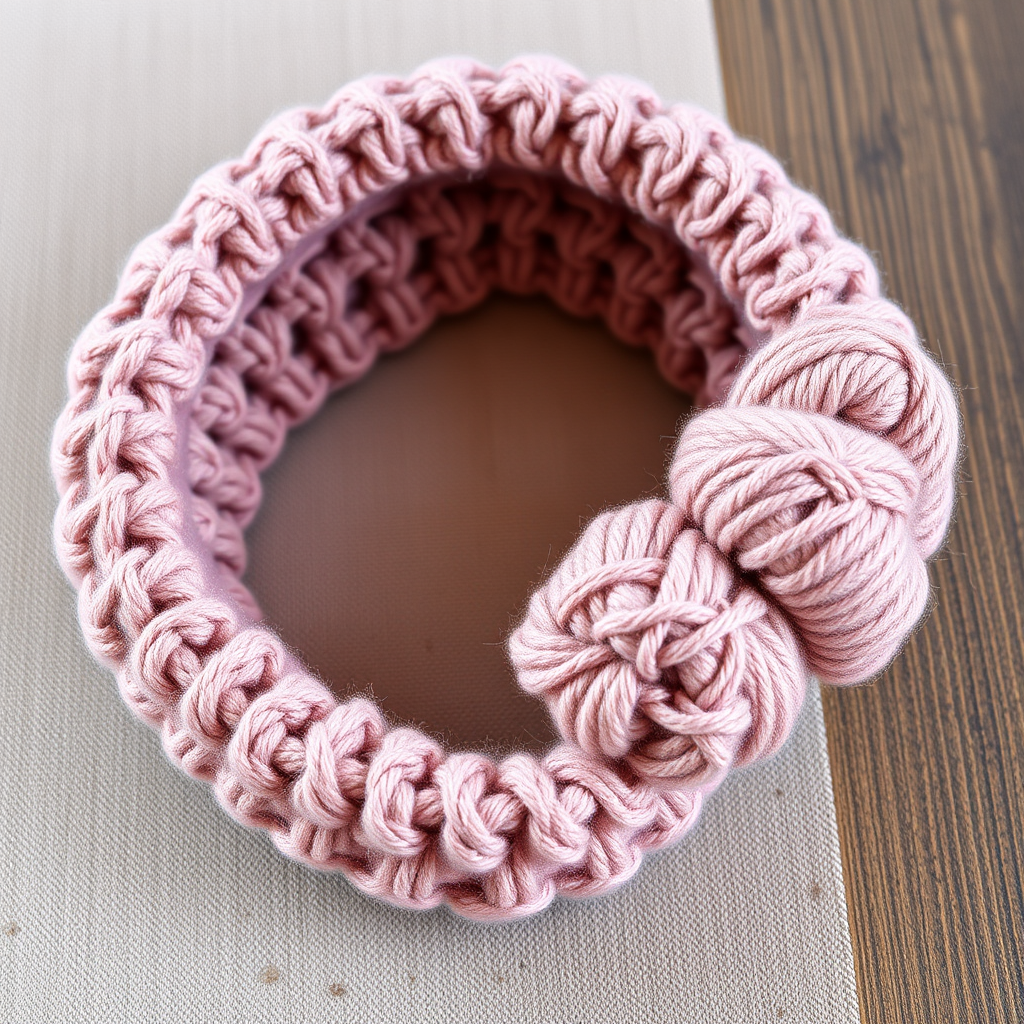
Aurora Twist Headband Free Pattern

The Aurora Twist Headband: A Cozy Crochet Pattern for Beginners
Wrap yourself in the cozy elegance of the Aurora Twist Headband, a quick crochet project that adds a touch of Nordic charm to any outfit. This beginner-friendly pattern uses simple stitches to create a beautifully textured, twisted design that's both stylish and functional. Whether you're braving a chilly morning commute or just want to add a handmade touch to your winter wardrobe, this ear warmer is the perfect project for a cozy afternoon. With just two contrasting colors and a few basic stitches, you'll have a stunning accessory that looks far more complex than it actually is.
Why You'll Love This Pattern
This headband is the perfect gateway project for crocheters who have mastered the basics and want to try something with a bit more visual interest. The clever twist construction creates a sculptural, dynamic look without any complicated shaping. Plus, it works up quickly—most crafters can finish it in a single evening. The textured stitch pattern, alternating between single crochet and half double/double crochet, adds a ribbed, raised effect that's both warm and visually appealing.
Materials Needed
Before you begin, gather the following supplies. All items are readily available at craft stores or online.
- Yarn: Worsted weight (4) yarn in two contrasting colors (e.g., cream and dusty blue, or heather gray and mustard). You'll need approximately 60 yards of each color.
- Crochet Hook: H/8 (5.0 mm) crochet hook
- Yarn needle for seaming and weaving in ends
- Scissors
- Optional: A small button or crocheted flower for embellishment
Gauge
14 single crochet stitches x 16 rows = 4 inches (10 cm) in single crochet. Gauge is important for achieving the correct size, but since this is a stretchy headband, slight variations are forgiving.
Stitches & Abbreviations
Familiarize yourself with these standard crochet abbreviations before starting:
- ch = chain
- sc = single crochet
- hdc = half double crochet
- dc = double crochet
- sl st = slip stitch
Step-by-Step Instructions
Pattern Notes
The headband is worked flat in rows, then twisted and seamed to create the signature twist. The twist is achieved by folding the rectangle and sewing the short ends together in a specific way. This technique is simple but produces a stunning result.
Creating the Main Body
Row 1: With Color A, chain 12. Single crochet in the 2nd chain from the hook and in each chain across. You should have 11 single crochet stitches. Turn your work.
Row 2: Chain 1, single crochet in each stitch across. Turn. (11 stitches)
Row 3: Chain 1, single crochet in the first 2 stitches, *half double crochet in the next stitch, double crochet in the next stitch, half double crochet in the next stitch, single crochet in the next 2 stitches*; repeat from * to * across. Turn. (11 stitches)
Row 4: Chain 1, single crochet in each stitch across. Turn. (11 stitches)
Row 5: Chain 1, single crochet in the first 2 stitches, *half double crochet in the next stitch, double crochet in the next stitch, half double crochet in the next stitch, single crochet in the next 2 stitches*; repeat from * to * across. Turn. (11 stitches)
Rows 6-45: Continue repeating Rows 4 and 5 alternately until the piece measures approximately 20 inches (50 cm) from the beginning. Be sure to end with a Row 4 repeat (a plain single crochet row). Fasten off, leaving a long tail (at least 12 inches) for seaming.
Adding the Twist
This is the magical step that transforms a simple rectangle into a twisted masterpiece.
- Lay the rectangle flat with the right side facing up. Fold the piece in half lengthwise so the short ends meet.
- Take one end and twist it 180 degrees (half a turn) so that the wrong side faces up on that end. You'll see the fabric begin to form a loop.
- Hold the two short ends together, matching the corners carefully. Using your yarn needle and the long tail you left, whip stitch the ends together securely. Take small, even stitches to ensure a strong seam.
- Weave in the end securely and trim any excess yarn.
Finishing Touches
Now it's time to add the beautiful contrasting border that gives the headband its polished look.
- With Color B, join your yarn at the seam using a slip stitch.
- Chain 1, then work a round of single crochet evenly around the entire outer edge of the headband. This includes both long edges and the seam area. Work 1 single crochet per row along the long edges, and 2-3 single crochets around the corners to keep the edge flat.
- Join with a slip stitch to the first single crochet. Fasten off and weave in all ends.
Optional Embellishments
For extra flair, consider adding a small button or a crocheted flower at the twist point. This can add a charming, personalized touch and help draw the eye to the beautiful twist detail.
Sizing and Adjustments
This pattern fits an average adult head (approximately 20-22 inches in circumference). To adjust the size, simply add or subtract rows in multiples of 2. For a child's size, aim for a length of about 16-18 inches. For a larger or looser fit, work to 22-24 inches. Remember to always end with a plain single crochet row before seaming.
Care Instructions
To keep your Aurora Twist Headband looking its best, hand wash in cool water with a mild detergent. Gently squeeze out excess water (do not wring) and lay flat to dry on a towel. Reshape while damp if needed. Avoid machine washing or drying, as this can cause the yarn to felt or lose its shape.
We hope you enjoy creating your own Aurora Twist Headband! This pattern is perfect for gift-giving, charity projects, or simply treating yourself to a handmade accessory. The combination of the textured stitch pattern and the striking twist makes it a standout piece that you'll reach for all season long. Happy crocheting!