Aurora Breeze Twisted Crochet Headband Free Pattern

Aurora Breeze Twisted Crochet Headband: A Free Beginner-Friendly Pattern
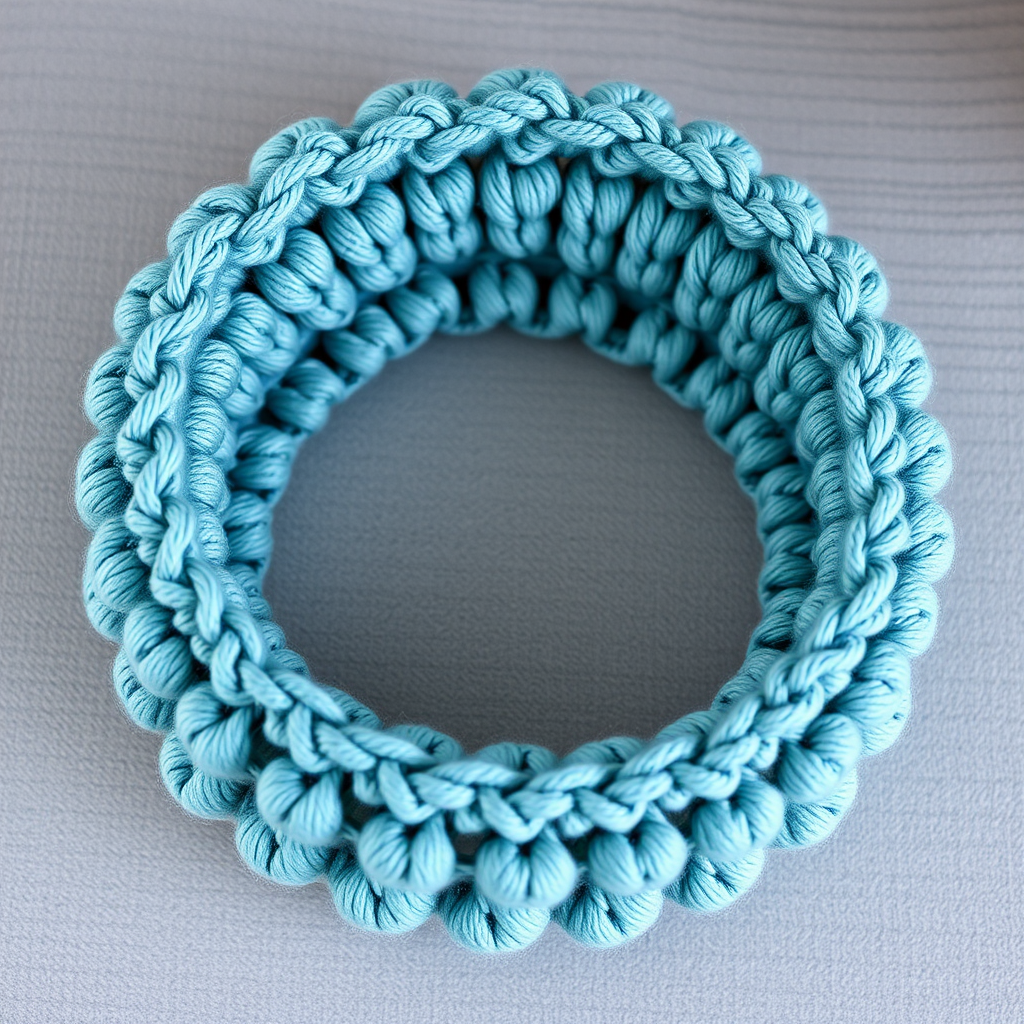
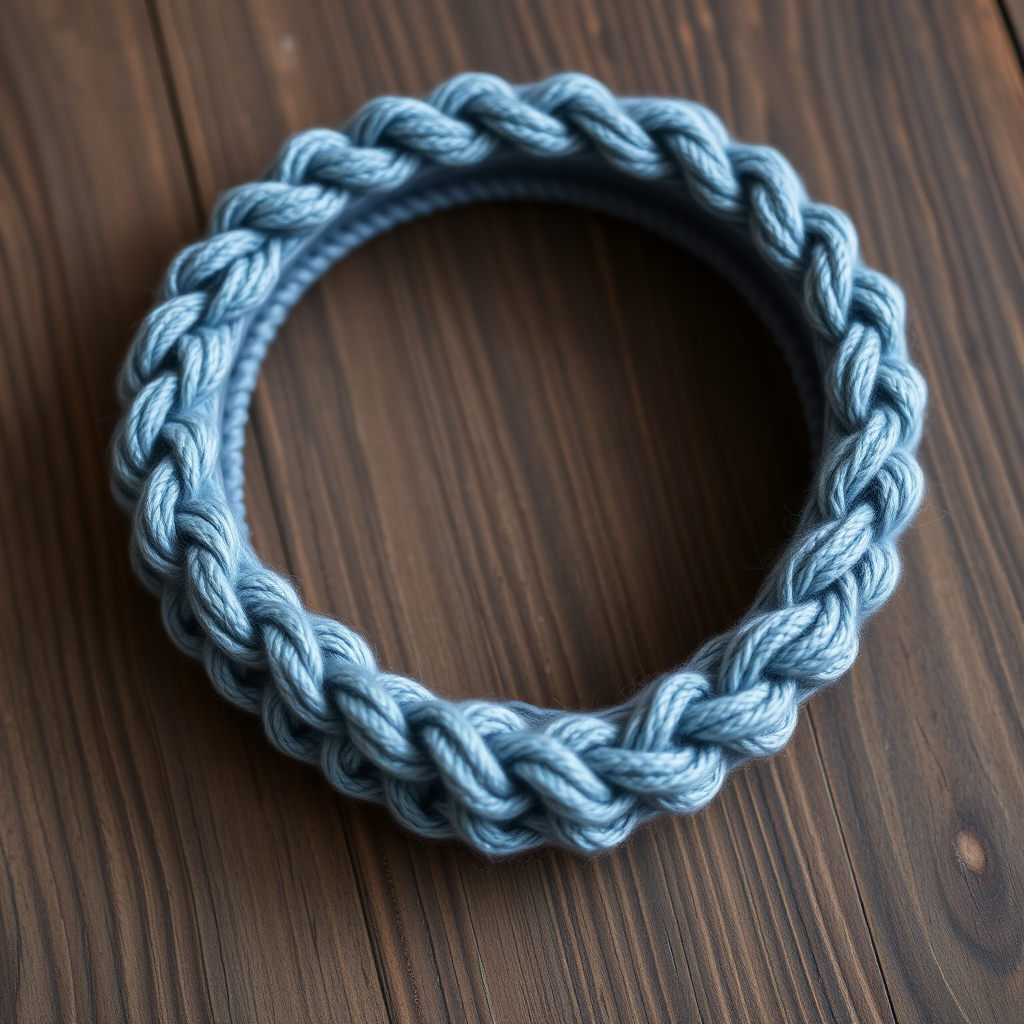
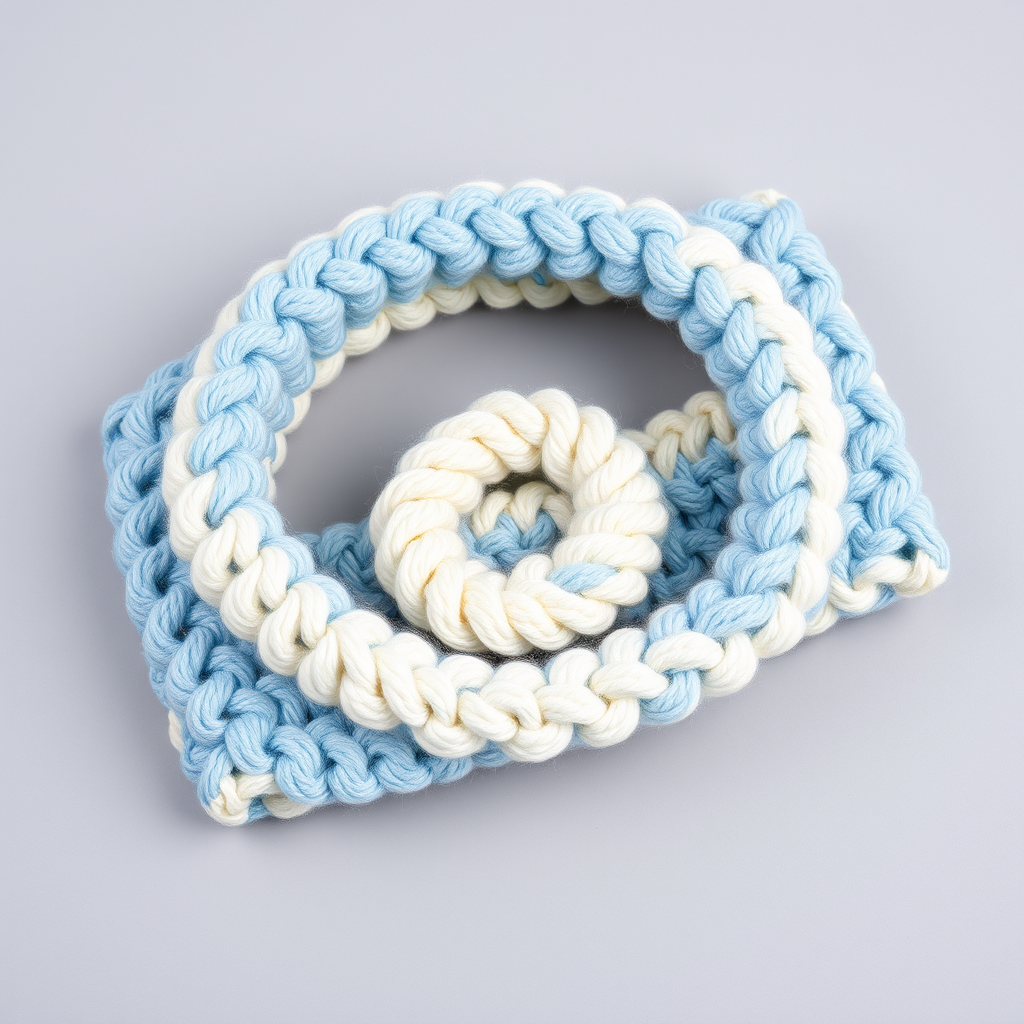
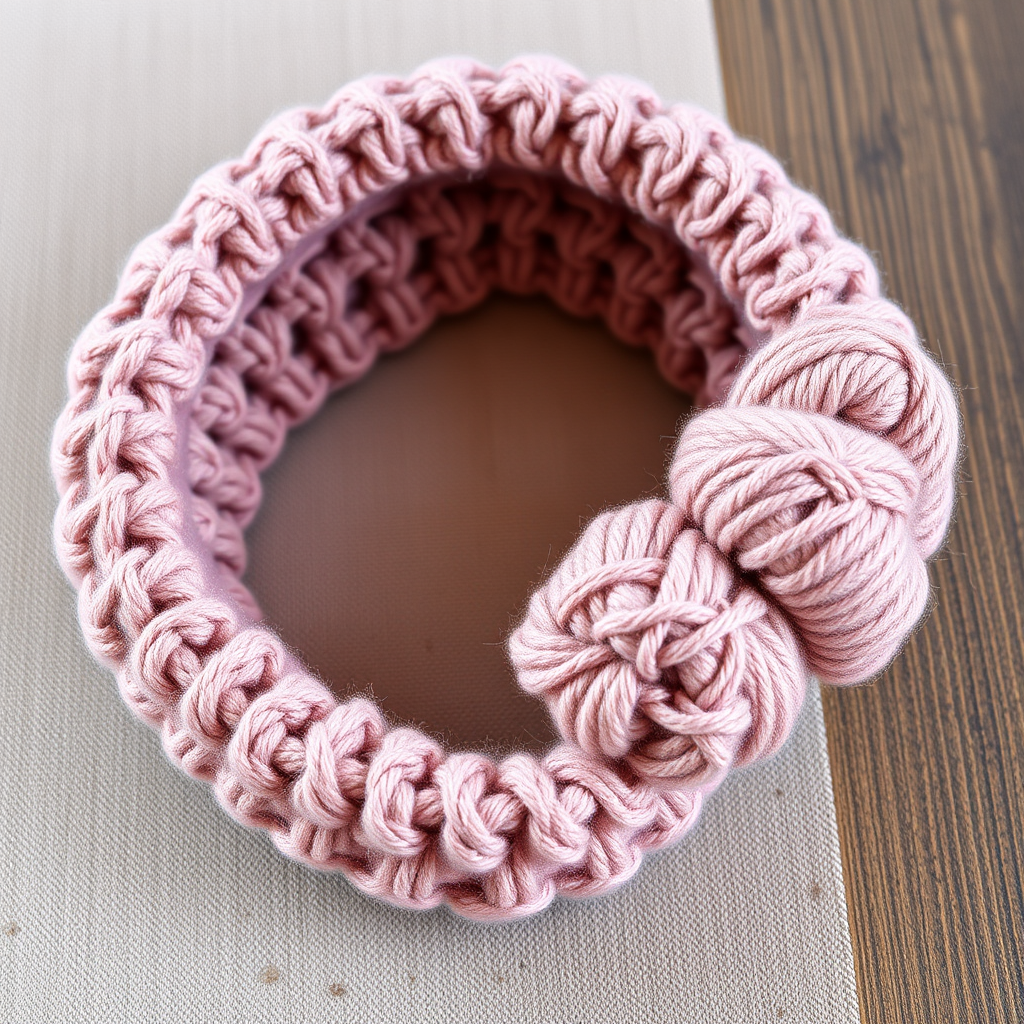
Wrap your ears in the soft, swirling comfort of the Aurora Breeze Twisted Crochet Headband—a modern take on the classic earwarmer with a stunning twisted seam. This quick and cozy project uses a simple stitch repeat to create a richly textured band that's perfect for chilly days. Whether you're a seasoned crocheter or just starting your yarn journey, this pattern is designed to be approachable, rewarding, and stylish. The unique twist adds a sculptural, designer touch that will have everyone asking where you bought it!
This pattern is perfect for gifting, crafting for yourself, or using up those lovely worsted-weight yarns in your stash. Let's dive into creating this beautiful, functional accessory.
Materials Needed
Before you begin, gather the following supplies. This project is wonderfully portable and requires minimal materials.
- Yarn: Worsted weight yarn (Category 4) in two complementary colors. You will need approximately 120 yards of Main Color (MC) and 60 yards of Contrast Color (CC). A suggested pairing is Lion Brand Wool-Ease in 'Denim' (MC) and 'Mustard' (CC), but any soft worsted-weight yarn will work beautifully.
- Crochet Hook: 5.5 mm (I-9) crochet hook. Ensure you have a comfortable grip for extended crocheting.
- Tapestry Needle: For seaming the headband and weaving in ends.
- Scissors: For cutting yarn.
- Stitch Markers (optional): Helpful for keeping track of your rows, especially if you are a beginner.
Gauge: 14 hdc x 11 rows = 4 inches (10 cm) in half double crochet. While gauge is important for fit, this pattern is quite forgiving. If your headband is slightly off, you can adjust the number of rows to achieve your desired length.
Step-by-Step Instructions
Follow these detailed instructions carefully, and you'll have a beautiful twisted headband in no time. This pattern is worked flat and then seamed, making it incredibly simple.
Finished Size & Abbreviations
Finished Size: Adult (approx. 20 inches circumference, 4 inches wide)
Stitches & Abbreviations (US terms):
- ch: chain
- hdc: half double crochet
- sc: single crochet
- sl st: slip stitch
- st(s): stitch(es)
- MC: main color
- CC: contrast color
- blo: back loop only
Pattern Notes
- The headband is worked flat in rows, then twisted and seamed to create the elegant twisted effect.
- The stitch pattern is a simple repeat of hdc in the back loop only (blo) to create a ribbed, stretchy texture.
- Do not fasten off after the final row; you will use the working yarn for seaming.
Creating the Headband Body
With MC:
- Foundation Chain: Ch 16. This chain will determine the width of your headband (approximately 4 inches).
- Row 1: Hdc in the 3rd ch from the hook (the skipped chains count as your first hdc) and in each ch across. You should have 14 hdc total. Turn your work.
- Row 2: Ch 2 (this counts as your first hdc). Hdc in the back loop only (blo) of each st across. You will have 14 hdc. Turn.
- Rows 3-40: Repeat Row 2 until the piece measures approximately 20 inches in length when slightly stretched. This is the circumference of your headband. Do not fasten off. Keep the loop on your hook or place a stitch marker to secure it.
Seaming the Twist
This is the magic step that transforms a simple rectangle into a stylish twisted headband.
- Fold: Fold the piece in half so the short ends meet, with the right side (the side you want facing out) facing you.
- Twist: Take one end and twist it 180 degrees (half a turn). This will create the signature spiral effect. Ensure the right side of the fabric is facing out on both ends after the twist.
- Whip Stitch Seam: With right sides together (the inside of the twist facing each other), use your tapestry needle and the MC yarn (still attached) to whip stitch the short ends together. Insert the needle through the loops of the stitches on both edges, creating a secure seam. This will form a twisted loop.
- Fasten Off: Once the seam is secure, fasten off and weave in the yarn end with your tapestry needle.
Adding the Contrast Border (Optional but Recommended)
The border adds a polished, professional finish and a pop of color.
- Join CC: Join the CC yarn with a sl st to any edge of the headband.
- Single Crochet Border: Work a round of sc evenly around the entire outer edge of the headband. When you reach the corners, work 2 sc in each corner to keep the border flat and prevent curling.
- Join: Join with a sl st to the first sc of the round.
- Fasten Off: Fasten off and weave in all remaining ends securely.
Finishing Touches
- Blocking: Block lightly if desired. This helps even out the stitches and gives the headband a professional look. You can simply lay it flat to dry after a gentle misting with water.
- Wear It: Wear with the twisted seam at the front or side for a stylish, modern look. The twist is the focal point, so show it off!
Congratulations! You've just created a beautiful, cozy, and trendy Aurora Breeze Twisted Crochet Headband. This project is quick enough for a weekend make and thoughtful enough for a handmade gift. Enjoy the warmth and compliments!