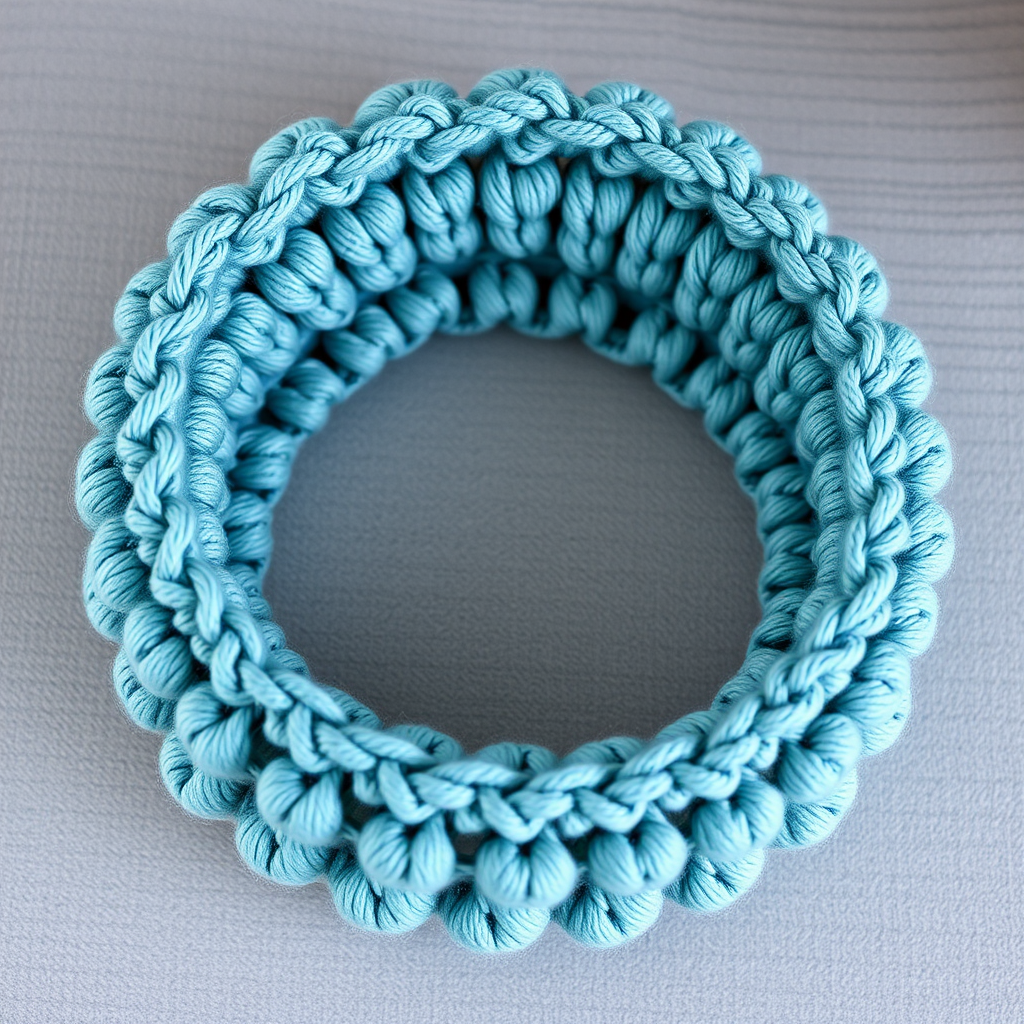
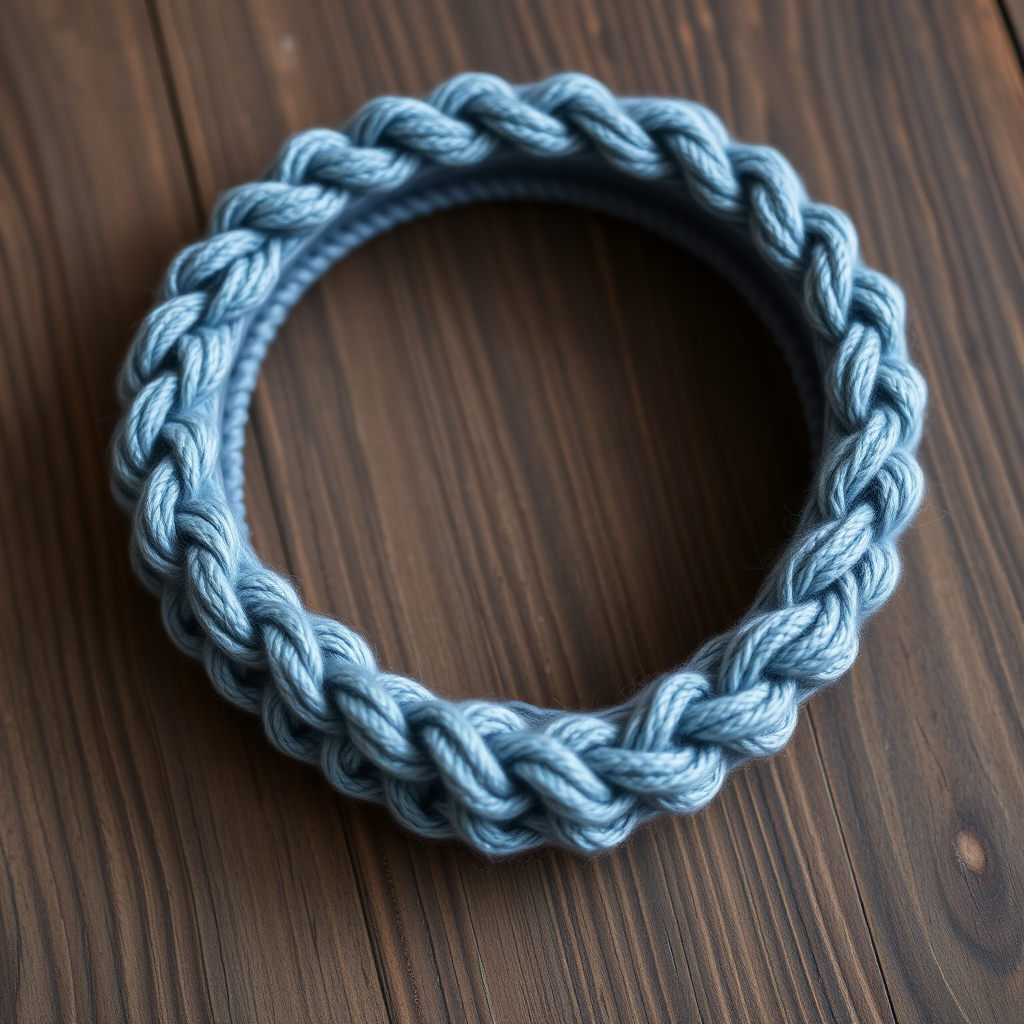
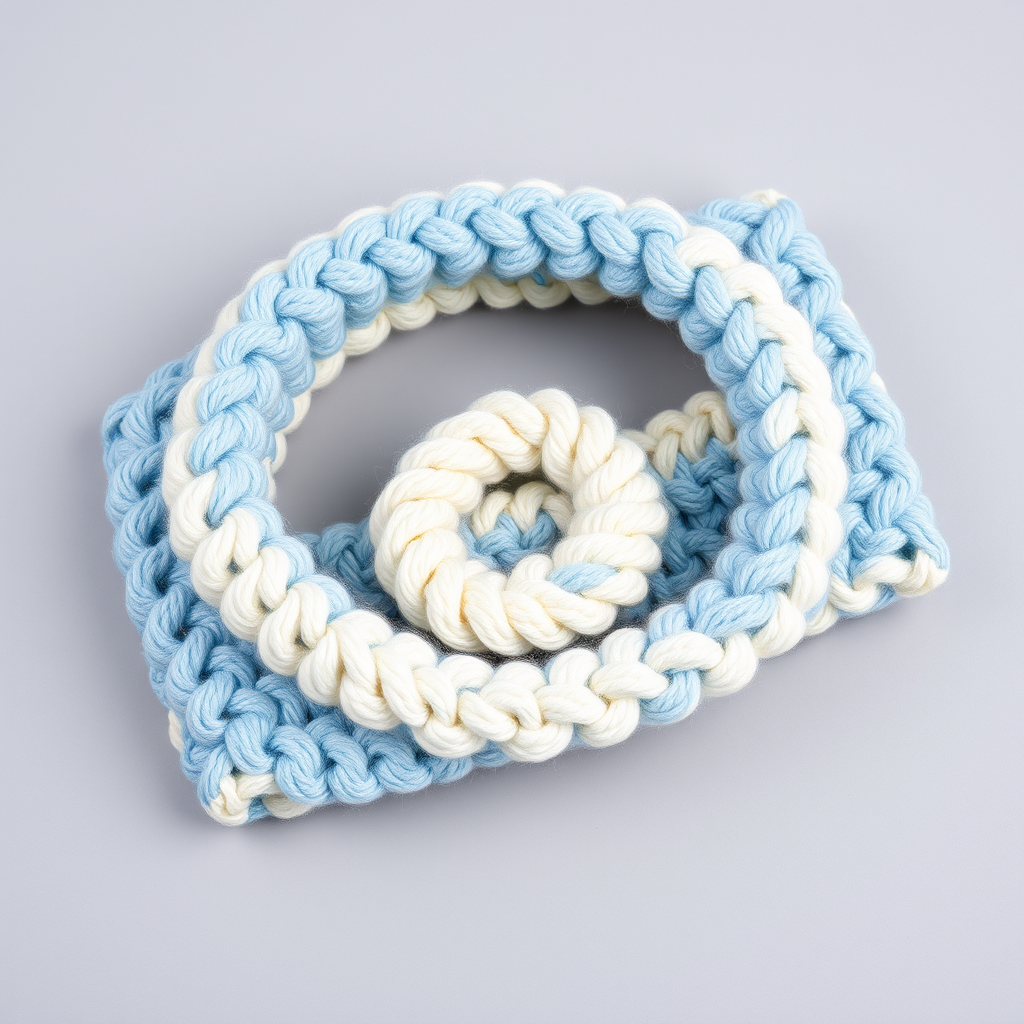
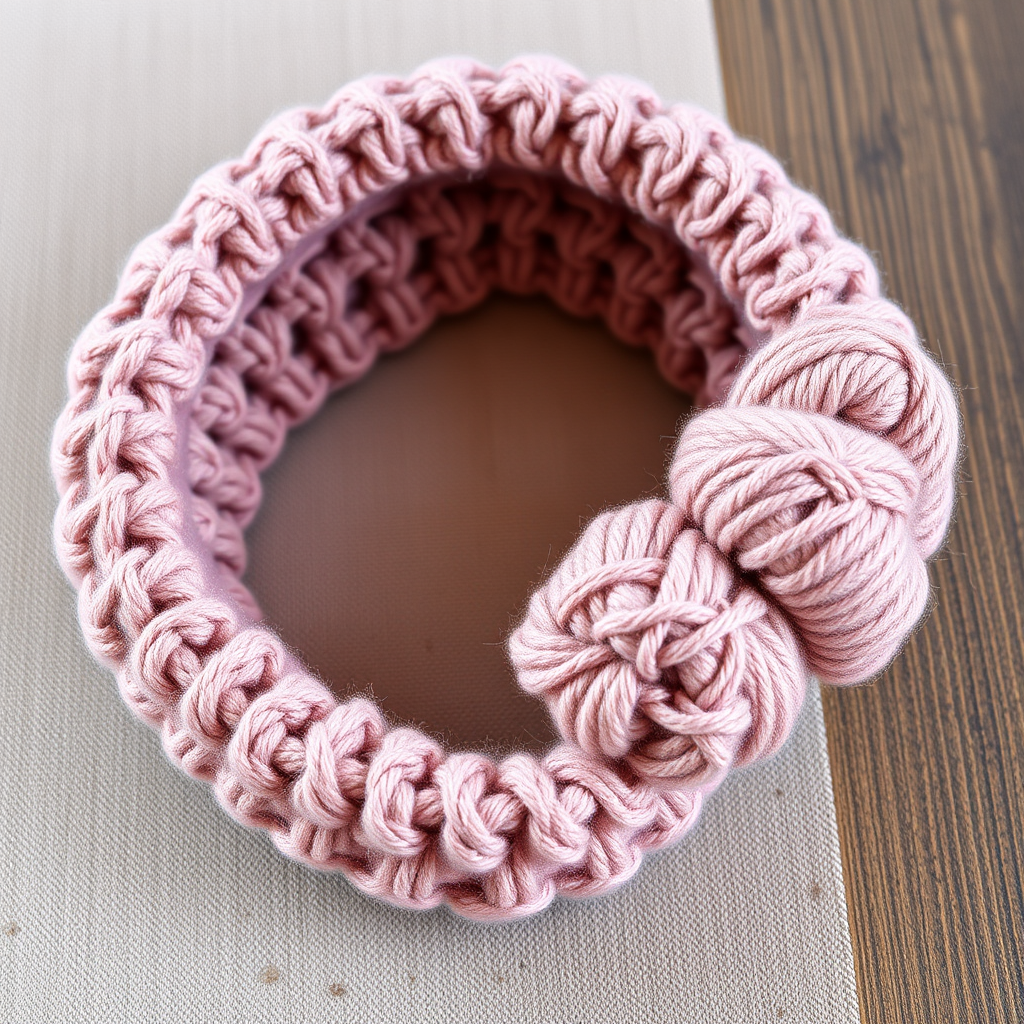
Aurora Alpine Headband Free Pattern – Textured Crochet Ear Warmer

Cozy Up with the Aurora Alpine Headband: A Textured Crochet Ear Warmer
Wrap yourself in the cozy embrace of the Aurora Alpine Headband, a richly textured crochet ear warmer that evokes the serene beauty of a snow-dusted forest. This pattern weaves together soft, chunky yarn and a unique V-stitch variation to create a stunning accessory that's both fashionable and functional. Whether you're braving a chilly commute or simply want to add a rustic touch to your winter wardrobe, this beginner-friendly project works up quickly and makes a wonderful handmade gift.
This free crochet pattern is perfect for those crisp autumn days and frosty winter mornings. The open, diamond-like V-stitch texture is not only visually appealing but also creates a fabric that is warm without being bulky, making it ideal for transitional weather or layering under a hood. Let's gather our materials and get started on this delightful ear warmer!
Materials Needed
Before we dive into the stitches, let's ensure you have everything you need. This project uses super bulky yarn, so it works up in a flash—perfect for a last-minute gift or a satisfying afternoon project.
Yarn
- Main Color (MC): Lion Brand Wool-Ease Thick & Quick (super bulky weight, 6) in 'Fisherman' – approximately 80 yards. This creamy off-white shade is the perfect canvas for the textured stitch.
- Contrast Color (CC): Lion Brand Wool-Ease Thick & Quick in 'Forest Green' – approximately 30 yards. This deep, rich green adds a beautiful pop of color for the edging and embellishment.
Tools & Notions
- Crochet Hook: US Size N/P (10 mm) crochet hook. This larger hook is essential for maintaining the drape and softness of the fabric.
- Tapestry Needle: For weaving in ends and seaming the headband together.
- Scissors: For cutting your yarn.
Gauge
4 V-stitches x 4 rows = 4 inches in pattern stitch (after blocking). While gauge is important for fit, this pattern is quite forgiving. The headband is designed to stretch slightly, so don't stress too much about perfection—just aim for a loose, even tension.
Step-by-Step Instructions
This headband is worked flat in rows, then seamed at the back. The V-stitch pattern creates a beautiful, open texture that is both warm and breathable. Follow along carefully, and you'll have a gorgeous accessory in no time.
Abbreviations
- ch = chain
- sc = single crochet
- dc = double crochet
- V-st = V-stitch (dc, ch 1, dc) in same stitch
- sk = skip
- sl st = slip stitch
- st(s) = stitch(es)
Pattern Notes
- The headband is designed to fit an average adult head (approximately 20-22 inches). To adjust the size, simply chain in multiples of 3 + 2. For a smaller or larger fit, add or subtract 3 chains.
- Work loosely to maintain the drape of the fabric. If you tend to crochet tightly, consider using a slightly larger hook.
Creating the Main Body
Row 1: With MC, ch 20. Dc in 4th ch from hook (the skipped chains count as your first dc). Now, *sk 2 ch, V-st in next ch (dc, ch 1, dc all in the same chain); repeat from * across until you have 2 chains left. Sk 1 ch, dc in the last ch. Turn. (You will have 6 V-sts)
Row 2: Ch 3 (this counts as your first dc). Sk the first dc (which is the base of your ch 3). *Work a V-st in the ch-1 space of the next V-st from the previous row; repeat from * across the row. Finally, dc in the top of the turning ch from the previous row. Turn.
Rows 3-12: Repeat Row 2 until your piece measures approximately 20 inches, or your desired length. To check, gently stretch the piece slightly—it should comfortably wrap around your head. Pro tip: It's better to make it slightly shorter rather than too long, as the edging will add a bit of length.
Adding the Edging
Now we'll add a clean, finished edge to the headband. Do not turn your work after the final row of the main body.
Step 1: With the right side facing you, work a round of single crochet around the entire edge of the rectangle. Start by working 1 sc in each row end along the short side edge. You should have roughly 12 sc stitches along this side (one for each row).
Step 2: At the corner, ch 1 to turn the corner smoothly. Then, work 1 sc in each st across the foundation chain edge (the long edge where you started). This will be 20 sc stitches.
Step 3: Ch 1 at the next corner. Work 1 sc in each row end along the other short side edge (another 12 sc). Ch 1 at the final corner.
Step 4: Work 1 sc in each st across the top edge (the last row you crocheted), which will be 20 sc. Ch 1, sl st to the first sc to join the round. Fasten off MC and weave in the end.
Seaming and Finishing
This is where the magic happens—transforming your flat rectangle into a wearable headband.
Step 1: Fold the headband in half with right sides together, matching the two short edges. The wrong side of your work will be facing out.
Step 2: Thread your tapestry needle with a length of CC yarn (about 12 inches). Using a simple whip stitch, carefully sew the two short edges together. Insert the needle through the back loops of the stitches on both edges to create a nearly invisible seam. Make sure your stitches are snug but not too tight, so the seam lies flat.
Step 3: Once seamed, turn the headband right side out. Gently shape it and ensure the seam is neatly tucked at the back.
Optional Embellishment: The Finishing Touch
To add that extra touch of alpine charm, let's create a cute bow for the center front.
Step 1: With CC, ch 30. Fasten off, leaving a long tail for sewing.
Step 2: Tie the chain into a small, neat bow. You can wrap the tail around the center of the bow a few times to secure it and create a defined knot.
Step 3: Sew the bow securely to the center front of the headband, right at the seam if you prefer, or slightly to one side for a modern look.
Alternative idea: Instead of a bow, you can create a twisted cord with CC and wrap it around the seam for a decorative, braided effect. Simply twist two strands of yarn together and sew them over the back seam.
And there you have it—your very own Aurora Alpine Headband! This textured ear warmer is sure to become a cold-weather favorite. The combination of the chunky yarn and the elegant V-stitch makes it a standout piece that looks far more complex than it is. Enjoy your new handmade accessory, and don't forget to share your creations with fellow crafters!