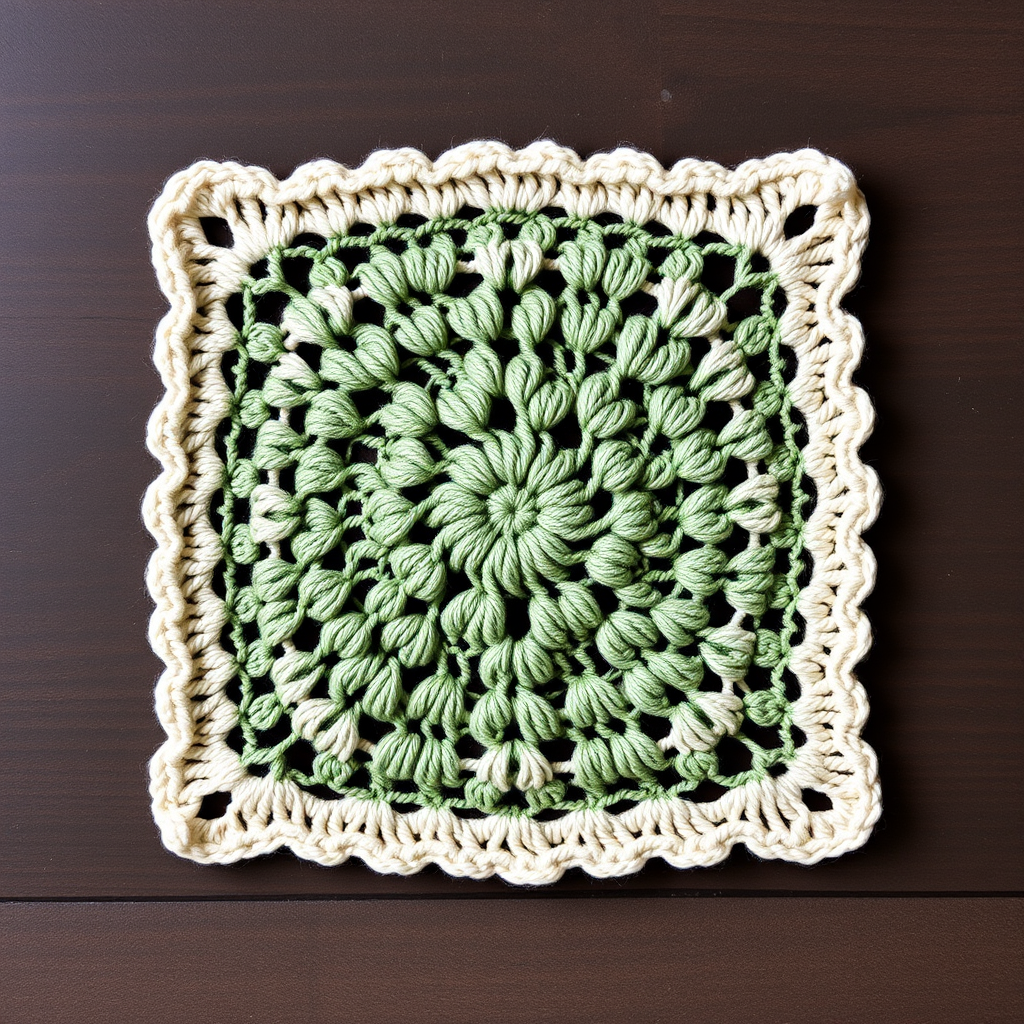
Amber Dusk Granny Square Free Pattern

Amber Dusk Granny Square: A Free Beginner-Friendly Crochet Pattern
There's something magical about capturing a sunset in yarn. The Amber Dusk Granny Square does exactly that—transforming the warm glow of golden hour into a versatile, handcrafted 4-inch square. With its rich gradient flowing from golden yellow through burnt orange and coral pink to a deep plum border, this pattern brings cozy, handcrafted warmth to any project.
Whether you're dreaming of a sunset-inspired blanket, planning decorative pillows, or designing a unique garment panel, this classic granny square is your perfect starting point. Best of all, it's designed with beginners in mind—using only basic stitches and a simple repeating rhythm that builds confidence with every round.
Why You'll Love This Pattern
- Beginner-friendly: Uses only chain, double crochet, and slip stitch
- Quick to make: Each square takes about 20-30 minutes
- Versatile: Perfect for blankets, pillows, bags, or garment panels
- Colorful: A stunning sunset gradient that adds warmth to any space
- Portable: Small and easy to carry for on-the-go crafting
Materials Needed
Before you begin, gather these simple supplies:
| Item | Specification |
|---|---|
| Yarn | DK weight (3) cotton or cotton blend in four colors: A (golden yellow), B (burnt orange), C (coral pink), D (deep plum) |
| Crochet Hook | 3.25 mm (D/3) crochet hook |
| Other | Yarn needle for weaving ends, scissors |
Gauge: First 3 rounds measure 2.5 inches across; finished square is 4 inches wide and tall.
Yarn Substitution Tips
While the pattern calls for DK weight cotton, you can easily substitute any DK weight yarn. For a softer, drapier square, try a merino blend. For a sturdier, more structured square (ideal for bags or coasters), stick with cotton or a cotton-linen blend. Just remember to check your gauge and adjust your hook size if needed.
Step-by-Step Instructions
This pattern uses a magic ring start and works in continuous rounds, turning after each round to keep the square shape crisp and even. Don't worry if you're new to the magic ring—it's easier than it looks and creates a neat, adjustable center.
Round 1 (Color A - Golden Yellow)
- Make a magic ring by wrapping the yarn around your fingers twice, then inserting your hook and pulling up a loop.
- Chain 3 (this counts as your first double crochet).
- Work 2 double crochets (dc) into the ring.
- Chain 2 (this forms your first corner space).
- Repeat the following sequence three more times: 3 dc into ring, chain 2.
- You should now have 12 double crochets and 4 chain-2 corner spaces.
- Pull the magic ring tail to close the center tightly.
- Join with a slip stitch to the top of the beginning chain-3.
- Fasten off Color A.
Pro tip: The magic ring might feel fiddly at first, but it creates a beautifully closed center with no hole. If you prefer, you can chain 4 and join to form a ring instead.
Round 2 (Color B - Burnt Orange)
- Join Color B in any corner chain-2 space by inserting your hook, pulling up a loop, and chaining 1.
- Chain 3 (counts as first dc).
- Work 2 dc in the same corner space.
- Chain 1 (this creates the space between clusters on the sides).
- In the next corner space, work: 3 dc, chain 2, 3 dc (this forms the corner).
- Chain 1.
- Repeat from * around: (3 dc, chain 2, 3 dc) in next corner space, chain 1.
- When you return to the starting corner, work 3 dc in that space, chain 2.
- Join with a slip stitch to the top of the beginning chain-3.
- Fasten off Color B.
You should now have 24 double crochets and 4 corners.
Round 3 (Color C - Coral Pink)
- Join Color C in any corner chain-2 space.
- Chain 3 (counts as first dc).
- Work 2 dc in the same corner space.
- Chain 1.
- Work 3 dc in the next chain-1 space (this is the side space from Round 2).
- Chain 1.
- In the next corner space, work: 3 dc, chain 2, 3 dc.
- Chain 1.
- Work 3 dc in the next chain-1 space.
- Chain 1.
- Repeat from * around, working the corner sequence in each corner space and 3 dc in each side space.
- When you return to the starting corner, work 3 dc in that space, chain 2.
- Join with a slip stitch to the top of the beginning chain-3.
- Fasten off Color C.
You should now have 36 double crochets total.
Round 4 (Color D - Deep Plum)
- Join Color D in any corner chain-2 space.
- Chain 3 (counts as first dc).
- Work 2 dc in the same corner space.
- Chain 1.
- Work 3 dc in the next chain-1 space.
- Chain 1.
- Work 3 dc in the next chain-1 space.
- Chain 1.
- In the next corner space, work: 3 dc, chain 2, 3 dc.
- Chain 1.
- Repeat from * around, working the corner sequence in each corner and 3 dc in each of the two side spaces between corners.
- When you return to the starting corner, work 3 dc in that space, chain 2.
- Join with a slip stitch to the top of the beginning chain-3.
- Fasten off Color D.
You should now have 48 double crochets total.
Finishing Touches
Weaving in Ends
Using your yarn needle, carefully weave in all loose ends on the wrong side of the square. Thread the needle with each tail and weave it through the backs of several stitches in the same color, then trim the excess. This ensures your square stays neat and secure through years of use.
Blocking for Perfect Shape
To achieve that crisp, professional finish, block your square to 4 inches. Here's how:
- Fill a basin with lukewarm water and add a drop of mild soap.
- Submerge your square and let it soak for 10-15 minutes.
- Gently squeeze out excess water (don't wring!).
- Lay the square on a blocking mat or towel.
- Pin the corners to 4 inches apart, ensuring the edges are straight.
- Let it dry completely before unpinning.
Blocking evens out your stitches, opens up the lace-like spaces, and gives your square that polished, store-bought look.
Creative Ways to Use Your Amber Dusk Squares
Once you've mastered the pattern, the possibilities are endless:
- Throw blanket: Make 36-48 squares and join them for a cozy sunset-inspired throw.
- Decorative pillows: Sew squares together to create unique pillow covers.
- Garment panels: Use squares as part of a boho-style cardigan or vest.
- Table runner: Line up squares for a warm, handmade table centerpiece.
- Wall hanging: Frame a single square for instant art.
Tips for Perfect Granny Squares Every Time
- Count your stitches after each round to catch mistakes early.
- Keep consistent tension—not too tight, not too loose.
- Turn your work after each round as instructed to keep the square balanced.
- Use stitch markers to mark your corners if you tend to lose your place.
- Practice the magic ring a few times—it gets easier with repetition!
Your Sunset Awaits
The Amber Dusk Granny Square is more than just a pattern—it's a little piece of golden hour you can hold in your hands. Whether you're a complete beginner or a seasoned crocheter looking for a quick, satisfying project, this square delivers warmth, beauty, and the simple joy of creating something by hand.
So grab your hook, choose your sunset colors, and let the rhythm of the stitches carry you away. Before you know it, you'll have a stack of gorgeous squares ready to become something truly special.
Happy crocheting!