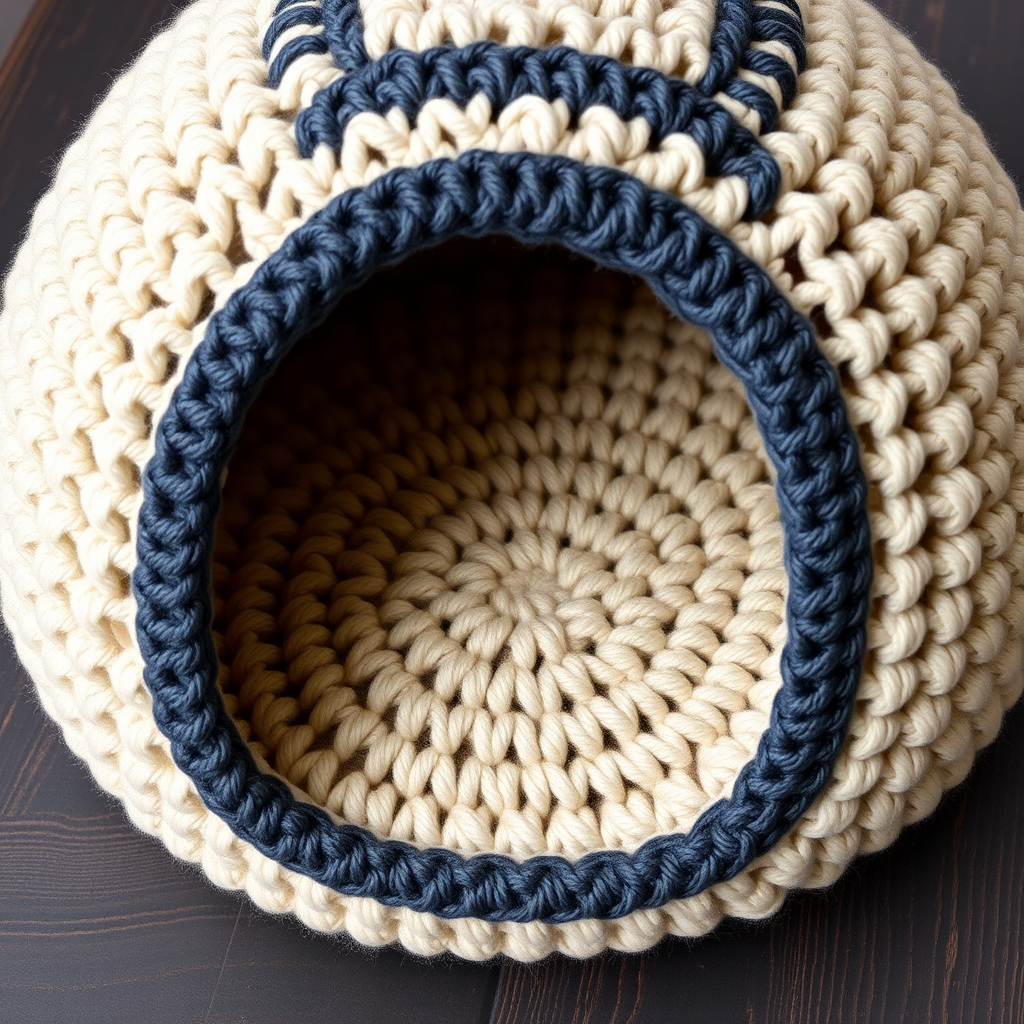
Whispering Meadow Crochet Pet Nest Free Pattern
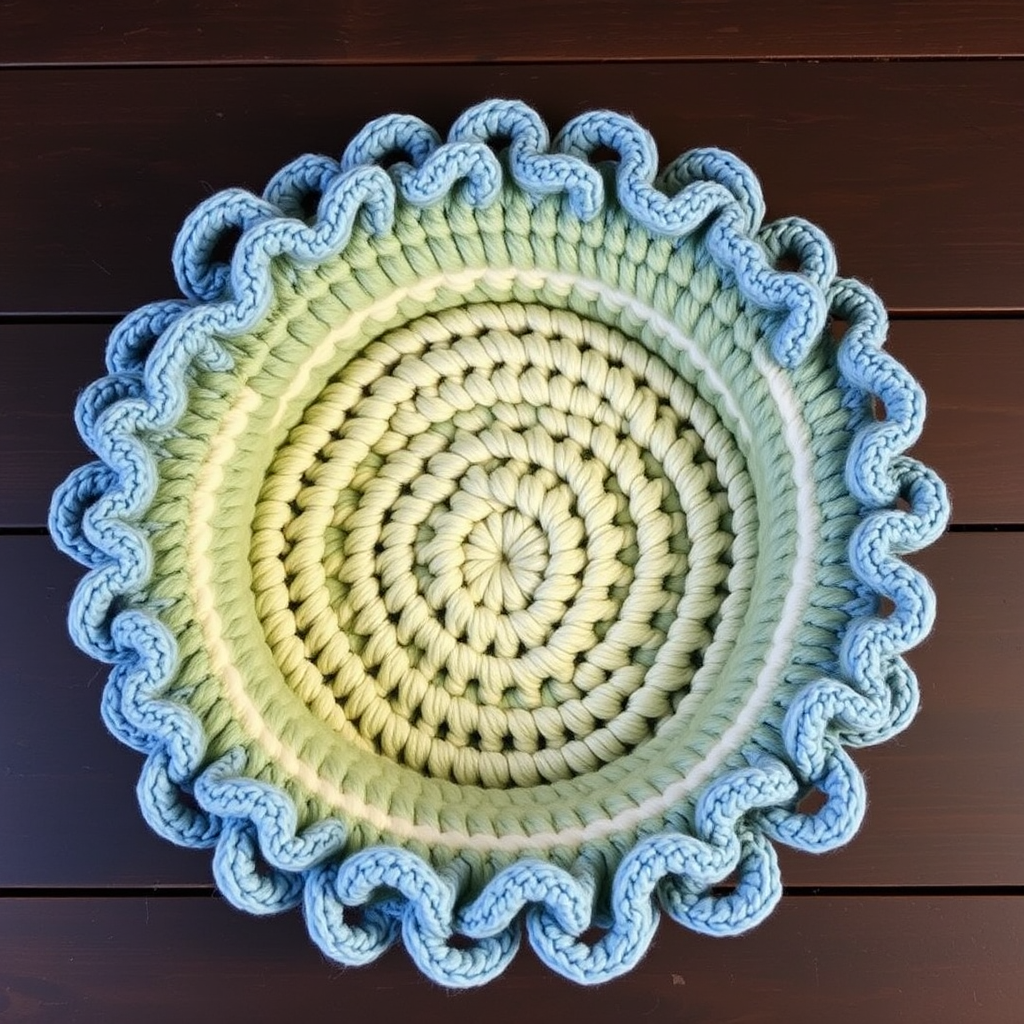
Whispering Meadow Crochet Pet Nest: A Free Pattern for a Cozy, Handmade Haven
Imagine a serene, cloud-like haven for your furry friend—a place where they can curl up, feel safe, and drift off to sleep. The Whispering Meadow Crochet Pet Nest is exactly that. This textured spiral pet nest features gentle color transitions from soft sage to cream, finished with a dramatic dusty blue ruffled edge. It’s a cozy retreat that feels like a gentle meadow breeze, and it’s surprisingly simple to make. Whether you’re crafting for a beloved cat or a small dog, this handmade bed will become their favorite spot in the house.
This free pattern is perfect for intermediate beginners who have mastered the basic crochet stitches. The repetitive rounds make it a relaxing, meditative project, and the result is a stunning, functional piece that adds warmth to any room. Let’s dive into creating this beautiful nest for your four-legged companion.
Materials Needed
Before you begin, gather the following materials. Having everything ready will make your crocheting experience smooth and enjoyable.
- Yarn: Worsted weight yarn in three colors:
- Color A (Soft Sage): Approximately 200 yards
- Color B (Cream): Approximately 300 yards
- Color C (Dusty Blue): Approximately 100 yards
- Crochet Hook: 6.0 mm (J/10) crochet hook
- Other Tools: Yarn needle for weaving in ends, scissors, and stitch markers (optional but helpful).
Gauge: 12 double crochet (dc) = 4 inches, 6 rows = 4 inches. Matching gauge is important for achieving the correct size, but since this is a pet bed, slight variations are acceptable.
Step-by-Step Instructions
This pattern is worked in continuous rounds from the base up. Follow each step carefully, and you’ll have a beautiful pet nest in no time. The finished bed measures approximately 19 inches in diameter and 4 inches deep, with the ruffled edge extending outward.
Part 1: The Base (Worked in Soft Sage - Color A)
The base is a perfect circle created by increasing evenly in each round. This provides a sturdy, flat foundation for your pet.
Round 1: With color A, make a magic ring. Ch 3 (counts as first dc), work 11 dc into the ring. Join with a slip stitch to the top of the ch-3. (12 dc)
Round 2: Ch 3 (counts as dc), dc in the same stitch (this is an increase). Work 2 dc in each stitch around. Join with a slip stitch. (24 dc)
Round 3: Ch 3, dc in the same stitch, dc in the next stitch. *2 dc in the next stitch, dc in the next stitch.* Repeat from * to * around. Join. (36 dc)
Round 4: Ch 3, dc in the same stitch, dc in the next 2 stitches. *2 dc in the next stitch, dc in the next 2 stitches.* Repeat around. Join. (48 dc)
Round 5: Ch 3, dc in the same stitch, dc in the next 3 stitches. *2 dc in the next stitch, dc in the next 3 stitches.* Repeat around. Join. (60 dc)
Round 6: Ch 3, dc in the same stitch, dc in the next 4 stitches. *2 dc in the next stitch, dc in the next 4 stitches.* Repeat around. Join. (72 dc)
Round 7: Ch 3, dc in the same stitch, dc in the next 5 stitches. *2 dc in the next stitch, dc in the next 5 stitches.* Repeat around. Join. (84 dc)
Round 8: Ch 3, dc in the same stitch, dc in the next 6 stitches. *2 dc in the next stitch, dc in the next 6 stitches.* Repeat around. Join. (96 dc)
Round 9: Ch 3, dc in the same stitch, dc in the next 7 stitches. *2 dc in the next stitch, dc in the next 7 stitches.* Repeat around. Join. (108 dc)
Round 10: Ch 3, dc in the same stitch, dc in the next 8 stitches. *2 dc in the next stitch, dc in the next 8 stitches.* Repeat around. Join. (120 dc)
Round 11: Ch 3, dc in the same stitch, dc in the next 9 stitches. *2 dc in the next stitch, dc in the next 9 stitches.* Repeat around. Join. (132 dc)
Round 12: Ch 3, dc in the same stitch, dc in the next 10 stitches. *2 dc in the next stitch, dc in the next 10 stitches.* Repeat around. Join. (144 dc)
Round 13: Ch 3, dc in the same stitch, dc in the next 11 stitches. *2 dc in the next stitch, dc in the next 11 stitches.* Repeat around. Join. (156 dc)
Round 14: Ch 3, dc in the same stitch, dc in the next 12 stitches. *2 dc in the next stitch, dc in the next 12 stitches.* Repeat around. Join. (168 dc)
Round 15: Ch 3, dc in the same stitch, dc in the next 13 stitches. *2 dc in the next stitch, dc in the next 13 stitches.* Repeat around. Join. (180 dc)
Round 16: Ch 3, dc in the same stitch, dc in the next 14 stitches. *2 dc in the next stitch, dc in the next 14 stitches.* Repeat around. Join. (192 dc)
Round 17: Ch 3, dc in the same stitch, dc in the next 15 stitches. *2 dc in the next stitch, dc in the next 15 stitches.* Repeat around. Join. (204 dc)
Round 18: Ch 3, dc in the same stitch, dc in the next 16 stitches. *2 dc in the next stitch, dc in the next 16 stitches.* Repeat around. Join. (216 dc)
Round 19: Ch 3, dc in the same stitch, dc in the next 17 stitches. *2 dc in the next stitch, dc in the next 17 stitches.* Repeat around. Join. (228 dc)
Round 20: Ch 3, dc in the same stitch, dc in the next 18 stitches. *2 dc in the next stitch, dc in the next 18 stitches.* Repeat around. Join. (240 dc)
Fasten off Color A. Your base circle is now complete.
Part 2: The Side Walls (Worked in Cream - Color B)
Now we’ll build the walls of the nest. These rounds are worked without increases, which will make the sides rise straight up from the base, creating a deep, bowl-like shape.
Rounds 21-40: Attach Color B with a slip stitch in any stitch. Ch 3 (counts as dc), work 1 dc in each stitch around. Join with a slip stitch to the top of the ch-3. Repeat this round 20 times total (Rounds 21 through 40). You will have 240 dc in each round.
Pro Tip: To ensure a neat, invisible join, you can use the "invisible join" technique or simply start each round in the first stitch of the previous round. Keeping your tension consistent will help the walls stand up straight.
Fasten off Color B. Your nest walls are now complete.
Part 3: The Spiral Top Edge (Worked in Dusty Blue - Color C)
This is where the magic happens! The spiral ruffled edge is created by working progressively larger clusters of double crochet into chain spaces. This gives the nest its whimsical, wave-like border.
Round 41: Attach Color C with a slip stitch in any stitch. Ch 1, sc in the same stitch. *Ch 2, skip 1 stitch, sc in the next stitch.* Repeat from * to * around. Join with a slip stitch to the first sc. (120 ch-2 spaces)
Round 42: Slip stitch into the first ch-2 space. Ch 3 (counts as dc), 2 dc in the same space. *3 dc in the next ch-2 space.* Repeat from * to * around. Join with a slip stitch to the top of the ch-3. (120 groups of 3 dc)
Round 43: Ch 1, sc in the same stitch. *Ch 3, skip 2 stitches, sc in the next stitch.* Repeat from * to * around. Join. (120 ch-3 spaces)
Round 44: Slip stitch into the first ch-3 space. Ch 3, 3 dc in the same space. *4 dc in the next ch-3 space.* Repeat around. Join. (120 groups of 4 dc)
Round 45: Ch 1, sc in the same stitch. *Ch 4, skip 3 stitches, sc in the next stitch.* Repeat around. Join. (120 ch-4 spaces)
Round 46: Slip stitch into the first ch-4 space. Ch 3, 4 dc in the same space. *5 dc in the next ch-4 space.* Repeat around. Join. (120 groups of 5 dc)
Round 47: Ch 1, sc in the same stitch. *Ch 5, skip 4 stitches, sc in the next stitch.* Repeat around. Join. (120 ch-5 spaces)
Round 48: Slip stitch into the first ch-5 space. Ch 3, 5 dc in the same space. *6 dc in the next ch-5 space.* Repeat around. Join. (120 groups of 6 dc)
Round 49: Ch 1, sc in the same stitch. *Ch 6, skip 5 stitches, sc in the next stitch.* Repeat around. Join. (120 ch-6 spaces)
Round 50: Slip stitch into the first ch-6 space. Ch 3, 6 dc in the same space. *7 dc in the next ch-6 space.* Repeat around. Join. (120 groups of 7 dc)
Fasten off Color C. Weave in all ends with your yarn needle.
Finishing Touches
Once you’ve woven in all the loose ends, give your pet nest a gentle shape. You can lightly steam block it if desired, but the worsted weight yarn will hold its shape beautifully on its own. Place it in your pet’s favorite corner, add a soft cushion or blanket if you like, and watch them fall in love with their new handmade haven.
This Whispering Meadow Crochet Pet Nest is more than just a bed; it’s a labor of love that brings comfort and style to your home. Happy crocheting!