Cozy Cloud Pet Nest Free Pattern

Cozy Cloud Pet Nest: A Free Beginner-Friendly Crochet Pattern
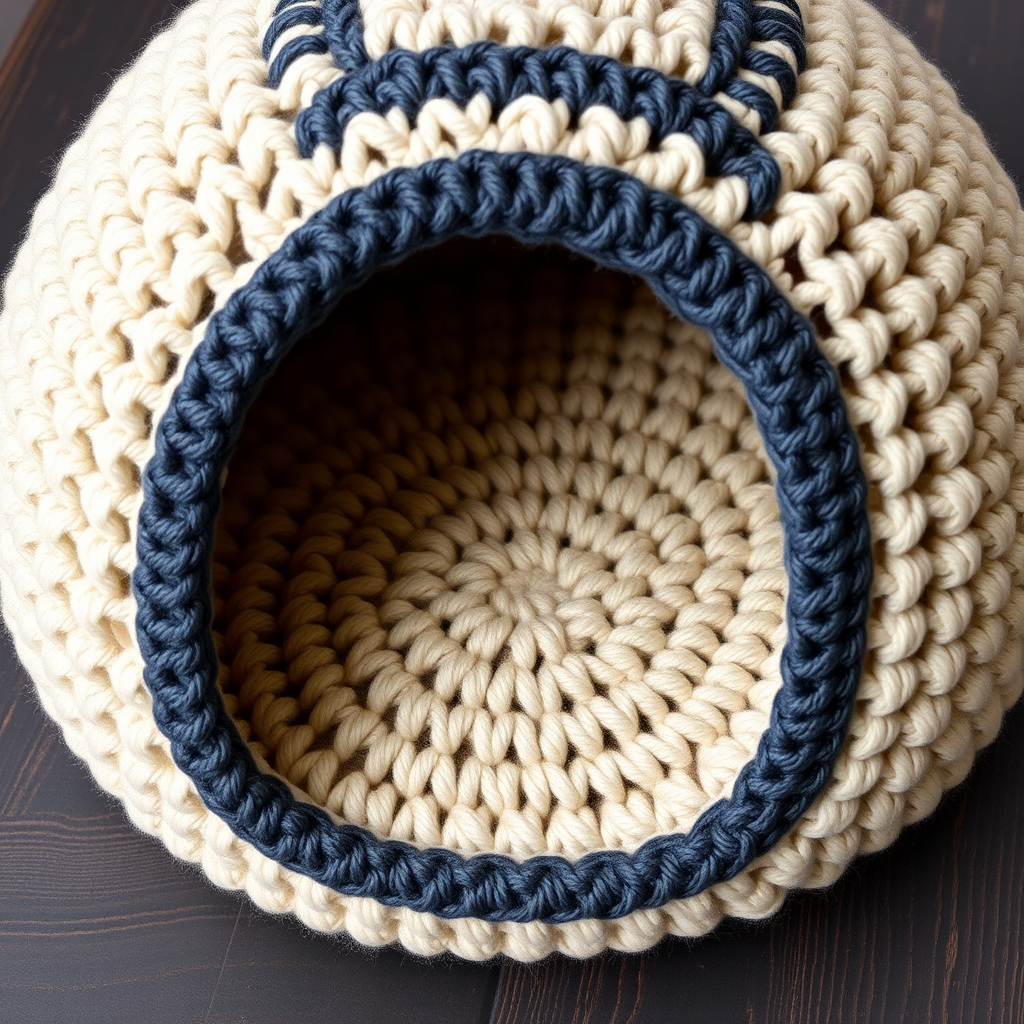
Imagine your beloved furry friend curled up in a plush, cloud-like haven that you made with your own hands. This oversized crochet nest is designed to be the ultimate cozy retreat for pets of all sizes. Using thick, chunky yarn and a simple spiral construction, this project is not only beginner-friendly but also incredibly rewarding. The dense, plush texture creates a warm, secure spot that your pet will adore. Let's dive into this heartwarming project and create a handmade sanctuary for your four-legged companion.
Materials Needed
Before we begin, let's gather all the necessary supplies. This project is wonderfully simple, requiring just a few key items:
- Yarn: 2 strands of Bulky (5) weight yarn held together (or 1 strand of Super Bulky (6)). You will need approximately 600-800 yards total. A soft cream or light gray color works beautifully to achieve that cloud-like aesthetic.
- Crochet Hook: L/11 (8 mm) crochet hook, or the size needed to achieve the correct gauge.
- Stitch Marker: Essential for tracking the beginning of each round in a continuous spiral.
- Scissors and Yarn Needle: For finishing and weaving in ends.
Gauge Information
To ensure your nest turns out the perfect size, it's crucial to check your gauge. The pattern calls for 4 inches = 8 single crochet stitches and 8 rows, worked in a continuous spiral. Adjust your hook size if necessary to match this gauge.
Step-by-Step Instructions
This pattern is worked in a continuous spiral, meaning you will not join at the end of rounds. Instead, you'll work continuously, using a stitch marker to mark the first stitch of each round. The nest is built from the bottom up, and then the sides are created by working in the front loops only. Let's get started!
Creating the Bottom of the Nest
The bottom of the nest is a flat circle, created by increasing evenly in each round. Follow these instructions carefully:
- Round 1: Make a magic ring, work 6 single crochet (sc) into the ring. (6 stitches)
- Round 2: Work 2 sc in each stitch around. (12 stitches)
- Round 3: *Sc in next stitch, 2 sc in next stitch* repeat around. (18 stitches)
- Round 4: *Sc in next 2 stitches, 2 sc in next stitch* repeat around. (24 stitches)
- Round 5: *Sc in next 3 stitches, 2 sc in next stitch* repeat around. (30 stitches)
- Round 6: *Sc in next 4 stitches, 2 sc in next stitch* repeat around. (36 stitches)
- Round 7: *Sc in next 5 stitches, 2 sc in next stitch* repeat around. (42 stitches)
- Round 8: *Sc in next 6 stitches, 2 sc in next stitch* repeat around. (48 stitches)
- Round 9: *Sc in next 7 stitches, 2 sc in next stitch* repeat around. (54 stitches)
- Round 10: *Sc in next 8 stitches, 2 sc in next stitch* repeat around. (60 stitches)
- Round 11: *Sc in next 9 stitches, 2 sc in next stitch* repeat around. (66 stitches)
- Round 12: *Sc in next 10 stitches, 2 sc in next stitch* repeat around. (72 stitches)
- Round 13: *Sc in next 11 stitches, 2 sc in next stitch* repeat around. (78 stitches)
- Round 14: *Sc in next 12 stitches, 2 sc in next stitch* repeat around. (84 stitches)
- Round 15: *Sc in next 13 stitches, 2 sc in next stitch* repeat around. (90 stitches)
- Round 16: *Sc in next 14 stitches, 2 sc in next stitch* repeat around. (96 stitches)
- Round 17: *Sc in next 15 stitches, 2 sc in next stitch* repeat around. (102 stitches)
- Round 18: *Sc in next 16 stitches, 2 sc in next stitch* repeat around. (108 stitches)
- Round 19: *Sc in next 17 stitches, 2 sc in next stitch* repeat around. (114 stitches)
- Round 20: *Sc in next 18 stitches, 2 sc in next stitch* repeat around. (120 stitches)
- Round 21: *Sc in next 19 stitches, 2 sc in next stitch* repeat around. (126 stitches)
- Round 22: *Sc in next 20 stitches, 2 sc in next stitch* repeat around. (132 stitches)
- Round 23: *Sc in next 21 stitches, 2 sc in next stitch* repeat around. (138 stitches)
- Round 24: *Sc in next 22 stitches, 2 sc in next stitch* repeat around. (144 stitches)
- Round 25: *Sc in next 23 stitches, 2 sc in next stitch* repeat around. (150 stitches)
- Round 26: *Sc in next 24 stitches, 2 sc in next stitch* repeat around. (156 stitches)
- Round 27: *Sc in next 25 stitches, 2 sc in next stitch* repeat around. (162 stitches)
- Round 28: *Sc in next 26 stitches, 2 sc in next stitch* repeat around. (168 stitches)
- Round 29: *Sc in next 27 stitches, 2 sc in next stitch* repeat around. (174 stitches)
- Round 30: *Sc in next 28 stitches, 2 sc in next stitch* repeat around. (180 stitches)
Building the Sides of the Nest
Now that the bottom is complete, we will create the vertical walls of the nest. This is done by working in the front loops only of the stitches from Round 30. This technique creates a clean, defined edge where the bottom meets the sides.
- Round 31: Working in the front loop of each stitch from Round 30, single crochet in each stitch around. (180 stitches)
- Rounds 32-45: Single crochet in each stitch around. (180 stitches each round). Continue working these rounds until the sides measure about 8-10 inches tall, or until you reach your desired height. The taller the sides, the deeper and more enclosed the nest will be.
Adding the Decorative Rim
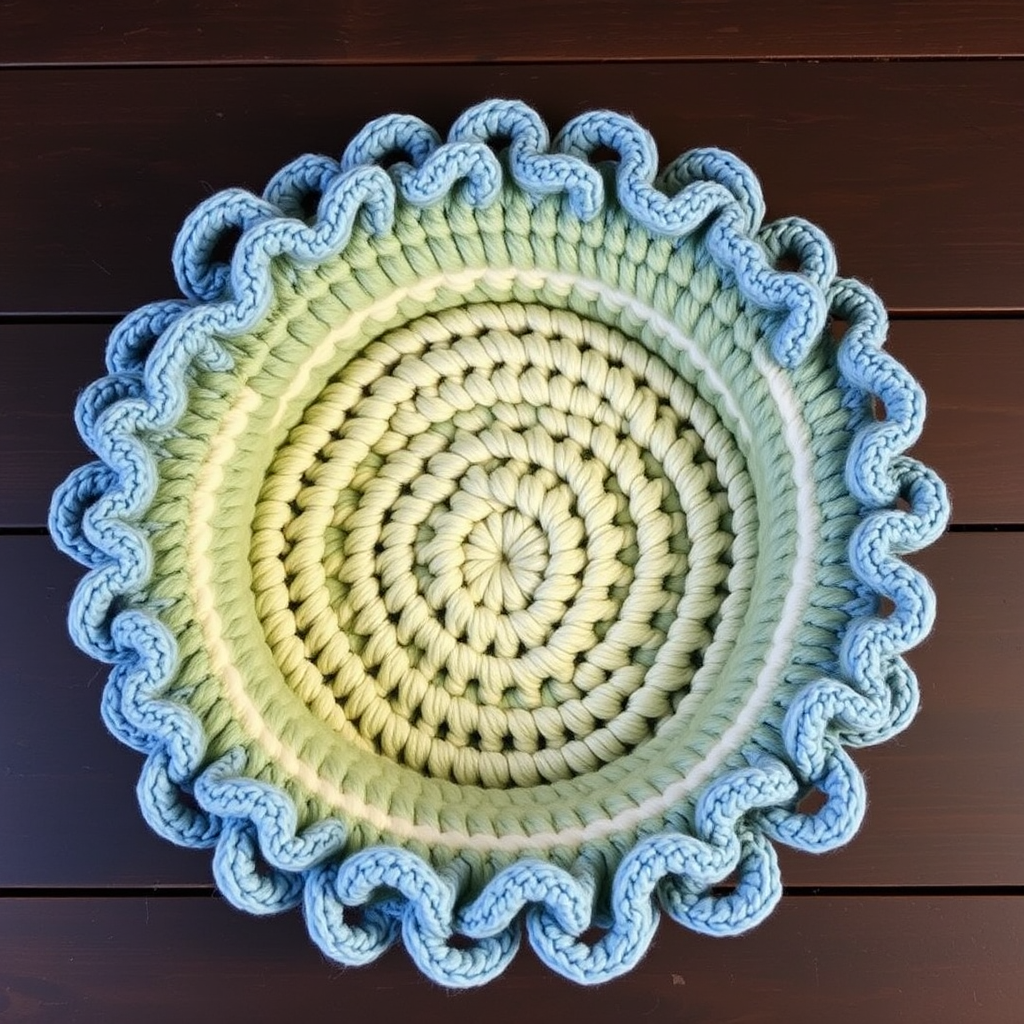
To give your nest a polished, professional finish, we'll add a gently flared rim. This optional step is highly recommended as it creates a beautiful, cushioned edge.
- Round 46: *Sc in next 2 stitches, 2 sc in next stitch* repeat around. (240 stitches). This increase will cause the rim to flare outward slightly.
- Round 47: Single crochet in each stitch around. (240 stitches).
- Fasten off and weave in all loose ends securely with your yarn needle.
Finishing Touches
To complete your Cozy Cloud Pet Nest, simply fold the top rim down over the outside of the nest. This will create a thick, rolled edge that adds both structure and comfort. The nest is now ready for your beloved pet to snuggle into!
This project is a wonderful way to show your pet how much you care. The thick, chunky yarn and dense single crochet stitches create a warm, supportive bed that will quickly become your furry friend's favorite spot. Enjoy the process, and don't forget to share photos of your finished nest and happy pet!