Whispering Meadow Card Holder Free Pattern – Knitted Wildflower Business Card Pouch
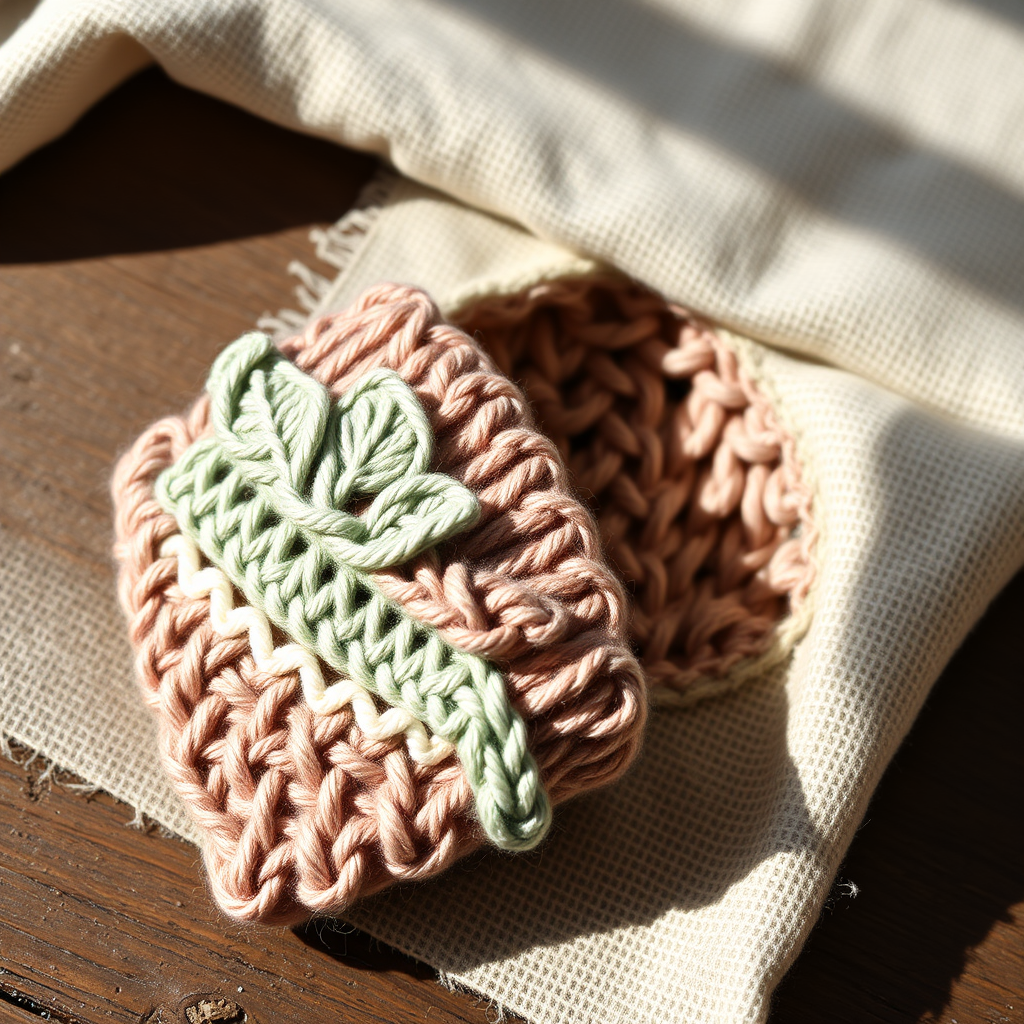
Whispering Meadow Card Holder Free Pattern – Knitted Wildflower Business Card Pouch
Carry your cards in a pocket of meadow charm with this knitted pouch, featuring a delicate lace leaf motif and a soft, earthy palette. A unique, handcrafted alternative to plain leather holders, this pattern is perfect for adding a touch of cozy elegance to your daily essentials. Whether you're a seasoned knitter or a curious beginner, this project is quick, satisfying, and results in a beautiful, functional piece that makes a thoughtful handmade gift. Let's get started on creating your very own botanical card companion!
Materials Needed
Before you begin, gather the following supplies. All items are readily available at your local craft store or online.
- Yarn: Worsted weight cotton or cotton-blend yarn in three colors:
- Sage Green (MC) – approximately 50g
- Cream (CC1) – approximately 20g
- Dusty Rose (CC2) – approximately 10g
- Needles: US Size 6 (4.0 mm) knitting needles
- Notions: Tapestry needle for seaming, stitch markers (optional but helpful)
- Closure: A small wooden button or bead (for the optional flap)
Gauge
20 stitches and 28 rows = 4 inches in stockinette stitch (after blocking). Always check your gauge to ensure the finished size is correct.
Step-by-Step Instructions
This pattern is worked flat from the bottom up, then folded and seamed. The lace leaf motif is written out in text form, making it easy to follow row by row. Let's break it down into manageable steps.
Finished Size & Abbreviations
Finished Size: Approximately 4 inches wide x 3 inches tall (fits standard business cards).
Abbreviations:
- CO: cast on
- K: knit
- P: purl
- K2tog: knit two together (right-leaning decrease)
- SSK: slip, slip, knit (left-leaning decrease)
- YO: yarn over (creates a hole for the lace pattern)
- PM: place marker
- SM: slip marker
- BO: bind off
- St st: stockinette stitch (K on RS, P on WS)
Pattern Notes
- Worked flat from bottom to top, then folded and seamed.
- Lace leaf motif is charted in text form below.
- Use a provisional cast-on for a seamless fold if desired, but a regular long-tail cast-on works fine.
Front Panel (Make 1)
This is the decorative side of your card holder, featuring the beautiful lace leaf pattern.
Step 1: With MC (Sage Green), CO 20 stitches.
Step 2: Work the bottom border:
- Row 1 (RS): K all.
- Row 2 (WS): P all.
- Rows 3-4: Repeat Rows 1-2.
Step 3: Begin the lace leaf pattern (worked over 20 stitches). Follow these rows carefully:
- Row 5 (RS): K3, YO, SSK, K1, K2tog, YO, K1, YO, SSK, K1, K2tog, YO, K3. (20 sts)
- Row 6 (WS): P all.
- Row 7 (RS): K2, YO, SSK, K1, K2tog, YO, K3, YO, SSK, K1, K2tog, YO, K2. (20 sts)
- Row 8 (WS): P all.
- Row 9 (RS): K1, YO, SSK, K1, K2tog, YO, K5, YO, SSK, K1, K2tog, YO, K1. (20 sts)
- Row 10 (WS): P all.
- Row 11 (RS): K2, YO, SSK, K1, K2tog, YO, K3, YO, SSK, K1, K2tog, YO, K2. (20 sts)
- Row 12 (WS): P all.
- Row 13 (RS): K3, YO, SSK, K1, K2tog, YO, K1, YO, SSK, K1, K2tog, YO, K3. (20 sts)
- Row 14 (WS): P all.
Step 4: Work the top section:
- Work 4 rows in St st (K on RS, P on WS) with MC.
- Switch to CC1 (Cream). Work 2 rows in St st.
- Switch back to MC. Work 2 rows in St st.
Step 5: BO all stitches loosely in knit on the RS. Set this piece aside.
Back Panel (Make 1)
This is the plain back of your pouch, worked entirely in stockinette stitch.
Step 1: With MC, CO 20 stitches.
Step 2: Work in St st for 40 rows (or until the same length as the front panel, about 5 inches).
Step 3: BO all stitches loosely.
Finishing & Assembly
Now it's time to bring your pouch together. This is where the magic happens!
Step 1: Blocking. Block both pieces lightly to flatten them and even out the lace. This makes seaming much easier and gives a professional finish.
Step 2: Seaming. Place the front and back panels together with wrong sides facing (right sides out). Using MC yarn and a tapestry needle, whip stitch along the bottom and both side edges, leaving the top open. Turn the pouch right side out if needed.
Optional Flap & Embellishment
Add a charming dusty rose flap and a wildflower touch to complete the look.
Step 1: Knit the Flap. With CC2 (Dusty Rose), CO 20 stitches. Work in garter stitch (K every row) for 8 rows. BO.
Step 2: Attach the Flap. Position the flap at the top back edge of the pouch, covering the opening. Sew it in place along the top edge of the back panel.
Step 3: Add a Closure. Sew a small wooden button or bead to the front of the pouch, directly under the flap, to secure it.
Step 4: Embellish. Using CC2, embroider a small French knot or lazy daisy flower at the center of the lace leaf motif on the front panel for a wildflower touch. This adds a lovely, personal detail.
Step 5: Finish. Weave in all loose ends with your tapestry needle. Give your finished pouch a final gentle press if desired.
And there you have it—your very own Whispering Meadow Card Holder! This charming, eco-friendly accessory is perfect for keeping your cards safe while adding a touch of handmade warmth to your day. Enjoy your beautiful creation, and happy knitting!


