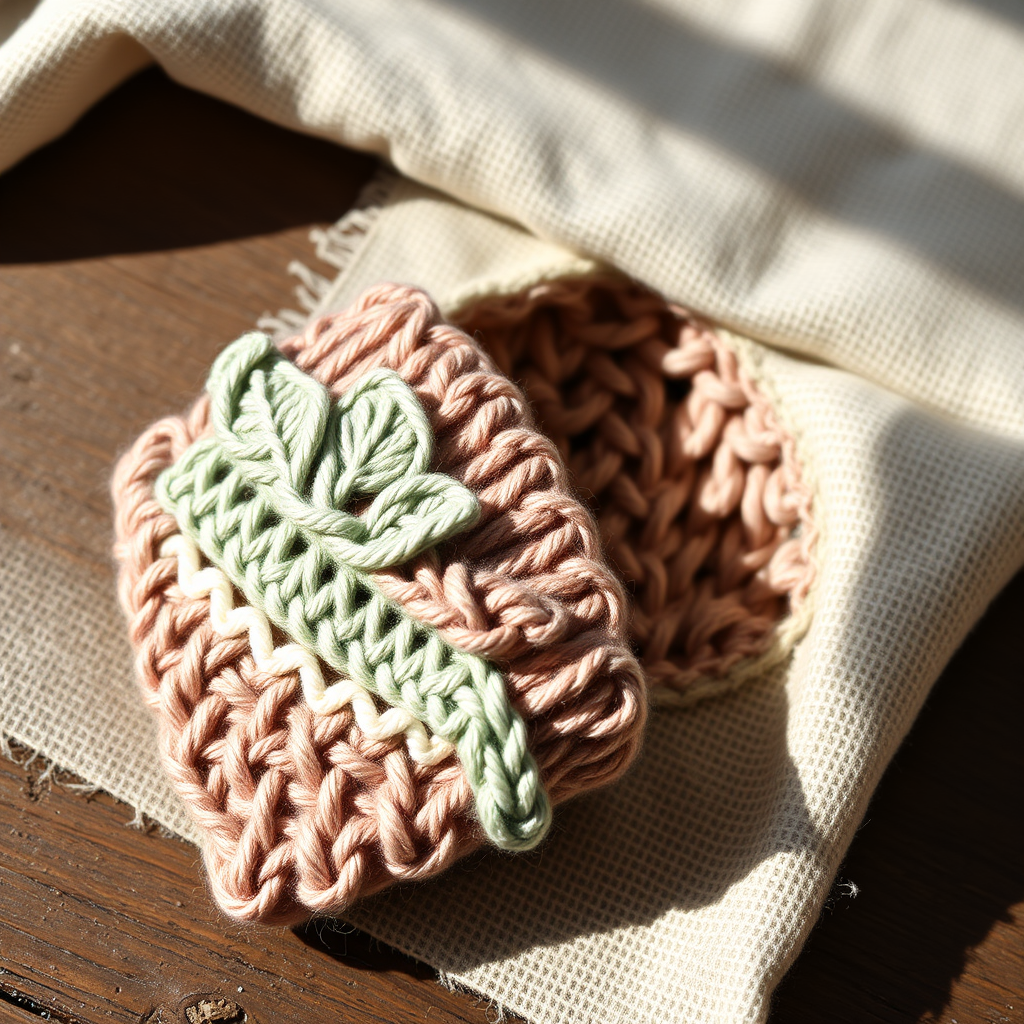
Heartland Honeycomb Mitts Free Pattern – Knitted Cozy Hexagon Gloves

Wrap Your Hands in Handmade Love: The Heartland Honeycomb Mitts Pattern
There's something magical about gifting a handmade treasure, especially when it's crafted with love and a touch of winter warmth. The Heartland Honeycomb Mitts are more than just an accessory; they are a cozy hug for the hands, featuring a stunning, textured hexagon stitch that is surprisingly simple to knit. This free pattern is perfect for intermediate beginners looking to expand their skills and create a truly special Valentine's Day gift or a personal winter essential. The combination of rich burgundy and soft cream worsted-weight wool creates a classic, rustic aesthetic that feels both luxurious and comforting. Let's dive into this delightful project and create a pair of mitts that are as beautiful to look at as they are to wear.
Materials Needed for Your Cozy Mitts
Before you begin, gather your materials. This project is wonderfully portable and requires only a few essentials. The quality of your yarn will truly shine in the textured pattern, so consider a hand-dyed wool for that extra special touch.
- Yarn: Worsted weight wool yarn (approx. 200 yards). We recommend a rich burgundy for the main body and a soft cream for the back and decorative edge.
- Needles: US 7 (4.5 mm) knitting needles (or size needed to obtain gauge), plus a tapestry needle for seaming and weaving in ends.
- Notions: Stitch markers, scissors.
Gauge: 20 stitches and 26 rows = 4 inches in honeycomb stitch pattern. Always take time to check your gauge to ensure a perfect fit.
Step-by-Step Instructions for the Heartland Honeycomb Mitts
This pattern is worked flat in two pieces (front and back) and then seamed, leaving a clever opening for the thumb. The honeycomb stitch is a simple 4-row repeat that creates a beautiful, plush fabric. Follow these detailed instructions carefully, and you'll have a gorgeous pair of mitts in no time.
Abbreviations
- CO: Cast on
- K: Knit
- P: Purl
- K2tog: Knit two together (right-leaning decrease)
- SSK: Slip, slip, knit (left-leaning decrease)
- YO: Yarn over (increase)
- St(s): Stitch(es)
- Rep: Repeat
- RS: Right side
- WS: Wrong side
Pattern Notes
- The mitts are worked flat in two pieces (front and back) and seamed, leaving an opening for the thumb.
- The honeycomb stitch pattern is a 4-row repeat that creates a beautiful hexagonal texture.
The Honeycomb Stitch Pattern (Multiple of 4 + 2)
This is the heart of the design. Practice this on a swatch to get comfortable with the rhythm.
- Row 1 (RS): K2, *P2, K2; rep from * to end.
- Row 2 (WS): P2, *K2, P2; rep from * to end.
- Row 3 (RS): K2, *YO, K2tog, K2; rep from * to end. (Note: The YO adds a stitch, and the K2tog removes it, keeping your stitch count consistent.)
- Row 4 (WS): Purl all stitches.
- Repeat rows 1-4 for the pattern.
Mitt Front (Make 2)
This piece includes the thumb gusset shaping, which is easier than it looks!
- Cast On: With burgundy yarn, CO 34 sts.
- Main Body: Work in the honeycomb stitch pattern until the piece measures 4 inches from the cast-on edge, ending with a WS row.
- Thumb Gusset Shaping:
- Next row (RS): Work in pattern across 14 sts, place marker, work 6 sts in pattern (these will become the thumb), place marker, work remaining 14 sts in pattern.
- Continue in pattern, increasing 1 st on each side of the thumb section every 4th row. To increase, work a YO before and after the marked thumb section. Continue until you have 12 sts between the markers.
- Work even (without increases) until the piece measures 7 inches from the cast-on edge, ending with a WS row.
- Shape Top:
- Row 1 (RS): K2, *K2tog, K2; rep from * to last 2 sts, K2. (26 sts)
- Row 2 (WS): Purl.
- Row 3 (RS): K2, *K2tog, K1; rep from * to last 2 sts, K2. (18 sts)
- Row 4 (WS): Purl.
- Row 5 (RS): K2, *K2tog; rep from * to last 2 sts, K2. (10 sts)
- Cut yarn, leaving a long tail. Thread the tail through the remaining sts, pull tight, and secure.
Mitt Back (Make 2)
This piece is simpler, with no thumb shaping.
- Cast On: With cream yarn, CO 34 sts.
- Main Body: Work in the honeycomb stitch pattern until the piece measures the same length as the front (7 inches), ending with a WS row.
- Shape Top: Shape the top exactly as you did for the front piece.
Finishing and Assembly
Now for the magical part—bringing the pieces together!
- Seaming: With right sides together, sew the front and back pieces together along the side seams, leaving a 2-inch opening for the thumb (centered about 1.5 inches from the top edge).
- Turn: Turn the mitt right side out.
- Thumb: Pick up stitches around the thumb opening (about 16 sts) with burgundy yarn. Knit in the round (using double-pointed needles or the magic loop method) for 2 inches, then bind off loosely.
- Weave in Ends: Weave in all loose ends with your tapestry needle.
- Repeat: Repeat the entire process for the second mitt.
Optional Decorative Edge
For a beautiful, polished finish, add a crocheted edge around the cuff. Using a crochet hook and cream yarn, work a round of single crochet (sc) stitches around the bottom edge of the mitt. This adds a delicate, handmade touch that perfectly complements the rustic texture.
And there you have it—a stunning pair of Heartland Honeycomb Mitts, ready to gift or keep for yourself. The rich texture and thoughtful design make them a joy to create and an even greater joy to wear. Happy knitting!