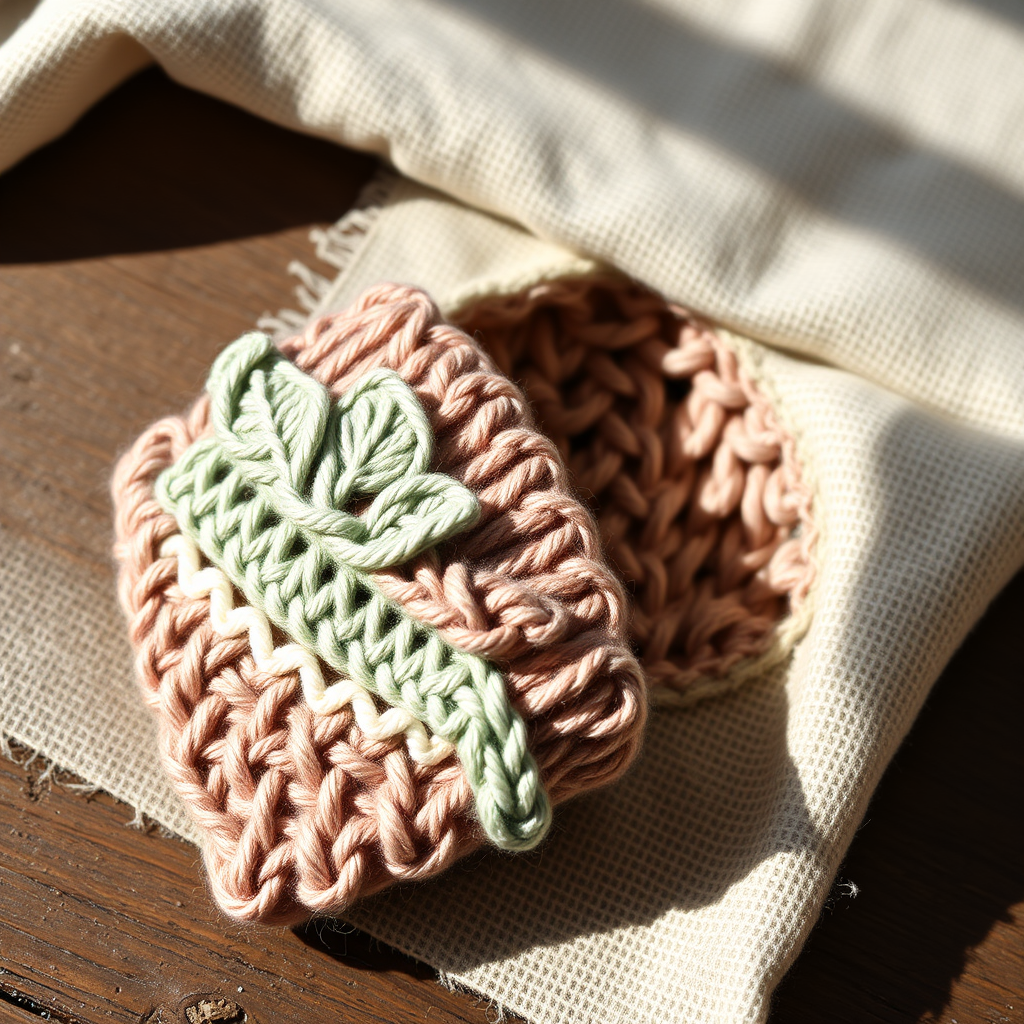
Rosewood Cascade Scarf Free Pattern – Knitted Ombre Ripple Wrap

The Rosewood Cascade Scarf: A Painterly Ombre Knitting Project
Imagine wrapping yourself in a soft, flowing river of color—that's the magic of the Rosewood Cascade Scarf. This stunning knitted accessory brings a painterly ombre effect to your winter wardrobe, transitioning from deep rose through dusty mauve to a delicate blush. The pattern uses simple increases and decreases to create a mesmerizing ripple texture that feels as luxurious as it looks. Whether you're a seasoned knitter or a confident beginner looking for your next project, this scarf is the perfect blend of elegance and simplicity. The gentle, undulating waves catch light and shadow beautifully, creating a piece that looks far more complex than it actually is.
Materials Needed
Before you begin, gather these essential supplies. The beauty of this pattern lies in its simplicity—you only need a few items to create something truly spectacular.
- Yarn: Worsted weight yarn in 3 shades:
- Yarn A: Deep Rose – approx. 220 yards
- Yarn B: Dusty Mauve – approx. 220 yards
- Yarn C: Blush – approx. 220 yards
- Needles: US Size 8 (5.0 mm) knitting needles
- Notions: Tapestry needle for weaving in ends, scissors, measuring tape
- Optional: Blocking mats and pins for finishing
Gauge: 18 stitches and 24 rows = 4 inches in stockinette stitch. While gauge isn't critical for a scarf, matching it will ensure your finished piece has the intended drape and dimensions.
Step-by-Step Instructions
This pattern is wonderfully rhythmic once you get going. The ripple stitch pattern is created with simple yarn overs and decreases, making it perfect for relaxing knitting sessions. Let's break it down step by step.
Getting Started: Cast On
With Yarn A (Deep Rose), cast on 45 stitches using your preferred method. A long-tail cast on works beautifully here, giving you a neat, elastic edge that will complement the wavy pattern.
The Ripple Pattern
Once your stitches are cast on, you'll work the following 4-row pattern. The key is to memorize the repeat—it's simple and flows naturally once you get into the rhythm.
- Row 1 (Right Side): K2, *yo, k2tog, k1, ssk, yo, k1; repeat from * to last 2 stitches, k2.
- Row 2 (Wrong Side): Purl all stitches.
- Row 3: K2, *yo, k2tog, k1, ssk, yo, k1; repeat from * to last 2 stitches, k2.
- Row 4: Purl all stitches.
Understanding the Stitches: If you're new to some of these abbreviations, here's a quick refresher. A yarn over (yo) is simply bringing the yarn to the front and over the needle, creating an extra loop that becomes a decorative eyelet hole. K2tog (knit two together) is a right-leaning decrease, while ssk (slip, slip, knit) is a left-leaning decrease. Together, these create the beautiful wave-like ripples that give this scarf its name.
Color Transitions
Now for the fun part—creating that gorgeous ombre effect. You'll work in color blocks, changing yarns at the end of a complete pattern repeat. Here's how to structure your color changes:
- First Block: Work 12 rows (3 complete pattern repeats) with Yarn A (Deep Rose).
- Second Block: Switch to Yarn B (Dusty Mauve) and work 12 rows.
- Third Block: Switch to Yarn C (Blush) and work 12 rows.
- Continue Alternating: Keep cycling through colors (A, B, C) until the scarf measures approximately 60 inches from the cast-on edge. Always end with a complete color block to maintain the pattern's integrity.
Pro Tip: When changing colors, do so at the beginning of a right-side row for the cleanest transition. Leave a tail of about 6 inches to weave in later—don't worry about tying knots, as the weaving will secure everything neatly.
Finishing Touches
Once your scarf reaches the desired length, it's time to finish it off beautifully.
- Bind Off: Bind off loosely in pattern on the last row. This means working the bind-off row while maintaining the ripple pattern—knit the knits, purl the purls, and work the yarn overs as you go. This keeps the edge stretchy and matches the wavy aesthetic.
- Weave in Ends: Thread your tapestry needle with each yarn tail and weave it through the wrong side of the work, following the path of the stitches. Weave in at least 4-5 inches to ensure the ends stay secure through wear and washing.
- Blocking: This step is crucial for opening up the lace and enhancing the ripple effect. Soak the scarf in lukewarm water with a drop of gentle wool wash for 15-20 minutes. Gently squeeze out excess water (never wring!), then lay flat on a towel. Roll up the towel to remove more water, then pin the scarf out to its final dimensions—about 10 inches wide and 60 inches long—on blocking mats. Gently stretch the ripples to open up the eyelet holes. Allow to dry completely before unpinning.
Final Thoughts
Your Rosewood Cascade Scarf is now complete—a stunning, painterly accessory that transitions beautifully from deep rose through dusty mauve to soft blush. The gentle, undulating surface catches light and shadow, creating a piece that's both visually striking and incredibly cozy. This scarf makes a wonderful gift for a loved one (or a treat for yourself!) and is sure to become a wardrobe staple. The rhythmic pattern is meditative to knit, and the color changes keep things interesting throughout the project. Happy knitting!