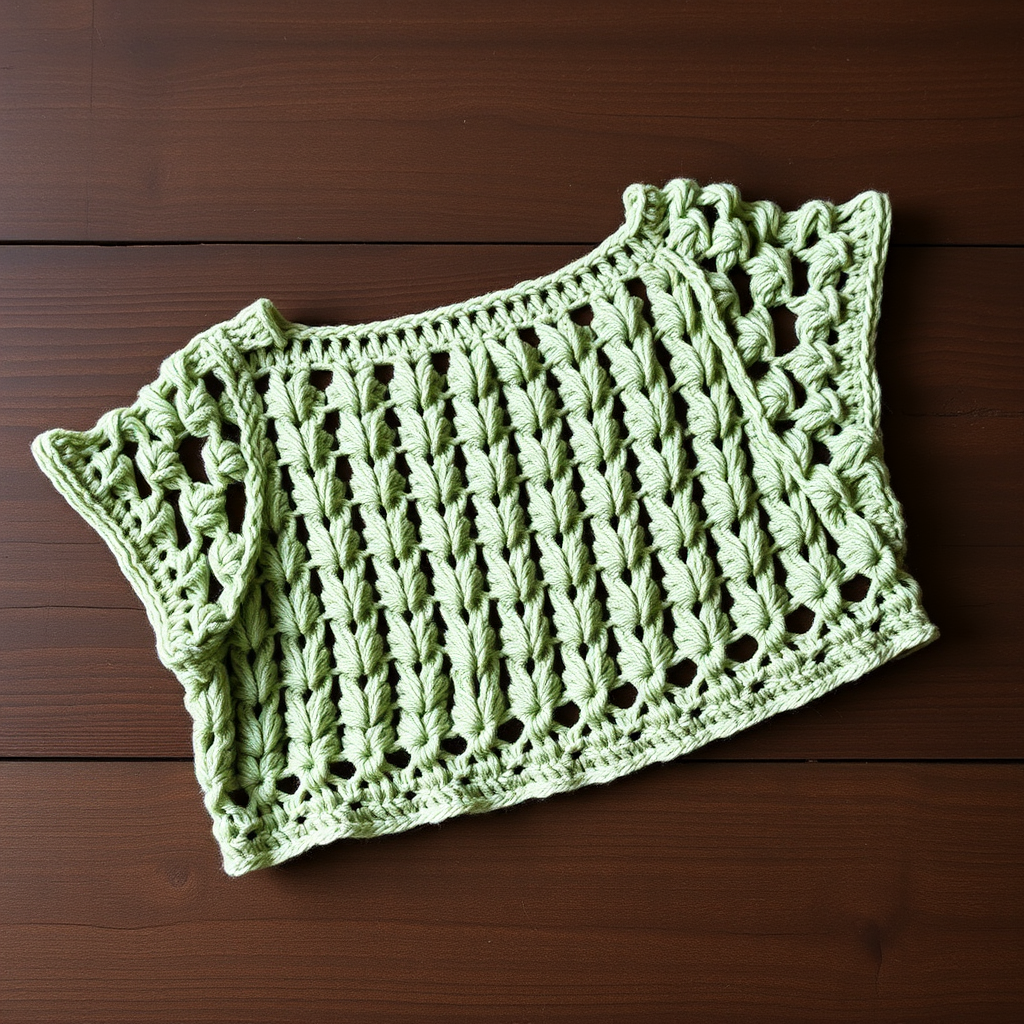
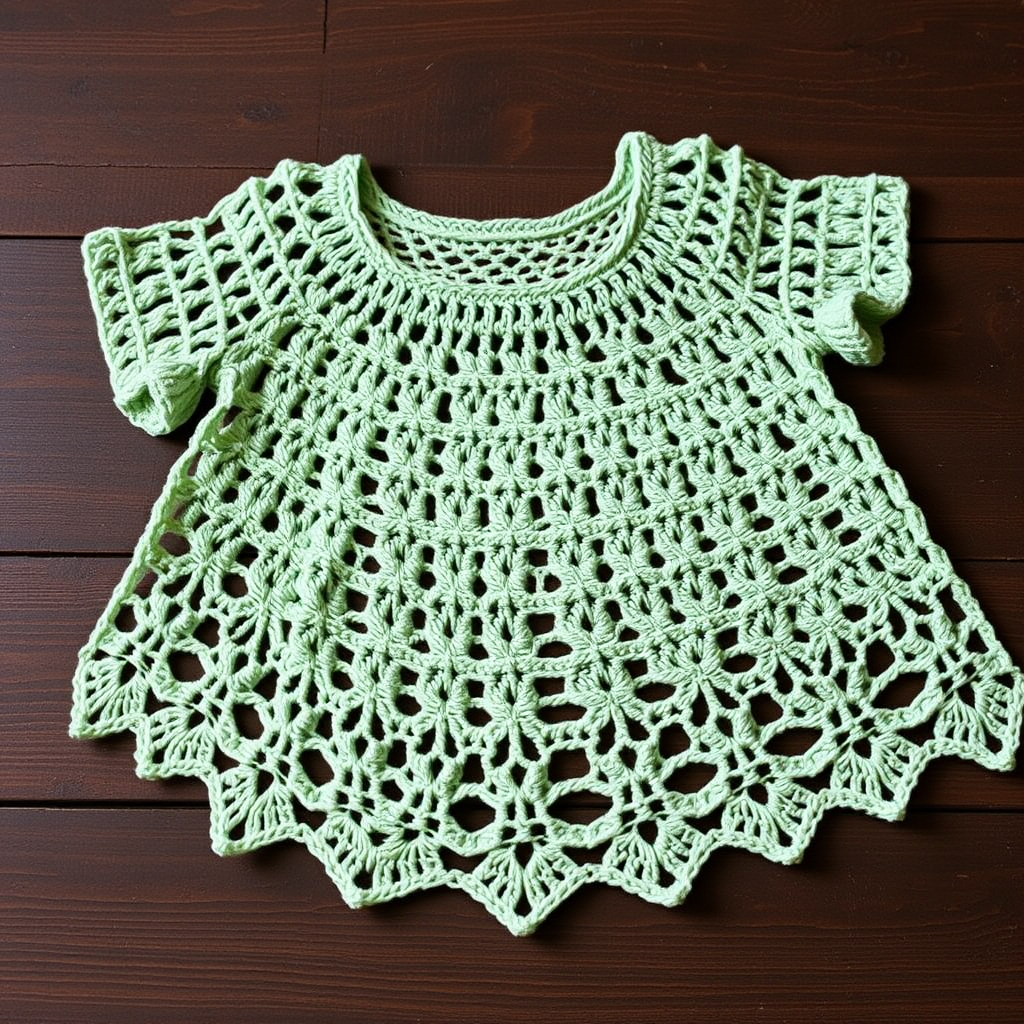
Sunlit Driftwood Crochet Top Free Pattern

Sunlit Driftwood Crochet Top: A Free Boho Pattern for Summer
Embrace the warmth of the season with the Sunlit Driftwood Crochet Top—a breezy, open-back design that combines modern minimalism with organic, handcrafted charm. This free pattern uses simple stitches to create a unique woven lattice texture that drapes beautifully, making it perfect for layering over swimwear or pairing with high-waisted jeans. Whether you're a seasoned crocheter or a confident beginner, this top is an enjoyable project that yields a stunning, high-end piece for your summer wardrobe.
Why You'll Love This Pattern
This top features a distinctive woven texture achieved by alternating front post and back post double crochet stitches. The result is a ribbed, dimensional fabric that feels substantial yet airy. The design includes two front panels and a wider back panel, leaving an elegant open back with long ties at the neckline—a signature boho detail. The bottom and armholes are finished with a delicate scalloped edge, adding a touch of femininity to the overall organic aesthetic.
Materials Needed
Before you begin, gather the following supplies:
- Yarn: Worsted weight cotton or cotton-blend yarn (e.g., Lion Brand 24/7 Cotton) in a warm sand color. Approximately 400–500 yards for sizes S/M.
- Crochet Hook: 5.5 mm (I/9) crochet hook.
- Other: Yarn needle for weaving in ends, scissors, and stitch markers (optional).
Gauge: 14 dc x 8 rows = 4 inches (10 cm) in pattern stitch. Always check your gauge to ensure proper fit.
Sizing and Adjustments
This pattern is written for size S/M (bust 34–36 inches). To adjust for larger sizes, increase your starting chain in multiples of 4 + 2. For example, for a size L/XL (bust 40–42 inches), you might chain 78 (multiple of 4 + 2) for the back panel and 40 for each front panel. Remember to maintain the pattern stitch multiple throughout.
Stitch Abbreviations
- ch – chain
- sc – single crochet
- dc – double crochet
- sl st – slip stitch
- fpdc – front post double crochet
- bpdc – back post double crochet
Pattern Stitch: Woven Lattice
This is the core stitch pattern that creates the beautiful woven texture. Practice it on a small swatch before starting your project.
Row 1: 1 dc in 4th ch from hook, *ch 1, skip 1 ch, 1 dc in next ch; repeat from * across. Turn.
Row 2: Ch 3 (counts as dc), *fpdc around next dc, ch 1, skip ch-1 space; repeat from * across, ending with 1 dc in top of turning ch. Turn.
Row 3: Ch 3, *bpdc around next fpdc, ch 1; repeat from * across, ending with 1 dc in top of turning ch. Turn.
Repeat Rows 2–3 for the pattern. The alternating front and back post stitches create the dimensional lattice effect.
Step-by-Step Instructions
Back Panel
Step 1: Chain 62 (or your desired multiple of 4 + 2 for your size).
Step 2: Work in the Woven Lattice pattern stitch until the piece measures 12 inches from the start. Keep your tension even to maintain the fabric's drape.
Step 3: Fasten off and weave in the yarn end.
Front Panels (Make 2)
Step 1: Chain 32 (half of the back panel width).
Step 2: Work in the Woven Lattice pattern stitch for 12 inches, matching the length of the back panel.
Step 3: Fasten off and weave in the yarn end. Repeat for the second front panel.
Assembly
Step 1: Lay the back panel flat on a clean surface. Position the two front panels on each side of the back panel, aligning the top edges.
Step 2: Leave a 6-inch gap in the center for the neck opening. This gap will form the open-back design.
Step 3: Sew or crochet the side seams from the bottom edge up 8 inches, leaving the top 4 inches open for the armholes. Use a yarn needle and matching yarn to whip stitch the seams securely.
Bottom Ribbing
Step 1: Attach yarn to the bottom edge of the assembled top.
Step 2: Work 1 row of single crochet evenly around the entire bottom edge.
Step 3: For the scalloped finish, work *sc in next st, ch 1, skip 1 st; repeat from * around. Join with a slip stitch to the first sc.
Step 4: Fasten off and weave in the yarn end.
Neckline Edging
Step 1: Attach yarn at one shoulder seam.
Step 2: Work 1 row of single crochet evenly around the entire neckline, including the front panels and the back opening.
Step 3: For a clean, polished finish, work 1 row of reverse single crochet (crab stitch) around the neckline. To work crab stitch, sc in the opposite direction (left to right if you're right-handed).
Step 4: Fasten off and weave in the yarn end.
Armhole Edging
Step 1: Attach yarn at the underarm seam of one armhole.
Step 2: Work 1 row of single crochet evenly around the armhole opening.
Step 3: Work 1 row of reverse single crochet for a neat edge.
Step 4: Fasten off and weave in the yarn end. Repeat for the second armhole.
Ties
Step 1: At each side of the neck opening (where the front panels meet the back), attach yarn.
Step 2: Chain 50 stitches.
Step 3: Slip stitch back along the chain to create a sturdy, rolled tie.
Step 4: Fasten off and weave in the yarn end. Repeat on the other side.
Finishing Touches
Weave in all remaining yarn ends with a yarn needle. Gently block the top by laying it flat on a towel, shaping it to the correct dimensions, and allowing it to air dry. This will help the fabric relax and drape beautifully.
Styling Your Sunlit Driftwood Top
This versatile top pairs perfectly with high-waisted linen trousers for a beachside lunch, or with denim shorts for a casual day out. The open back and ties add a playful, bohemian vibe, while the neutral sand color makes it easy to mix and match with your summer wardrobe. Wear it over a simple bralette or bikini top for a layered look that's both stylish and comfortable.
We hope you enjoy crocheting the Sunlit Driftwood Top! Share your finished creations with us on social media using #SunlitDriftwoodTop—we'd love to see how yours turns out. Happy crocheting!