Golden Hour Lattice Crochet Top Free Pattern

Golden Hour Lattice Crochet Top: A Free Pattern for Sun-Kissed Days
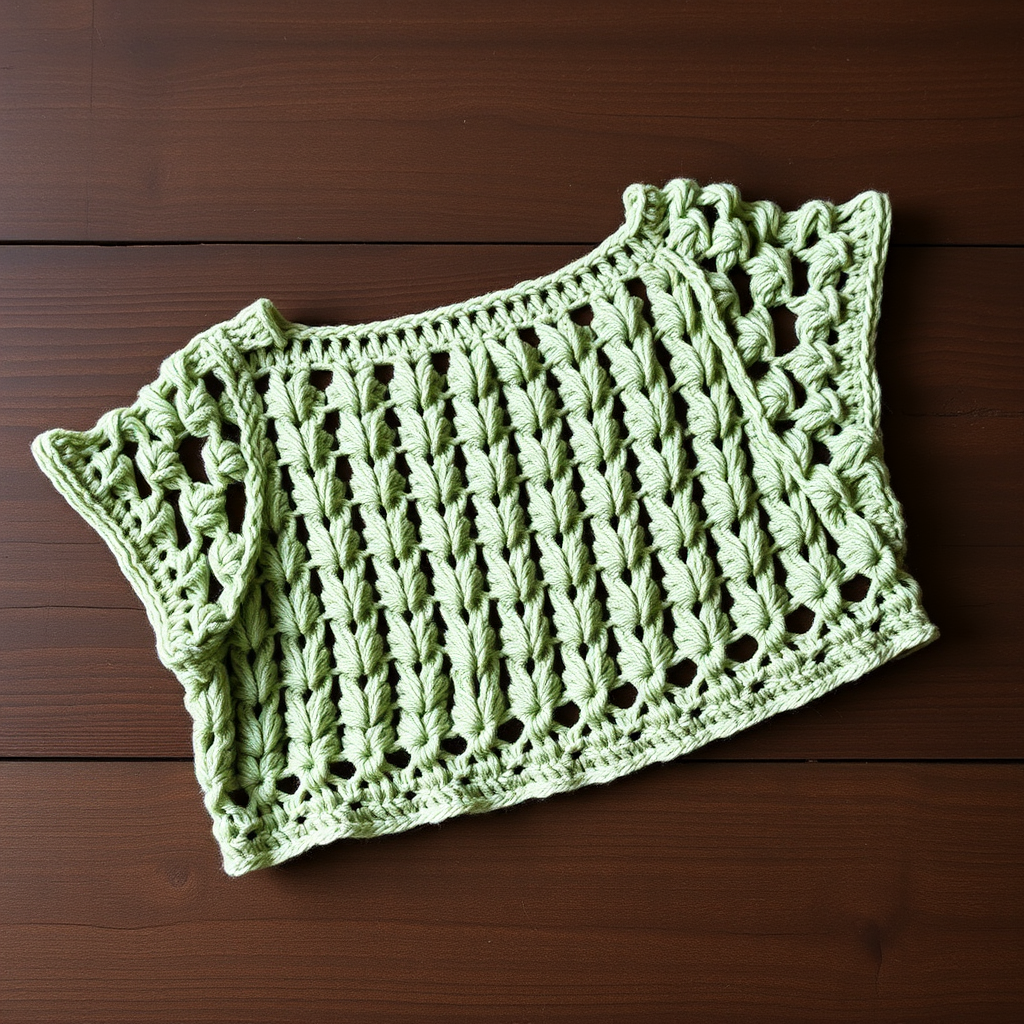
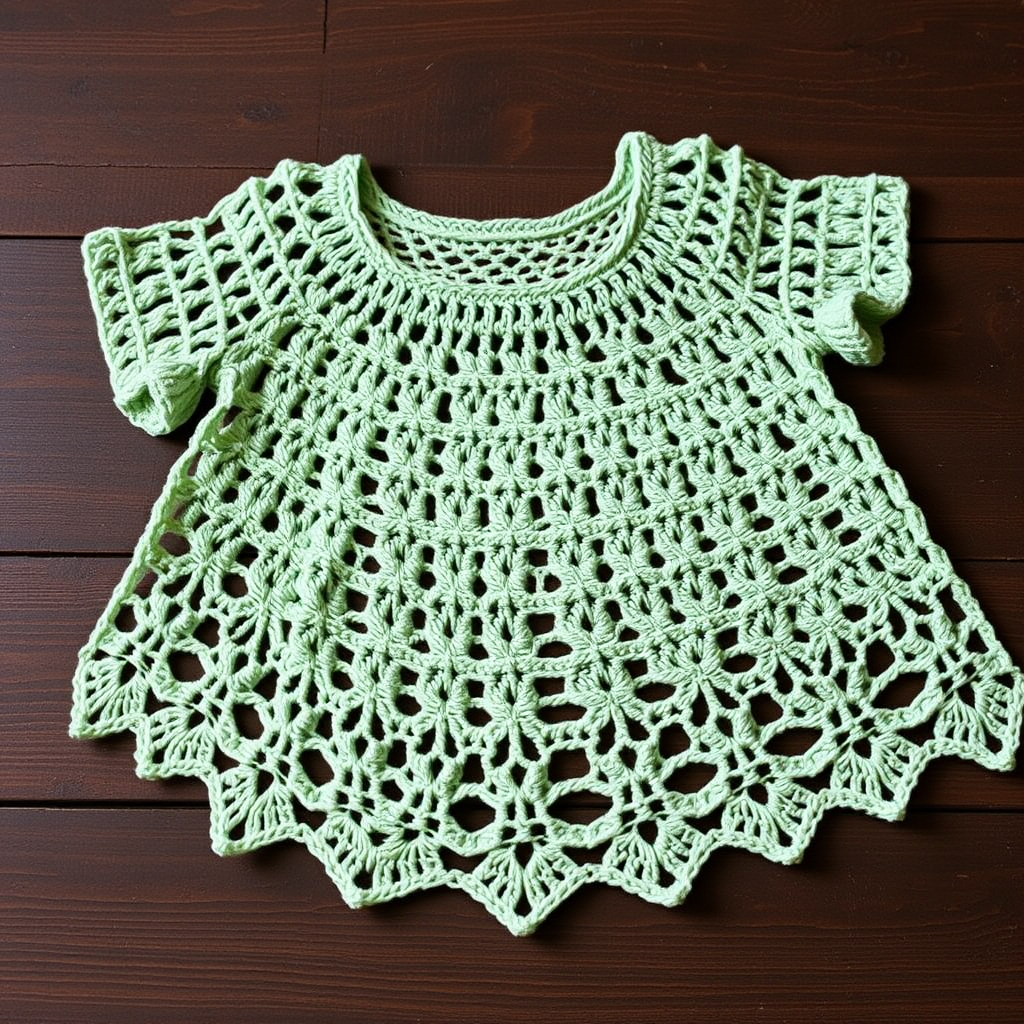
Embrace the warm glow of summer with this breezy, open-weave crochet top that drapes beautifully and catches the light. The unique lattice stitch creates a modern, textured look that's perfect for beach days or evening strolls. This free pattern is designed with the beginner in mind, offering clear instructions and a simple, repetitive stitch that builds into something truly special. The result is a bohemian, sun-kissed garment with a boxy, comfortable silhouette that you'll reach for all season long.
This top is worked flat in two simple panels, making it an approachable project for your first wearable. The open lattice stitch is not only stylish but also incredibly quick to work up, giving you that satisfying sense of progress with every row. Let's gather our materials and get started on creating your new favorite summer staple.
Materials Needed
Before you begin, make sure you have all the essentials on hand. This project uses medium-weight yarn and a single hook size, keeping your supplies simple and portable.
- Yarn: Worsted weight cotton or cotton-blend yarn (approx. 600-800 yds depending on size). A warm golden-yellow hue is pictured, but any color that speaks to you will work beautifully.
- Crochet Hook: 5.5 mm (I/9) crochet hook.
- Other Tools: Yarn needle for weaving in ends, scissors, and a tape measure for checking gauge and finished measurements.
Gauge & Sizing
Getting your gauge right ensures your top fits as intended. Take a moment to check it before diving in.
- Gauge: 14 sts and 6 rows = 4 inches in lattice stitch pattern.
- Sizes: S (M, L) – Finished bust: 40 (48, 56) inches; Length: 21 (22, 23) inches.
Stitch Abbreviations & Special Stitch
This pattern uses a few basic stitches and one simple repeat. Familiarize yourself with these before you start.
- ch = chain
- sc = single crochet
- dc = double crochet
- sk = skip
- st(s) = stitch(es)
- sl st = slip stitch
- rep = repeat
Special Stitch – Lattice Stitch (multiple of 2 + 1)
This is the core pattern that creates the beautiful openwork design. It's a simple two-row repeat that's easy to memorize.
- Row 1: Sc in 2nd ch from hook, *ch 1, sk 1 ch, sc in next ch; rep from * across. Turn.
- Row 2: Ch 1, sc in first sc, *ch 1, sk ch-1 space, sc in next sc; rep from * across. Turn.
- Repeat Row 2 for the pattern.
Step-by-Step Instructions
Follow these instructions carefully, and you'll have two beautiful panels ready to seam together in no time. The construction is straightforward: a back panel, a front panel with a simple neckline, and optional cap sleeves.
Back Panel
- Foundation Chain: Chain 71 (85, 99) loosely. This chain should be nice and relaxed so your bottom edge doesn't pucker.
- Main Pattern: Work in the Lattice Stitch pattern until the piece measures 20 (21, 22) inches from the beginning. This measurement is for the total length of the back panel.
- Finish: Fasten off and weave in the yarn end.
Front Panel
- Foundation Chain: Work the same as the back panel until the piece measures 16 (17, 18) inches from the beginning. This is where we will begin shaping the neckline.
- Shape First Shoulder: On the next row, work in the pattern across the first 28 (34, 40) sts. Turn, leaving the remaining sts unworked. Continue on these 28 (34, 40) sts for 4 (5, 6) more rows. On each of these rows, decrease 1 st at the neck edge (the edge closest to the center) by working 2 sts together at the start of the row. Fasten off.
- Shape Second Shoulder: Return to the unworked sts. Skip the center 15 (17, 19) sts. Join your yarn in the next st. Work in the pattern across the remaining 28 (34, 40) sts. Work the same as the first side, decreasing 1 st at the neck edge every row for 4 (5, 6) rows. Fasten off.
Sleeves (Optional, for a Cap Sleeve)
- With the right side facing you, join your yarn at the underarm edge of the armhole opening.
- Work 1 row of single crochet (sc) evenly around the entire armhole opening. You should have approximately 30-36 sc stitches.
- Work 2 more rows of sc. Fasten off.
- Repeat this process for the other armhole.
Finishing & Assembly
- Sew Shoulder Seams: With your yarn needle, sew the shoulder seams, joining the front and back panels. The seam should be approximately 4-5 inches from each side, leaving the center open for the neckline.
- Sew Side Seams: Sew the side seams, leaving 8 (9, 10) inches open at the top for the armholes. This opening is where your sleeves will sit.
- Bottom Edging: Join your yarn at the bottom edge. Work 1 round of single crochet (sc) around the entire bottom hem. Then, work 1 round of reverse sc (also known as crab stitch) for a neat, polished finish.
- Neckline & Sleeve Edging (Optional): For a cohesive look, repeat the same edging (1 round of sc, then 1 round of reverse sc) around the neckline and sleeve openings if desired.
- Weave in Ends: Carefully weave in all loose ends with your yarn needle to give your top a clean, professional finish.
- Blocking: Finally, block your top to the specified measurements. This will help even out the stitches and give your top a beautiful drape.
And there you have it—your very own Golden Hour Lattice Crochet Top! This airy, textured piece is perfect for layering over a swimsuit or a simple camisole. The open weave makes it ideal for warm weather, and the classic silhouette means it will be a staple in your wardrobe for years to come. Enjoy wearing your handmade creation!