Sherbet Drizzle Textured Pullover Free Knitting Pattern – Pastel Cloud Knit Sweater
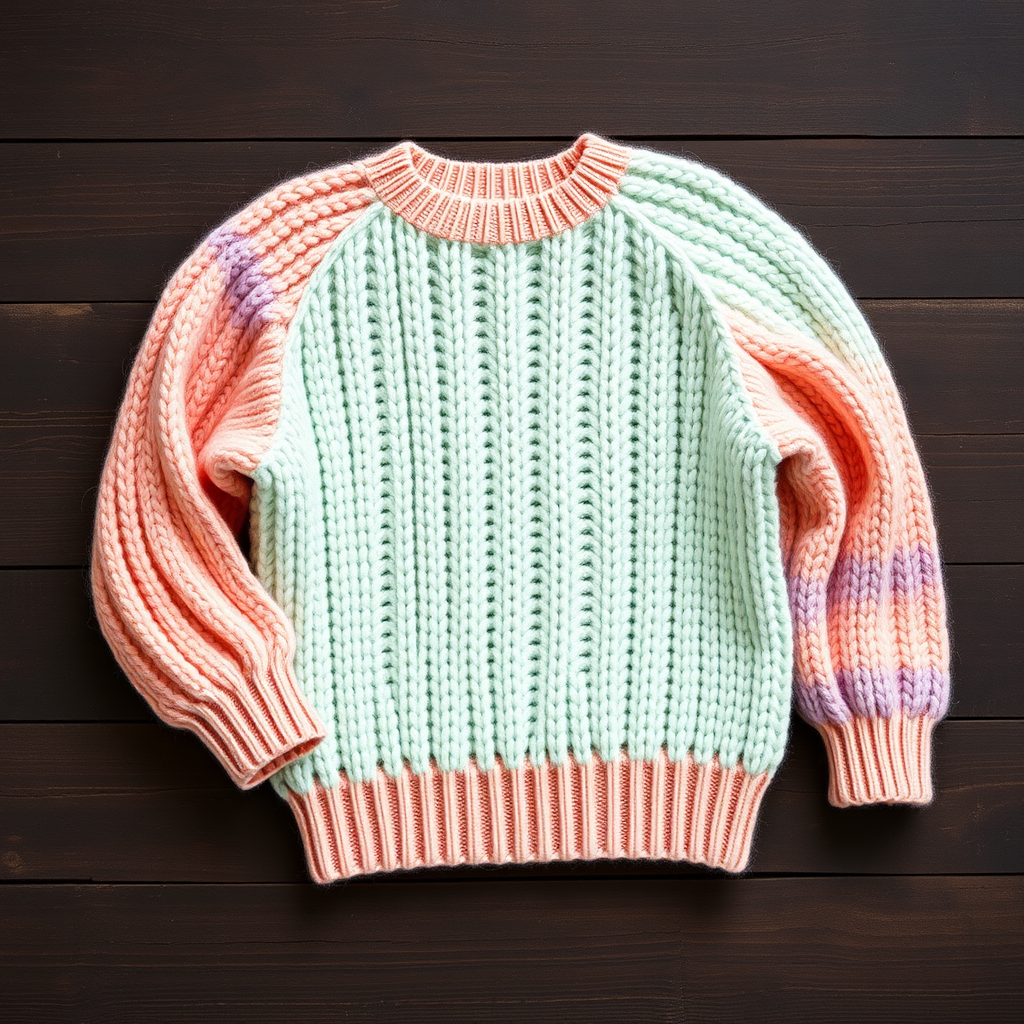
Sherbet Drizzle Textured Pullover: A Dreamy Brioche Knit Pattern
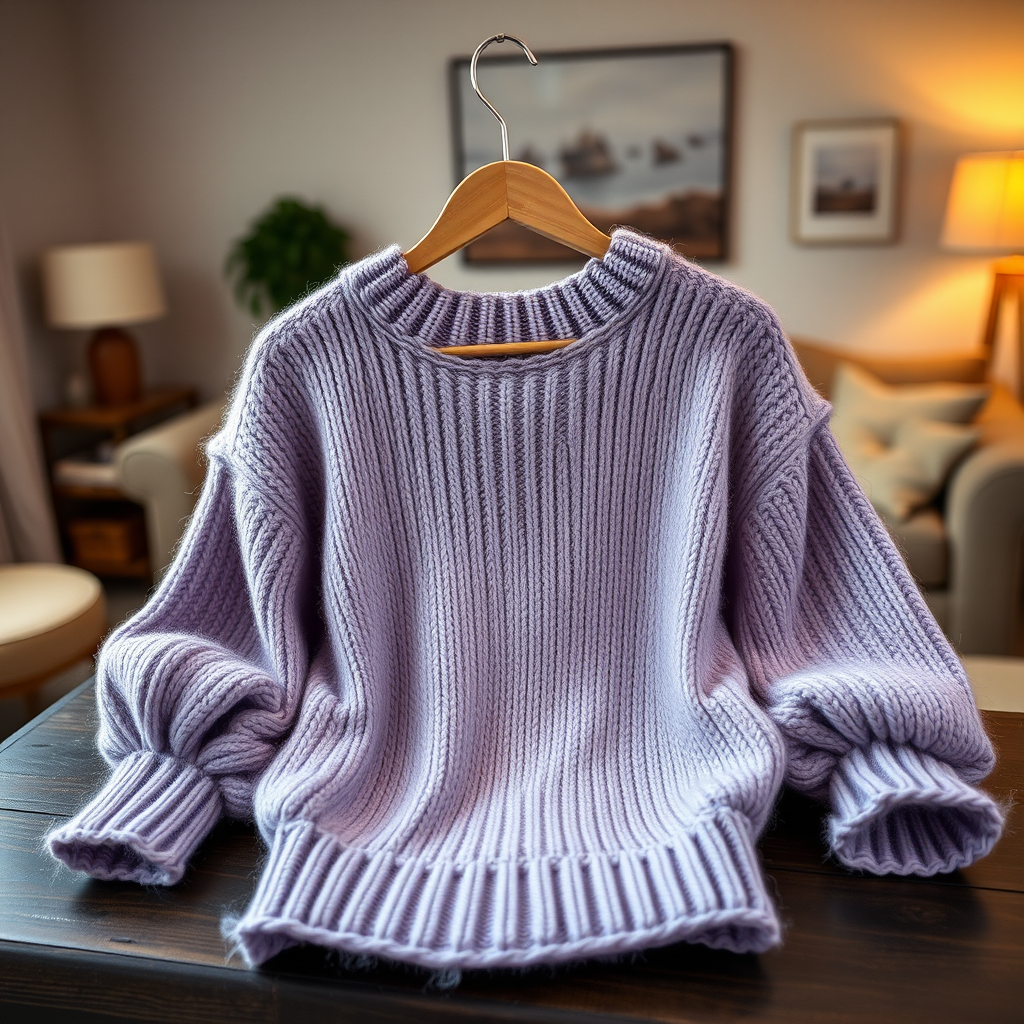
Wrap yourself in a dreamy, hand-knit pullover that layers soft sherbet hues with a luscious, all-over brioche texture. This cozy sweater is a modern take on classic comfort, perfect for cool evenings and creative souls. The Sherbet Drizzle Textured Pullover combines the soothing rhythm of brioche knitting with a pastel palette that evokes sweet nostalgia—like a sunset frozen in yarn. Whether you're a seasoned knitter looking for a meditative project or a brave beginner ready for a beautiful challenge, this pattern will guide you through creating a cloud-like garment you'll reach for again and again.
With its relaxed, slightly oversized fit, dropped shoulders, and long sleeves, this pullover is as flattering as it is functional. The honeycomb-like brioche texture creates subtle vertical ridges that catch the light beautifully, while the ribbed hem, cuffs, and neckline in a contrasting peach shade add a clean, polished finish. Let's dive into this delightful project!
Materials Needed
Before you begin, gather the following supplies. Having everything ready will make your knitting experience smooth and enjoyable.
Yarn
- Weight: Worsted weight yarn in 3 pastel shades
- Colors: Color A (peach), Color B (mint), Color C (lavender)
- Yardage: Approximately 1200 (1350, 1500, 1650) yards total, depending on size
- Suggested Fiber: A soft wool blend or merino for maximum squish and stitch definition
Needles
- Main Needles: US 7 (4.5 mm) circular needles, 24–32 inches long (for body and sleeves)
- Ribbing Needles: US 6 (4.0 mm) circular needles, 24–32 inches long (for hems, cuffs, and neckline)
- Optional: Double-pointed needles (DPNs) in US 7 and US 6 if you prefer magic loop or DPNs for sleeves
Notions
- Stitch markers (at least 4)
- Stitch holders or waste yarn (for underarms and neckline)
- Tapestry needle for weaving in ends
- Scissors
- Measuring tape
- Blocking mats and pins (for finishing)
Gauge
18 stitches and 28 rows = 4 inches in brioche stitch (after blocking). Always knit a swatch first to ensure your gauge matches—this is crucial for achieving the correct finished measurements.
Step-by-Step Instructions
This pattern is worked in one piece from the bottom up, with sleeves picked up and knit in the round. Follow along carefully, and you'll have a beautiful sweater in no time.
Sizes and Measurements
Sizes: XS (S, M, L)
Finished Chest: 34 (38, 42, 46) inches
Length (from cast-on to shoulder): Approximately 20 (22, 24, 26) inches
Abbreviations
- CO = cast on
- K = knit
- P = purl
- yo = yarn over
- k2tog = knit two together
- sl1yo = slip 1 with yarn over (as for brioche: bring yarn to front, slip next stitch purlwise, then bring yarn over the needle to the back—this creates a yarn over paired with the slipped stitch)
- brk = brioche knit (knit the slipped stitch together with its yarn over)
- brp = brioche purl (purl the slipped stitch together with its yarn over)
- st(s) = stitch(es)
- RS = right side
- WS = wrong side
Special Stitch – Brioche Stitch (multiple of 2 + 1)
This pattern creates a beautiful, ribbed honeycomb texture. Practice on a small swatch first to get comfortable with the rhythm.
- Row 1 (RS): Sl1yo, *brk, sl1yo; repeat from * to last st, k1.
- Row 2 (WS): Sl1yo, *brp, sl1yo; repeat from * to last st, k1.
- Repeat Rows 1–2 for pattern.
Note for working in the round: When working sleeves in the round, the pattern changes slightly:
- Round 1: *Sl1yo, brk; repeat from * to end.
- Round 2: *Brp, sl1yo; repeat from * to end.
- Repeat Rounds 1–2 for pattern.
Body
Step 1: With smaller needles (US 6) and Color A (peach), CO 153 (171, 189, 207) sts. Work in K1, P1 ribbing for 2 inches. This creates a neat, stretchy hem.
Step 2: Switch to larger needles (US 7) and Color B (mint). Begin the brioche stitch pattern, working in rows. Continue even (without increasing or decreasing) until the piece measures 12 (13, 14, 15) inches from the cast-on edge, ending with a WS row. This forms the main body of the sweater.
Divide for Armholes
Step 3: On the next RS row, you will divide the work for the front and back sections:
- Work 36 (40, 44, 48) sts in pattern (this is the right front),
- Place the next 9 sts on a holder for the underarm,
- Work 63 (71, 79, 87) sts for the back,
- Place the next 9 sts on a holder for the underarm,
- Work the remaining 36 (40, 44, 48) sts for the left front.
You now have two separate sections: the front (36/40/44/48 sts) and the back (63/71/79/87 sts). We'll work the front first.
Front
Step 4: Continue in pattern on the 36 (40, 44, 48) front sts. At each armhole edge (the side where you placed the underarm sts on hold), decrease 1 st every other row 3 times. To decrease at the beginning of a row: work to last 3 sts, k2tog, k1. (This keeps the brioche pattern intact while shaping.)
Step 5: After completing the decreases, work even (no shaping) until the armhole measures 6 (7, 8, 9) inches from the underarm holder.
Step 6 – Shape Neck: On the next RS row, work 12 (14, 16, 18) sts, then place the center 9 (11, 13, 15) sts on a holder for the neckline. Join a second ball of yarn and work the remaining 12 (14, 16, 18) sts. You will now work both sides of the neck simultaneously with separate balls of yarn.
Step 7: Decrease 1 st at each neck edge every row 3 times. This creates a gentle curve for the neckline. Work even until the armhole measures 8 (9, 10, 11) inches. Bind off the remaining 9 (11, 13, 15) sts for each shoulder.
Back
Step 8: Return to the 63 (71, 79, 87) back sts. Decrease at each armhole edge exactly as you did for the front (1 st every other row 3 times). Work even until the armhole measures 7 (8, 9, 10) inches.
Step 9 – Shape Neck: On the next RS row, work 18 (20, 22, 24) sts, place the center 21 (25, 29, 33) sts on a holder, join a second ball and work the remaining 18 (20, 22, 24) sts. Decrease 1 st at each neck edge every row 2 times. Work even until the armhole measures 8 (9, 10, 11) inches. Bind off the remaining 16 (18, 20, 22) sts for each shoulder.
Sleeves
Step 10: With larger needles (US 7) and Color C (lavender), pick up and knit 54 (60, 66, 72) sts around the armhole, including the 9 sts from the underarm holder. Join in the round, placing a marker at the beginning of the round (this will be your underarm seam).
Step 11: Work brioche stitch in the round using the special in-the-round instructions provided above. Decrease 1 st at each side of the marker every 6 rounds until 40 (44, 48, 52) sts remain. This creates a gently tapered sleeve.
Step 12: Work even until the sleeve measures 16 (17, 18, 19) inches from the underarm. Switch to smaller needles (US 6) and Color A (peach). Work K1, P1 ribbing for 2 inches. Bind off loosely to maintain stretch.
Finishing
Step 13: Sew the shoulder seams using a tapestry needle and matching yarn. Use a mattress stitch for a seamless finish.
Step 14 – Neckband: With smaller needles (US 6) and Color A (peach), pick up and knit 60 (68, 76, 84) sts around the neckline, including the sts on holders. Work K1, P1 ribbing for 1 inch. Bind off loosely.
Step 15: Weave in all ends carefully, using a tapestry needle to hide them within the fabric. Block the sweater to the specified measurements—this is essential for brioche to bloom and even out.
Tips for Success
- Swatch first: Brioche gauge can be tricky. Always knit and block a swatch before starting.
- Use lifelines: If you're new to brioche, insert a lifeline every few inches to make frogging easier if you make a mistake.
- Keep tension even: Brioche is forgiving, but consistent tension creates the most beautiful texture.
- Block generously: Brioche really shines after blocking—it relaxes the stitches and enhances the honeycomb effect.
Congratulations! You've just created a stunning, cloud-like pullover that's as unique as you are. The Sherbet Drizzle Textured Pullover is perfect for cozy evenings, creative mornings, or anytime you want to wrap yourself in handmade warmth. The pastel palette and plush texture make it a standout piece in any wardrobe—and the pride of having knit it yourself makes it truly priceless.
Happy knitting, and enjoy your beautiful new sweater!