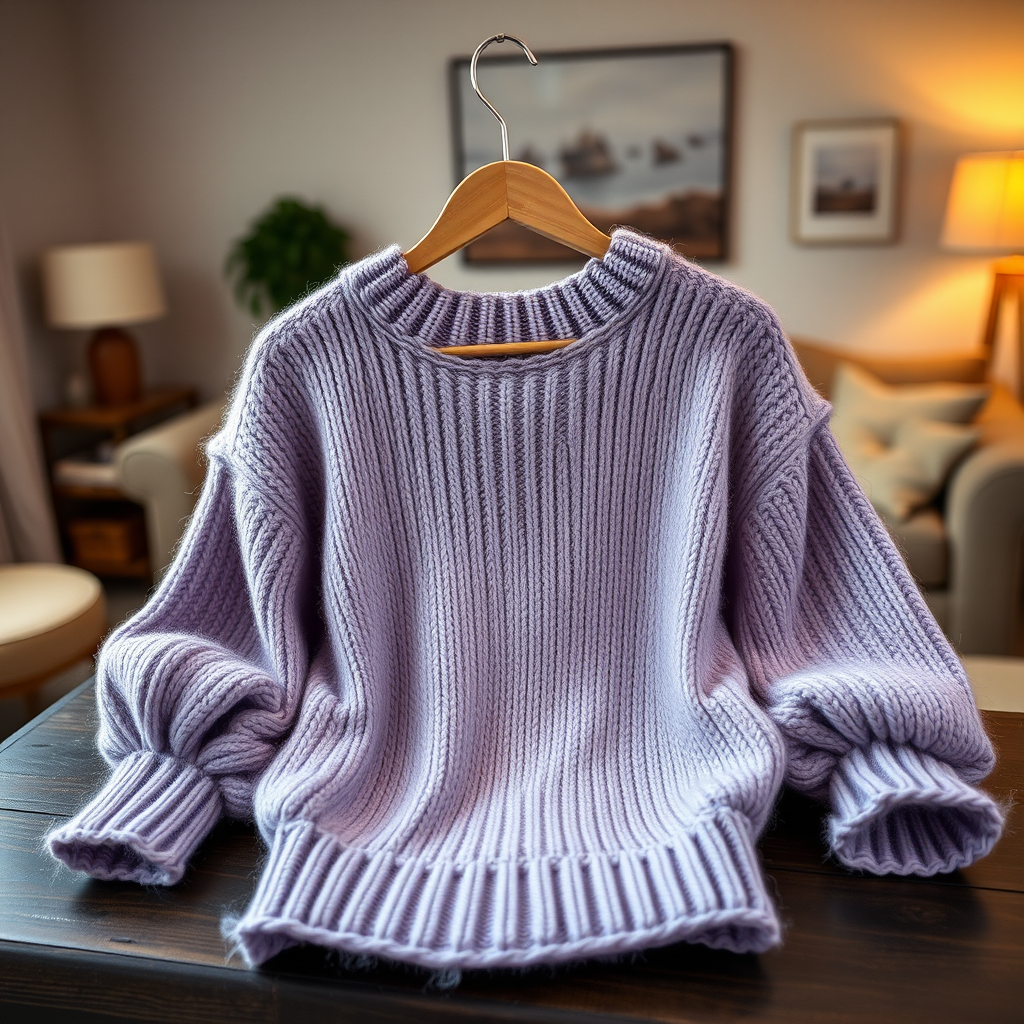
Aurora Drift Pullover Free Pattern
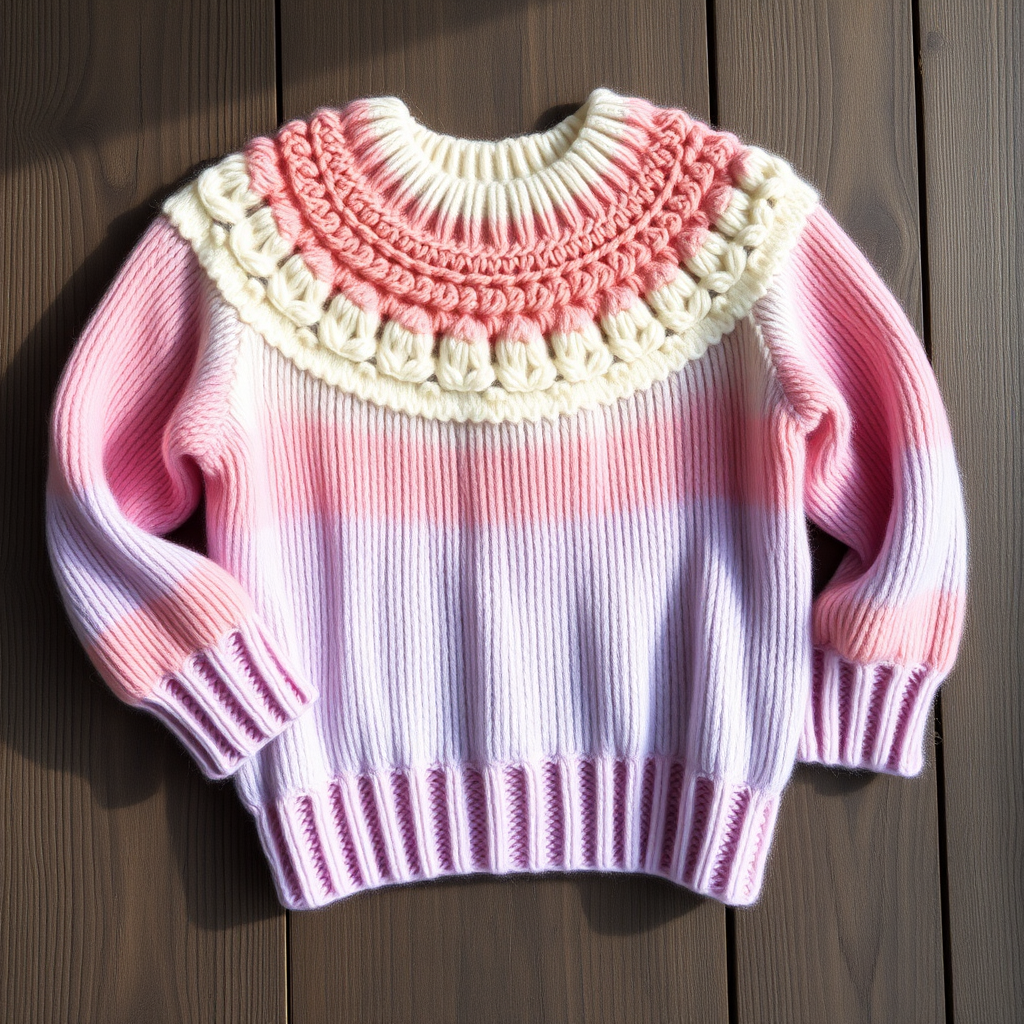
Aurora Drift Pullover Free Knitting Pattern: A Seamless, Dreamy Sweater for Kids
Wrap your little one in the cozy, cloud-like comfort of the Aurora Drift Pullover. This modern take on the classic kids' sweater features a mesmerizing gradient of soft pastels, transitioning from dusty rose to soft cream and finishing with pale lavender sleeves. Designed to be worked seamlessly from the top down, this pattern uses a gentle ripple stitch on the yoke that mimics the ethereal movement of the northern lights. It is a joy to knit and an absolute treasure for your child to wear. Whether you are a seasoned knitter looking for a relaxing project or a confident beginner ready to tackle a garment, this free pattern offers clear, step-by-step guidance to create a stunning, heirloom-quality piece.
Materials Needed
Before you begin your knitting journey, gather the following materials to ensure a smooth and enjoyable crafting experience. The specifications below are tailored for a worsted-weight yarn, which provides excellent stitch definition and durability for a child's garment.
- Yarn: Worsted weight yarn in 3 colors:
- Color A (Main Body): Soft cream
- Color B (Yoke): Dusty rose
- Color C (Sleeves): Pale lavender
- Needles:
- US 7 (4.5 mm) 16-inch circular needle (for yoke and smaller circumferences)
- US 7 (4.5 mm) 24-inch circular needle (for the body)
- US 7 (4.5 mm) double-pointed needles (DPNs) for sleeves, or use a long circular needle for the Magic Loop method.
- Notions: Stitch markers (at least 8), stitch holders or waste yarn, tapestry needle for weaving in ends, scissors, and a tape measure.
- Gauge: 18 stitches and 24 rows = 4 inches in stockinette stitch, after blocking. Always knit a gauge swatch to ensure your finished sweater fits perfectly.
Step-by-Step Instructions
This pattern is worked seamlessly from the top down, meaning you will start at the neckline and knit your way to the hem, picking up sleeves along the way. Follow these detailed instructions carefully, and you will have a beautiful pullover in no time.
Sizes and Measurements
- Sizes: 4/5T (6/8, 10/12). The instructions are written for the smallest size, with larger sizes in parentheses.
- Finished Chest: 24 (26, 28) inches.
- Shown in size: 6/8.
Abbreviations
- k = knit
- p = purl
- k2tog = knit two stitches together (decrease)
- yo = yarn over (increase, creates an eyelet hole)
- pm = place marker
- sm = slip marker
- m1L = make one left (increase, leaning left)
- m1R = make one right (increase, leaning right)
- rnd = round
- st(s) = stitch(es)
Special Stitch Pattern: The Ripple Stitch (Multiple of 6)
This delicate pattern creates the aurora effect on the yoke. It is a simple 4-round repeat that is easy to memorize.
- Rnd 1: *k2tog, yo, k1, yo, k2tog*; repeat from * to * to end of round.
- Rnd 2: Knit all stitches.
- Rnd 3: *yo, k2tog, k1, k2tog, yo*; repeat from * to * to end of round.
- Rnd 4: Knit all stitches.
Getting Started: The Yoke
The yoke is worked in the round from the neck down. We will begin with the dusty rose yarn (Color B).
- Cast On: With Color B and your 16-inch circular needle, cast on 72 (78, 84) sts loosely. Place a stitch marker to denote the beginning of the round and join in the round, being extremely careful not to twist your stitches.
- Ripple Pattern: Work the Ripple Stitch Pattern for 4 (5, 6) rounds in total. This will create a lovely scalloped edge at the neckline.
- Switch to Main Color: Cut Color B and join Color A (soft cream). Knit 1 round plain to establish the stockinette stitch for the rest of the yoke.
Raglan Increases
Now we will shape the yoke using raglan increases. This creates the diagonal lines that connect the sleeves to the body.
- Place Markers: Knit 12 (13, 14) sts (this is the back), pm, knit 12 (13, 14) sts (this is the first sleeve), pm, knit 24 (26, 28) sts (this is the front), pm, knit 12 (13, 14) sts (this is the second sleeve), pm, knit 12 (13, 14) sts (this brings you back to the beginning of the round marker).
- Increase Round: *Knit to 1 stitch before the next marker, m1R, k1, sm, k1, m1L*; repeat from * to * 4 times total (once for each marker). This adds 8 stitches to your total count in this round.
- Plain Round: Knit all stitches in the round without any increases.
- Repeat: Repeat the Increase Round and the Plain Round alternately until the yoke measures 5 (6, 7) inches from the cast-on edge, measured straight down the middle of the front or back. Pro Tip: Try the sweater on your child at this point to ensure the yoke is deep enough to reach their underarms comfortably.
Separating the Body and Sleeves
Once the yoke is the correct length, it is time to divide the work to create the armholes.
- Knit the Back: Knit across the back stitches to the first marker. Remove the marker.
- Place Sleeve Stitches on Hold: Carefully slip the next set of stitches (the sleeve stitches, between the first and second markers) onto a stitch holder or a long piece of waste yarn. Do not knit them. Remove the marker.
- Cast On Underarm: Using the backward loop method or cable cast-on, cast on 4 (6, 8) sts onto your right needle. This creates the underarm gap.
- Knit the Front: Knit across the front stitches to the next marker. Remove the marker.
- Place Second Sleeve on Hold: Slip the second set of sleeve stitches onto another holder or piece of waste yarn. Remove the marker.
- Cast On Underarm: Cast on another 4 (6, 8) sts for the second underarm.
- Knit to End: Knit the remaining back stitches to the beginning of the round marker. You now have all the body stitches on your needle, with the sleeve stitches resting safely on their holders.
Knitting the Body
Now you will work the main body of the sweater in a simple, smooth stockinette stitch.
- Continue in the Round: With Color A (soft cream), knit every round in stockinette stitch (knit all stitches).
- Length: Continue knitting until the body measures 8 (9, 10) inches from the underarm cast-on edge, or until it reaches your desired length. Remember to account for the ribbed hem.
- Ribbed Hem: To create a neat, stretchy hem, work in a K1, P1 rib for the last 1.5 inches of the body. This will help the sweater sit nicely on the hips.
- Bind Off: Bind off all stitches loosely in pattern (knit the knits and purl the purls). Weave in the yarn end securely.
Knitting the Sleeves
Finally, we will bring the sleeves to life. You will work these in the round from the top down.
- Pick Up Stitches: Place the held sleeve stitches from the holder onto your DPNs or a long circular needle for the Magic Loop method. Starting at the center of the underarm cast-on stitches, pick up and knit 4 (6, 8) sts from the underarm, then knit across the held sleeve stitches. Place a stitch marker to mark the beginning of the round (the underarm center).
- Decrease Round: To shape the sleeve, you will decrease at the underarm. Knit 1 st, k2tog, knit to the last 3 sts of the round, k2tog, k1. This removes 2 stitches.
- Plain Rounds: Knit 5 (6, 7) rounds plain without any decreases.
- Repeat Decreases: Repeat the Decrease Round and the subsequent plain rounds until the sleeve measures 8 (9, 10) inches from the underarm, or until it reaches your desired length. Note: The decreases will naturally taper the sleeve. If you prefer a more fitted sleeve, you can decrease more frequently (e.g., every 4th round).
- Color Change: For the final 2 inches of the sleeve, switch to Color C (pale lavender). This creates the beautiful gradient effect.
- Ribbed Cuff: Work in a K1, P1 rib for the last 1 inch of the sleeve to create a snug cuff.
- Bind Off: Bind off all stitches loosely in pattern. Weave in the yarn end.
- Repeat: Repeat the entire sleeve process for the second sleeve.
Finishing Touches
- Weave in Ends: Using your tapestry needle, carefully weave in all loose ends on the inside of the sweater. Ensure they are secure but not bulky.
- Blocking: This is a crucial step for a professional finish. Soak the sweater in lukewarm water with a gentle wool wash for 15-20 minutes. Gently squeeze out excess water (do not wring). Lay the sweater flat on a clean towel, roll it up to remove more water, then shape it to the correct measurements on a dry towel or blocking mat. Allow it to air dry completely. Blocking will even out the stitches and open up the ripple pattern beautifully.
Your Aurora Drift Pullover is now complete! This stunning, cloud-soft sweater is sure to become a favorite in your little one's wardrobe. The seamless construction makes it comfortable to wear, and the dreamy pastel gradient is truly one of a kind. Happy knitting!