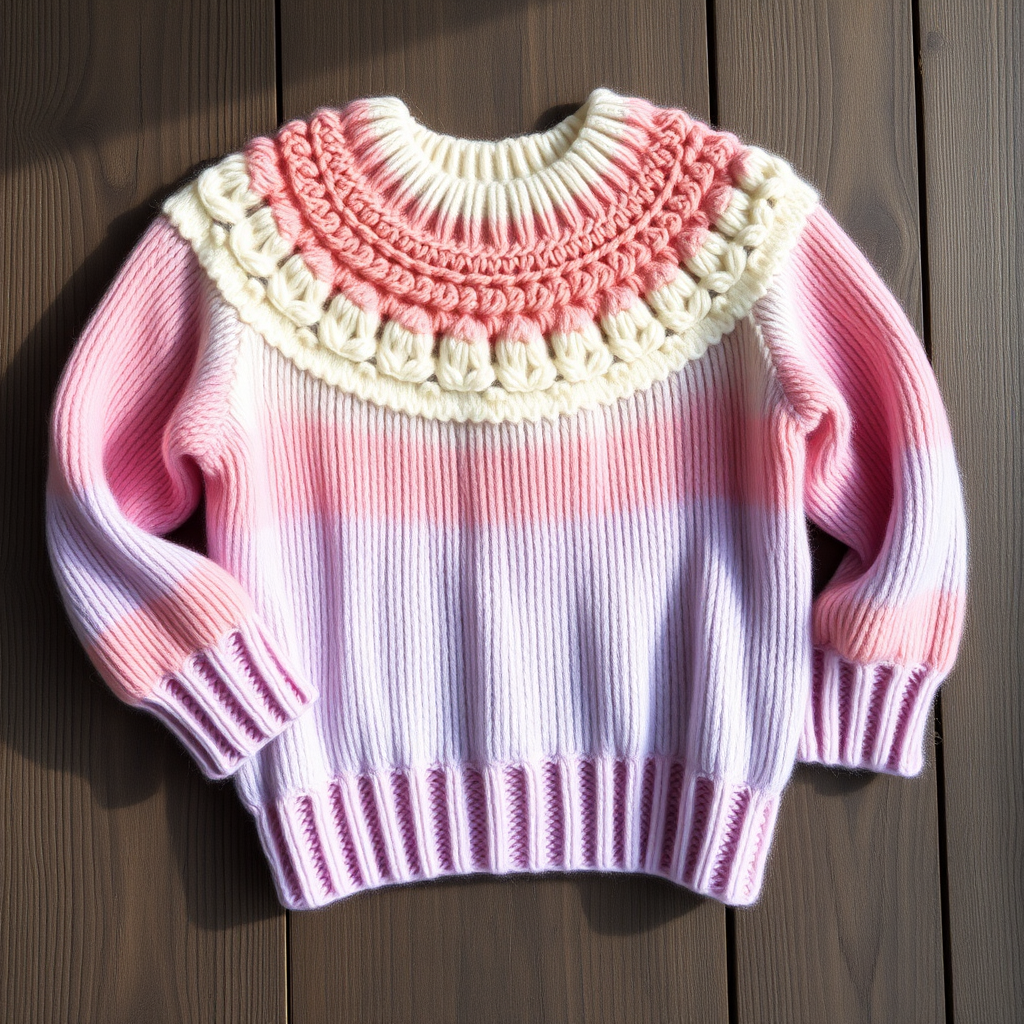
Aurora Cloud Sweater Free Knitting Pattern
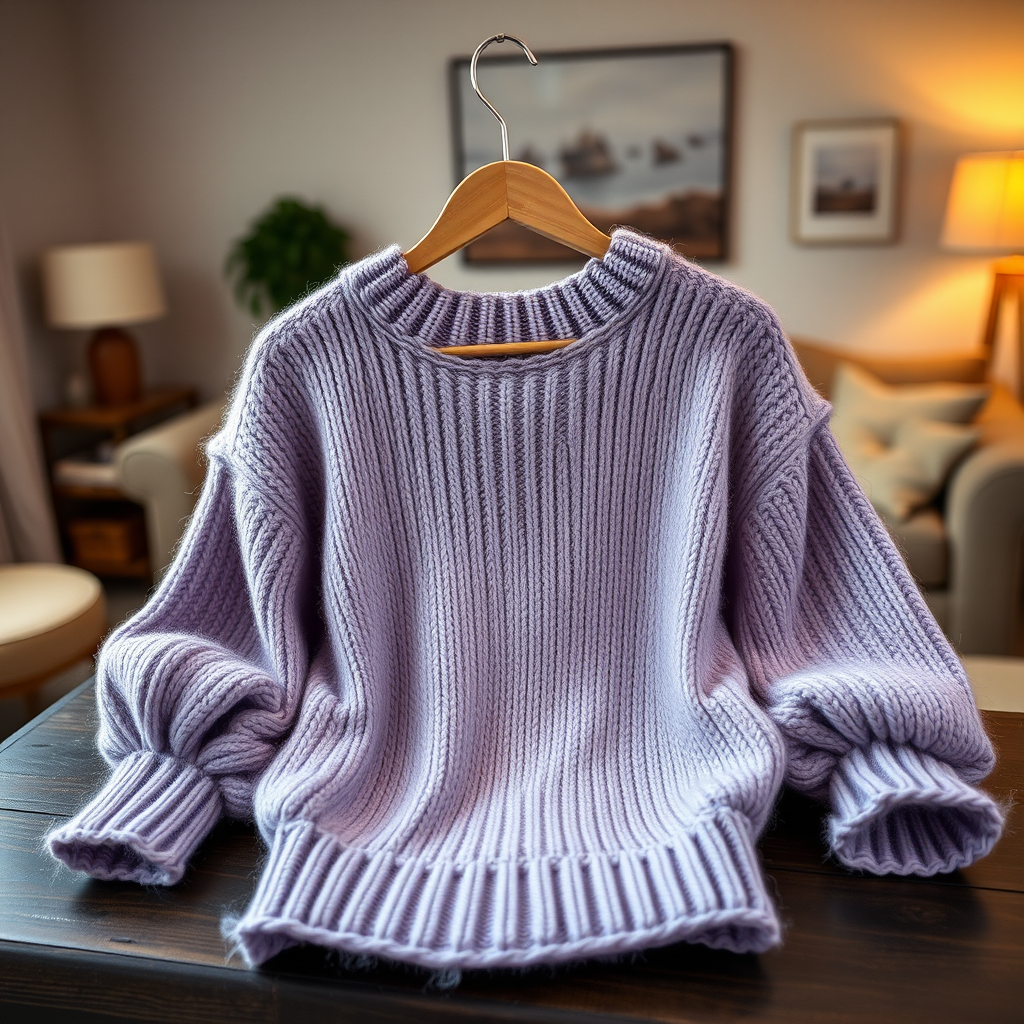
Aurora Cloud Sweater Free Knitting Pattern
Wrap yourself in the ethereal beauty of the Aurora Cloud Sweater, a dreamy pullover with billowing balloon sleeves and a plush, textured yoke. This free pattern guides you through creating a cozy, modern garment that feels like a warm embrace on chilly days. The combination of a moss stitch yoke and a smooth stockinette body creates a beautiful contrast that is both visually stunning and incredibly comfortable to wear. Whether you're a seasoned knitter or looking for your next rewarding project, this sweater is designed to become a beloved staple in your wardrobe.
Materials Needed
Before you begin your knitting journey, gather the following materials to ensure a smooth and enjoyable crafting experience:
- Yarn: DK weight yarn (approx. 1200-1800 yards depending on size) in a soft, heathered blue-grey or dusty lavender. The sample shown uses a heathered dusty lavender for a truly dreamy look.
- Needles:
- US 6 (4 mm) 16-inch circular needle for collar and cuffs
- US 6 (4 mm) 32-inch circular needle for body ribbing
- US 7 (4.5 mm) 16-inch circular needle for yoke and sleeves
- US 7 (4.5 mm) 32-inch circular needle for body
- Notions: Stitch markers (at least 4), stitch holders or waste yarn for sleeves, tapestry needle for weaving in ends.
Gauge
20 stitches and 28 rows = 4 inches in stockinette stitch on larger needles (US 7), after blocking. Always knit a gauge swatch to ensure your sweater fits perfectly.
Sizes & Finished Measurements
Sizes: XS (S, M, L, XL, 2XL, 3XL, 4XL, 5XL)
Finished Bust: 32 (36, 40, 44, 48, 52, 56, 60, 64) inches
Abbreviations
k = knit, p = purl, k2tog = knit two together, ssk = slip slip knit, yo = yarn over, pm = place marker, sm = slip marker, st(s) = stitch(es), rnd(s) = round(s), RS = right side, WS = wrong side.
Special Stitches
Moss Stitch (in the round, even number of sts):
Rnd 1: *K1, p1; repeat from * to end.
Rnd 2: *P1, k1; repeat from * to end.
Repeat Rnds 1-2.
Seed Stitch (in the round, odd number of sts):
Rnd 1: *K1, p1; repeat from * to last st, k1.
Rnd 2: *P1, k1; repeat from * to last st, p1.
Repeat Rnds 1-2.
Step-by-Step Instructions
Knitting the Yoke
Using the smaller 16-inch needle (US 6), cast on 88 (92, 96, 100, 104, 108, 112, 116, 120) stitches. Place a marker and join in the round, being extremely careful not to twist your stitches.
Work in K1, P1 ribbing for 1.5 inches. This will form the neat, stretchy neckline of your sweater.
Switch to the larger 16-inch needle (US 7). Now we begin the increases that will shape the beautiful textured yoke:
Increase Rnd 1: *K2, yo; repeat from * to end. You will now have 132 (138, 144, 150, 156, 162, 168, 174, 180) stitches.
Work in Moss Stitch pattern for 2 inches. The yarn overs from the previous round will be knitted into the pattern, creating a subtle, airy increase line.
Increase Rnd 2: *K3, yo; repeat from * to end. You will now have 176 (184, 192, 200, 208, 216, 224, 232, 240) stitches.
Continue in Moss Stitch for another 2 inches.
Increase Rnd 3: *K4, yo; repeat from * to end. You will now have 220 (230, 240, 250, 260, 270, 280, 290, 300) stitches.
Work in Moss Stitch for 2 more inches.
Increase Rnd 4: *K5, yo; repeat from * to end. You will now have 264 (276, 288, 300, 312, 324, 336, 348, 360) stitches.
Continue working in Moss Stitch until the yoke measures 7 (7.5, 8, 8.5, 9, 9.5, 10, 10.5, 11) inches from the cast-on edge, ensuring you end after completing Rnd 2 of the pattern. The yoke should now have a beautiful, gently flared shape that drapes over the shoulders.
Separating Body and Sleeves
This is the exciting moment where your sweater starts to take its final shape. Follow these instructions carefully for your size:
Knit 38 (40, 42, 44, 46, 48, 50, 52, 54) stitches for the half-back. Place the next 56 (58, 60, 62, 64, 66, 68, 70, 72) stitches on a holder or waste yarn for the first sleeve. Cast on 8 (8, 10, 10, 12, 12, 14, 14, 16) new stitches for the underarm. Knit 76 (80, 84, 88, 92, 96, 100, 104, 108) stitches for the front. Place the next 56 (58, 60, 62, 64, 66, 68, 70, 72) stitches on a holder for the second sleeve. Cast on 8 (8, 10, 10, 12, 12, 14, 14, 16) new stitches for the second underarm. Knit the remaining 38 (40, 42, 44, 46, 48, 50, 52, 54) stitches for the other half-back.
Your total body stitch count should now be: 168 (176, 188, 196, 208, 216, 228, 236, 248) stitches.
Knitting the Body
Place a new marker to indicate the beginning of the round at the center of the underarm. This will be your reference point for the rest of the body.
Work in stockinette stitch (knit every round) until the body measures 12 (12.5, 13, 13.5, 14, 14.5, 15, 15.5, 16) inches from the underarm, or until it reaches your desired length to the hip. The smooth stockinette provides a beautiful contrast to the textured yoke above.
Switch to the smaller 32-inch needle (US 6) and work in K1, P1 ribbing for 2 inches. This creates a neat, non-rolling hem. Bind off loosely in pattern to maintain the stretchiness of the ribbing.
Knitting the Sleeves (Make 2)
Transfer the sleeve stitches from the holder onto the larger 16-inch circular needle (US 7). To fill the gap under the arm, pick up and knit 4 (4, 5, 5, 6, 6, 7, 7, 8) stitches from the underarm cast-on edge. Place a marker for the new beginning of the round, then pick up and knit the remaining 4 (4, 5, 5, 6, 6, 7, 7, 8) stitches from the other half of the underarm.
Your total sleeve stitch count should now be: 64 (66, 70, 72, 76, 78, 82, 84, 88) stitches.
Work in stockinette stitch for 2 inches to create the beautiful, voluminous balloon shape at the top of the sleeve.
Decrease Rnd: K1, k2tog, knit to the last 3 stitches, ssk, k1. This neat decrease keeps the sleeve seam tidy.
Repeat this decrease round every 6 (6, 6, 5, 5, 5, 4, 4, 4) inches until the sleeve measures 14 (14.5, 15, 15.5, 16, 16.5, 17, 17.5, 18) inches from the underarm. You should end with 48 (50, 54, 56, 60, 62, 66, 68, 72) stitches remaining. The gradual decreases will taper the balloon sleeve elegantly toward the wrist.
Switch to the smaller 16-inch needle (US 6) and work in K1, P1 ribbing for 1 inch. Bind off loosely in pattern. Repeat for the second sleeve.
Finishing Touches
Weave in all loose ends carefully with your tapestry needle, making sure to secure them well so they don't unravel with wear.
Block your sweater to the specified measurements. When blocking, gently stretch the top of the sleeves to enhance their balloon shape and allow the moss stitch yoke to relax and open up beautifully. Lay flat to dry.
Once dry, your Aurora Cloud Sweater is ready to wear! Enjoy the plush, cozy embrace of your handmade creation, perfect for snuggling up on chilly days or adding a touch of handcrafted luxury to any outfit.