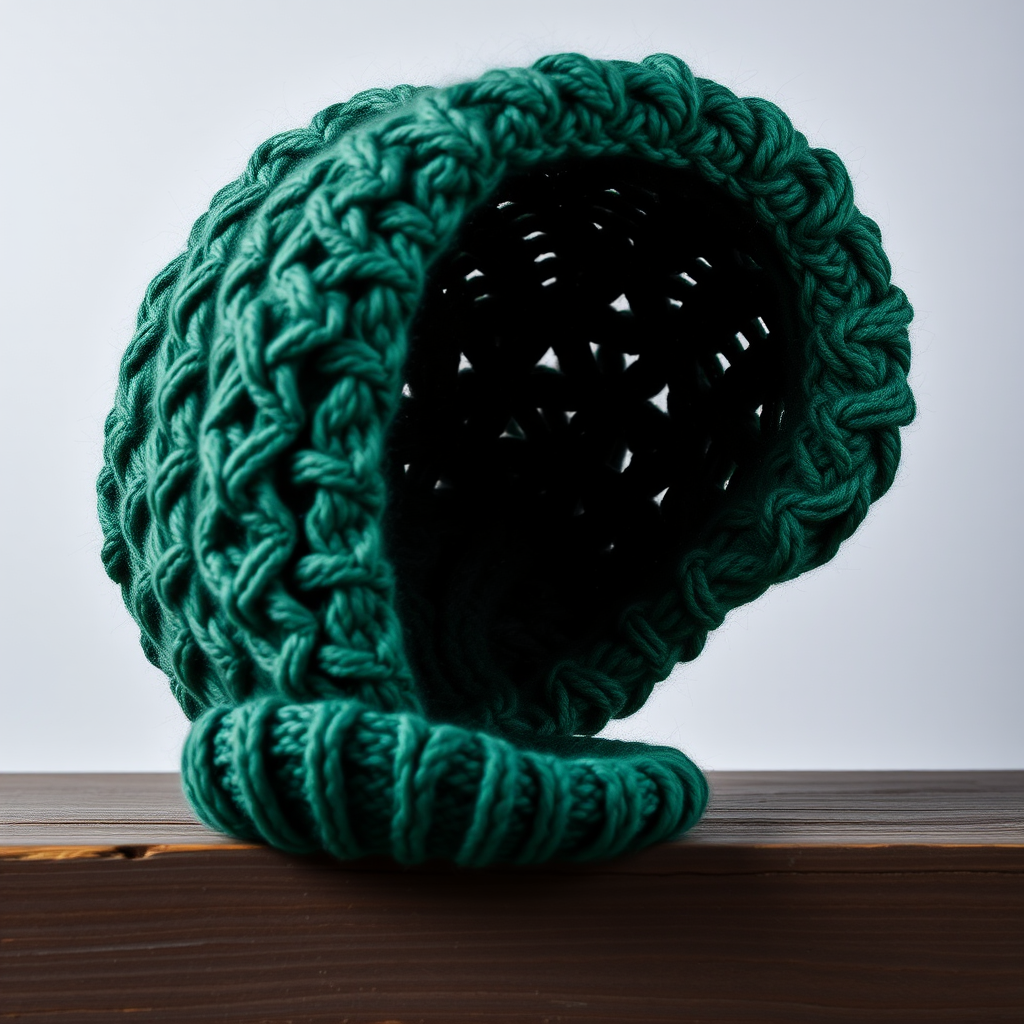
Mermaid Cove Brimmed Sun Hat Free Pattern – Textured Knitted Beach Hat

Dive Into Summer with the Mermaid Cove Brimmed Sun Hat
Imagine the gentle lapping of waves, the warmth of the sun on your skin, and the soft, textured embrace of a handcrafted accessory. The Mermaid Cove Brimmed Sun Hat is more than just a summer accessory; it's a wearable piece of coastal serenity. This free knitting pattern guides you through creating a uniquely textured hat with a wide, wavy brim that mimics the ocean's gentle roll. Crafted with a soft cotton blend in a serene palette of sea glass green and sandy beige, this hat is the perfect companion for sunny days by the shore, garden parties, or simply lounging in your backyard. Whether you're a seasoned knitter or a confident beginner looking for a rewarding project, this pattern offers a delightful journey into textured knitting.
Materials Needed
Before you begin your knitting adventure, gather the following materials to ensure a smooth and enjoyable crafting experience:
- Yarn: Worsted weight cotton or cotton-blend yarn (approx. 250-300 yards). You will need two colors: Sea Glass Green for the crown and Sandy Beige for the brim.
- Needles: US 7 (4.5 mm) 16-inch circular needle and a set of US 7 (4.5 mm) double-pointed needles (DPNs) for the crown decreases.
- Notions: Stitch marker, tapestry needle for weaving in ends, and scissors.
- Gauge: 20 stitches and 28 rows = 4 inches in stockinette stitch. Always check your gauge to ensure the correct fit.
Step-by-Step Instructions
This pattern is worked in the round from the top down, starting with the crown and finishing with the wide, wavy brim. Follow these detailed instructions carefully, and you'll have a beautiful sun hat in no time.
Part 1: Knitting the Crown
The crown is worked in a smooth stockinette stitch with strategic decreases to shape the top of the hat.
- Cast On: With the Sea Glass Green yarn, cast on 96 stitches onto your 16-inch circular needle. Place a stitch marker and join in the round, being extremely careful not to twist your stitches.
- Rounds 1-10: Knit every stitch. This creates the smooth, stockinette base of the crown.
- Round 11 (Decrease): *K6, k2tog (knit two together)*; repeat from * to * around. You will now have 84 stitches on your needle.
- Rounds 12-15: Knit all stitches.
- Round 16 (Decrease): *K5, k2tog*; repeat from * to * around. You will now have 72 stitches.
- Rounds 17-20: Knit all stitches.
- Round 21 (Decrease): *K4, k2tog*; repeat from * to * around. You will now have 60 stitches.
- Rounds 22-25: Knit all stitches.
- Round 26 (Decrease): *K3, k2tog*; repeat from * to * around. You will now have 48 stitches.
- Rounds 27-30: Knit all stitches.
- Round 31 (Decrease): *K2, k2tog*; repeat from * to * around. You will now have 36 stitches. At this point, switch to your double-pointed needles as the circular needle may become too long.
- Rounds 32-35: Knit all stitches.
- Round 36 (Decrease): *K1, k2tog*; repeat from * to * around. You will now have 24 stitches.
- Rounds 37-40: Knit all stitches.
- Round 41 (Decrease): *K2tog*; repeat from * to * around. You will now have 12 stitches.
- Round 42 (Decrease): *K2tog*; repeat from * to * around. You will now have 6 stitches.
- Finishing the Crown: Cut the yarn, leaving a 6-inch tail. Thread the tail onto a tapestry needle, slide it through the remaining 6 stitches, and pull tight to close the hole. Weave in the end securely on the inside of the hat.
Part 2: Creating the Wide, Wavy Brim
Now we'll switch to the Sandy Beige yarn to create the hat's signature wide, wavy brim. This section uses increases to flare the fabric outwards.
- Picking Up Stitches: With the right side of the crown facing you and using the Sandy Beige yarn, pick up and knit 96 stitches along the cast-on edge of the crown. Place a marker and join in the round.
- Rounds 1-2 (Ribbing): *K1, P1*; repeat from * to * around. This creates a subtle, stretchy ribbed edge that transitions into the brim.
- Round 3 (Increase): *Kfb (knit into the front and back of the next stitch), K1*; repeat from * to * around. You will now have 144 stitches.
- Rounds 4-6: Knit all stitches.
- Round 7 (Increase): *Kfb, K2*; repeat from * to * around. You will now have 192 stitches.
- Rounds 8-10: Knit all stitches.
- Round 11 (Increase): *Kfb, K3*; repeat from * to * around. You will now have 240 stitches.
- Rounds 12-14: Knit all stitches.
- Round 15 (Increase): *Kfb, K4*; repeat from * to * around. You will now have 288 stitches.
- Rounds 16-18: Knit all stitches.
- Round 19 (Increase): *Kfb, K5*; repeat from * to * around. You will now have 336 stitches.
- Rounds 20-22: Knit all stitches.
- Binding Off: Bind off all stitches very loosely. A loose bind-off is crucial to allow the brim to lay flat and wavy. You can use a larger needle to bind off or use a stretchy bind-off method like "Jeny's Surprisingly Stretchy Bind-Off" for the best result.
Final Touches
- Weave in Ends: Use your tapestry needle to carefully weave in all remaining yarn ends on the inside of the hat.
- Blocking: To achieve the beautiful, wide, wavy shape, wet block the hat. Soak the hat in lukewarm water with a drop of mild soap, then gently squeeze out excess water (do not wring). Lay the hat flat on a towel, shaping the brim into a wide, flat circle. Pin the edges if necessary to help it dry flat and maintain its wavy form. Allow it to dry completely.
Your Mermaid Cove Brimmed Sun Hat is now complete! The smooth, textured crown and the wide, wavy brim create a stunning silhouette that is both functional and fashionable. Enjoy your handcrafted piece of coastal charm, and don't be surprised if you become the envy of the beach. Happy knitting!