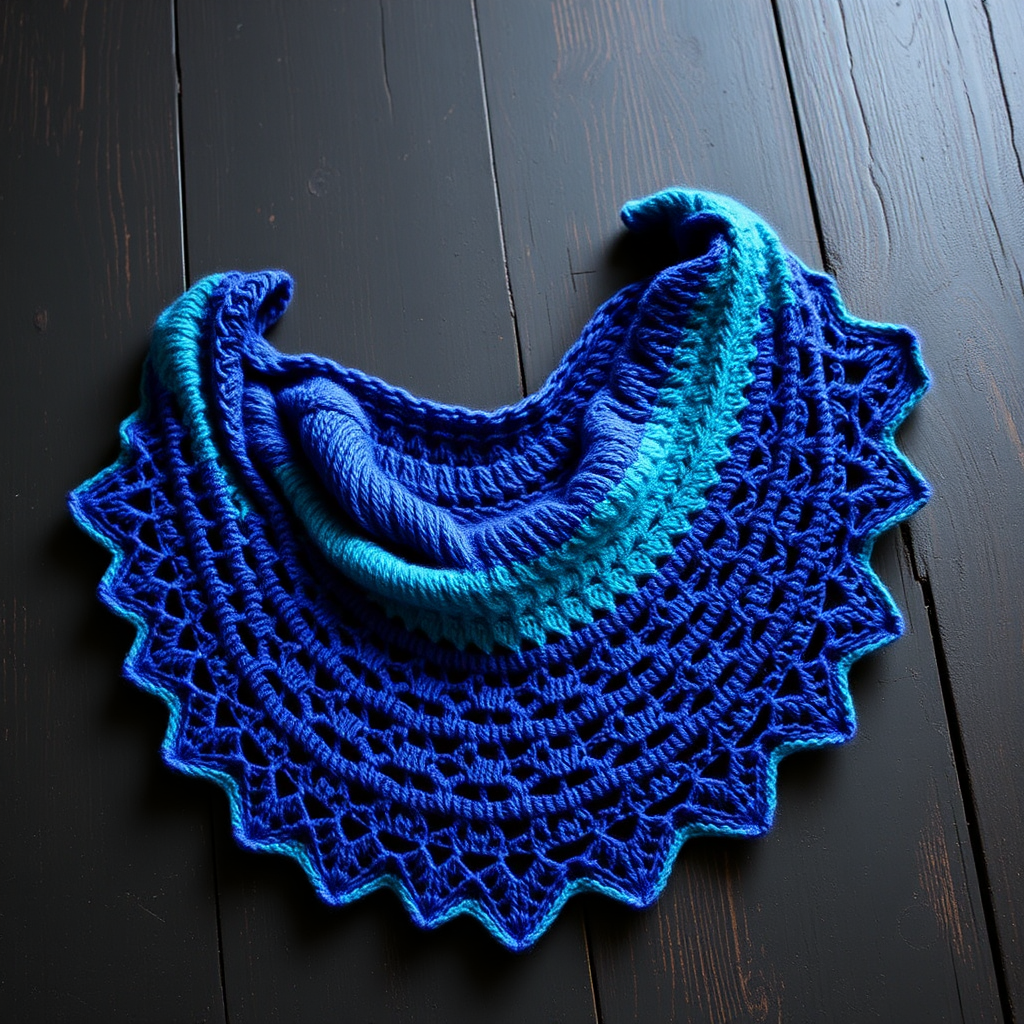
Golden Hour Dune Wrap Free Knitting Pattern – Sunlit Desert Shawl

Golden Hour Dune Wrap Free Knitting Pattern – Sunlit Desert Shawl
Wrap yourself in the warm, shifting sands of a desert sunset with this textured, crescent-shaped shawl. The interplay of garter ridges and delicate lace evokes the rippling dunes at golden hour. This free knitting pattern is perfect for intermediate beginners who want to expand their skills while creating a stunning, wearable piece of art. The Golden Hour Dune Wrap uses three warm, sun-kissed colors that transition beautifully from gold to terracotta to soft pink, mimicking the breathtaking colors of a desert sky as the sun dips below the horizon.
Whether you're looking for a cozy layering piece for cool summer evenings or a thoughtful handmade gift, this shawl delivers both beauty and functionality. The crescent shape drapes elegantly over the shoulders, and the lightweight acrylic yarn ensures it's comfortable to wear all day long. Let's dive into this delightful knitting project!
Materials Needed
Before you begin, gather the following materials to ensure a smooth knitting experience:
Yarn
- Caron Simply Soft (100% acrylic, 315 yds / 170g per skein) in 3 colors:
- Color A - Gold: 1 skein
- Color B - Terracotta: 1 skein
- Color C - Soft Pink: 1 skein
Needles
- US 8 (5.0 mm) circular knitting needle, 32 inches or longer (to accommodate the growing number of stitches)
Additional Supplies
- Stitch markers (at least 4)
- Yarn needle for weaving in ends
- Scissors
- Blocking mats and pins (for finishing)
Gauge
- 18 stitches and 24 rows = 4 inches in stockinette stitch (blocked)
Note: Gauge is important for achieving the correct drape and size. Always knit a swatch first to ensure your tension matches.
Step-by-Step Instructions
This crescent shawl is worked from the top center outwards, increasing at the edges and center to create a gentle arc. The construction is intuitive and rewarding—you'll see your shawl grow row by row! Use the long-tail cast-on method for a neat, stretchy edge.
Abbreviations
- k = knit
- p = purl
- yo = yarn over
- k2tog = knit two together (right-leaning decrease)
- ssk = slip, slip, knit (left-leaning decrease)
- pm = place marker
- sm = slip marker
- RS = right side
- WS = wrong side
Setup Section
Cast on 5 stitches with Color A using the long-tail method.
Row 1 (RS): k2, yo, k1, yo, k2 (7 stitches)
Row 2 (WS): k2, p3, k2 (7 stitches)
Row 3 (RS): k2, yo, k1, yo, k1, yo, k1, yo, k2 (11 stitches)
Row 4 (WS): k2, p7, k2 (11 stitches)
Row 5 (RS): k2, yo, k3, yo, k1, yo, k3, yo, k2 (15 stitches)
Row 6 (WS): k2, p11, k2 (15 stitches)
Your foundation is complete! You now have 15 stitches and a clear center stitch that will guide your increases.
Body – Garter Stitch Section
Now we'll establish the pattern with markers. This is a crucial step for keeping your increases organized.
Place markers as follows: k2, pm, yo, k1, yo, pm, k to last 5 stitches, pm, yo, k1, yo, pm, k2.
You will now have 4 markers in this order: edge marker, increase marker, center marker, increase marker, edge marker. The edge markers define the garter border, and the increase markers show where you'll add stitches on every RS row.
Work in garter stitch (knit every row) for the first 10 rows, increasing on RS rows as follows:
Row 7 (RS): k2, sm, yo, k1, yo, sm, k to last 5 sts, sm, yo, k1, yo, sm, k2 (19 sts)
Row 8 (WS): knit all (19 sts)
Row 9 (RS): k2, sm, yo, k1, yo, sm, k to last 5 sts, sm, yo, k1, yo, sm, k2 (23 sts)
Row 10 (WS): knit all (23 sts)
Row 11 (RS): k2, sm, yo, k1, yo, sm, k to last 5 sts, sm, yo, k1, yo, sm, k2 (27 sts)
Row 12 (WS): knit all (27 sts)
Row 13 (RS): k2, sm, yo, k1, yo, sm, k to last 5 sts, sm, yo, k1, yo, sm, k2 (31 sts)
Row 14 (WS): knit all (31 sts)
Row 15 (RS): k2, sm, yo, k1, yo, sm, k to last 5 sts, sm, yo, k1, yo, sm, k2 (35 sts)
Row 16 (WS): knit all (35 sts)
You've completed the garter section! Your shawl now has a beautiful, textured base with 35 stitches. The increases have created a gentle arc that will continue to grow as you work the lace pattern.
Body – Lace Pattern Section
Now switch to Color B and begin the lace pattern. The lace is worked between the markers, with the edge stitches always in garter (knit every row).
Lace Pattern (multiple of 4 + 1):
Row 1 (RS): k2, sm, yo, k1, yo, sm, *k3, yo, ssk, k1, k2tog, yo, k3* repeat from * to * until 5 sts before next marker, sm, yo, k1, yo, sm, k2
Row 2 (WS): k2, sm, p to next marker, sm, k2 (purl the yo's)
Row 3 (RS): k2, sm, yo, k1, yo, sm, *k2, yo, ssk, k1, k2tog, yo, k2* repeat from * to * until 5 sts before next marker, sm, yo, k1, yo, sm, k2
Row 4 (WS): k2, sm, p to next marker, sm, k2
Row 5 (RS): k2, sm, yo, k1, yo, sm, *k1, yo, ssk, k1, k2tog, yo, k1* repeat from * to * until 5 sts before next marker, sm, yo, k1, yo, sm, k2
Row 6 (WS): k2, sm, p to next marker, sm, k2
Row 7 (RS): k2, sm, yo, k1, yo, sm, *yo, ssk, k1, k2tog, yo, k1* repeat from * to * until 5 sts before next marker, sm, yo, k1, yo, sm, k2
Row 8 (WS): k2, sm, p to next marker, sm, k2
Repeat these 8 rows, continuing to increase at the markers on every RS row. The increases at the markers will keep the lace pattern expanding outward while maintaining the crescent shape.
Color Sequence for Lace Sections
Follow this color sequence to create the beautiful ombre effect:
- Color B (Terracotta): Work 2 full repeats of the lace pattern (16 rows total)
- Color C (Soft Pink): Work 2 repeats of the lace pattern (16 rows)
- Color A (Gold): Work 2 repeats of the lace pattern (16 rows)
- Color B (Terracotta): Work 2 repeats of the lace pattern (16 rows)
- Color C (Soft Pink): Work 2 repeats of the lace pattern (16 rows)
- Color A (Gold): Work 2 repeats of the lace pattern (16 rows)
Pro tip: When changing colors, do so at the beginning of a RS row for the cleanest transition. Leave a tail of about 6 inches to weave in later.
Edging
With Color A, work 6 rows of garter stitch (knit every row), continuing the increases on RS rows as before. This creates a neat, finished border that frames the lace beautifully.
Bind off loosely on the WS (knitwise). A loose bind-off is essential to prevent the edge from pulling and to maintain the shawl's drape. If you tend to bind off tightly, consider using a larger needle or the "knit two together" bind-off method for extra stretch.
Finishing
Weave in all ends carefully with your yarn needle. Take your time to ensure the ends are secure but invisible—this makes a huge difference in the professional look of your finished piece.
Blocking is essential for this shawl. The lace pattern truly shines when opened up. Here's how to block your shawl:
- Soak the shawl in lukewarm water with a gentle wool wash for 15-20 minutes.
- Gently squeeze out excess water (never wring or twist).
- Roll the shawl in a clean towel to remove additional moisture.
- Lay the shawl flat on blocking mats.
- Pin out the points and edges to shape the crescent. Stretch gently to open up the lace pattern.
- Let dry completely before removing pins—this can take 24-48 hours depending on humidity.
Once dry, your Golden Hour Dune Wrap is ready to wear or gift! The blocked lace will have a beautiful, airy quality that drapes elegantly over your shoulders.
Tips for Success
- Count your stitches regularly after each repeat to catch mistakes early.
- Use a lifeline (a piece of scrap yarn threaded through your stitches) before starting each new lace section. If you make a mistake, you can easily rip back to the lifeline without losing your work.
- Keep your yarn overs loose to ensure the lace pattern has good drape and the increases are easy to work.
- Take breaks—this is a relaxing project, but the lace pattern requires focus. Step away if you feel frustrated.
The Golden Hour Dune Wrap is more than just a knitting pattern—it's a journey through color and texture that results in a stunning, wearable piece of art. The combination of garter ridges and delicate lace creates a fabric that catches the light beautifully, just like sun-drenched sand dunes. Whether you're knitting for yourself or as a gift, this shawl is sure to become a treasured favorite.
Happy knitting, and may your stitches always be even and your yarn never tangle!