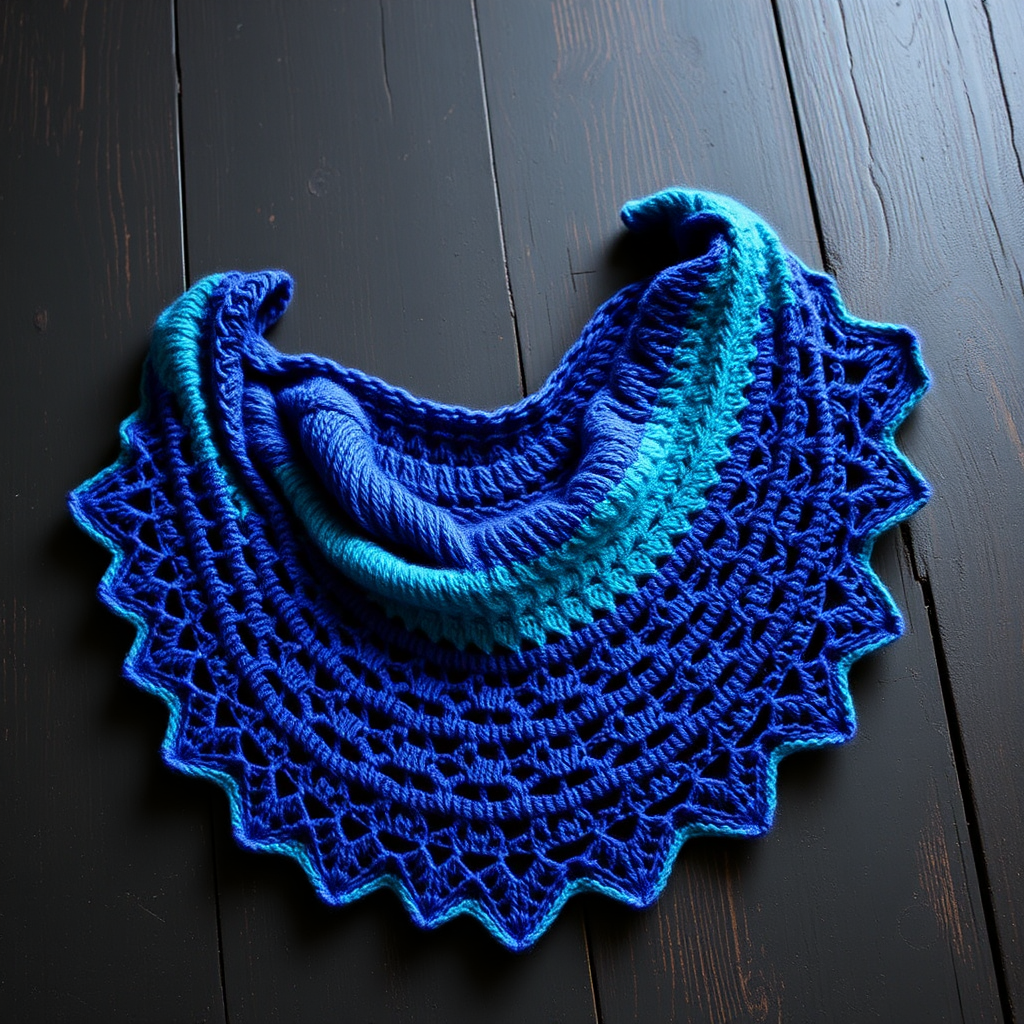
Candy Cloud Wrap Free Pattern

Wrap Yourself in the Candy Cloud Wrap: A Beginner-Friendly Crochet Shawl Pattern
Imagine wrapping yourself in a soft, oversized cloud of pastel yarn—that's the magic of the Candy Cloud Wrap. This modern take on a classic shawlette combines a gentle ripple stitch with a dreamy gradient of bubblegum pink, creamy white, and light lavender. The result is a cozy, romantic accessory that feels like a warm hug on a chilly evening. Best of all, this free crochet pattern is perfect for beginners, using only basic stitches and simple repeats to create a stunning, textured triangle. Let's dive in and create your new favorite handmade wrap!
Materials Needed for Your Candy Cloud Wrap
Before you begin, gather these simple supplies. The bulky yarn works up quickly, making this a satisfying weekend project.
- Yarn: Bulky weight (Category 5) yarn in three shades—soft pink, cream, and light lavender (approximately 300g total, or about 100g of each color).
- Crochet Hook: Size K/10.5 (6.5 mm) hook.
- Other Tools: Yarn needle for weaving in ends, scissors.
- Gauge: 4 ripple repeats (12 dc) and 6 rows = 4 inches in pattern stitch. (Gauge is flexible for this wrap; a looser gauge creates a drapier fabric.)
Step-by-Step Instructions: How to Crochet the Candy Cloud Wrap
This shawlette is cleverly worked from the top center down, increasing at the edges to form a wide, flowing triangle. Don't be intimidated by the ripple pattern—once you get the first few rows done, the rhythm is incredibly easy to follow. Let's get started!
Getting Started: The Foundation Row
Start with a slip knot on your hook. This is your foundation chain.
- Chain (Ch) 42.
- Row 1 (Foundation): Double crochet (Dc) in the 4th chain from the hook (this counts as your first dc). Dc in the next 3 chains.
- Now, follow the ripple pattern: *Skip 2 chains, dc in the next 4 chains, ch 2, dc in the next 4 chains, skip 2 chains, dc in the next 4 chains.*
- Repeat from * to * across the row, ending with a dc in the very last chain. Turn your work. (You should have 5 ripple points, or "peaks," created by the ch-2 spaces.)
Creating the Ripple Pattern: Row 1
This is where the magic begins! We'll start increasing at the edges to shape the triangle.
- Row 1: Ch 3 (this counts as your first dc). Place 2 dc in the same stitch (this is your edge increase). Dc in the next 3 dc.
- Follow the ripple: *Skip 2 dc, dc in the next 4 dc, (dc, ch 2, dc) all in the ch-2 space from the row below, dc in the next 4 dc, skip 2 dc, dc in the next 4 dc.*
- Repeat from * to * across the row. At the very end, dc in the last 3 dc, then place 3 dc in the top of the turning chain (this is your other edge increase). Turn your work.
Building the Body: Row 2 and Beyond
Now that the pattern is established, Row 2 is nearly identical, just with one extra dc at the start and end to accommodate the increases.
- Row 2: Ch 3, 2 dc in the same stitch. Dc in the next 4 dc.
- Follow the ripple: *Skip 2 dc, dc in the next 4 dc, (dc, ch 2, dc) in the ch-2 space, dc in the next 4 dc, skip 2 dc, dc in the next 4 dc.*
- Repeat from * to * across. At the end, dc in the last 4 dc, then place 3 dc in the top of the turning chain. Turn.
Repeat Row 2 for the rest of the pattern. This will continue to increase your shawl's width evenly on both sides, creating the beautiful triangle shape.
Adding the Pastel Gradient: Color Changes
To achieve the gorgeous ombre effect, you'll change colors every 6 rows. Don't worry about cutting the yarn each time—you can simply carry the unused color up the side or weave in ends later.
- Color Sequence: Work 6 rows in soft pink, then 6 rows in cream, then 6 rows in light lavender. Repeat this entire sequence (pink, cream, lavender) until your shawl measures approximately 30 inches from the center top to the bottom point.
- Finishing the Body: End with a complete row in soft pink to frame the bottom edge beautifully. Fasten off and weave in this end.
The Perfect Finishing Touch: Scalloped Edging
A delicate border gives the wrap a polished, professional look and helps it lay flat.
- Attach your cream yarn to any corner of the shawl with a slip stitch.
- Round 1: Work a round of single crochet (sc) evenly around the entire outer edge of the triangle.
- Corners: At each of the three corner points, work 3 sc in the same corner stitch to turn the corner smoothly.
- Bottom Edge (Ripple Valleys): Along the bottom edge, in each ch-2 space (the "valleys" of your ripples), work (sc, ch 2, sc) to create a subtle scalloped effect.
- Join with a slip stitch to the first sc of the round. Fasten off.
Final Steps: Weave in Your Ends
Using your yarn needle, carefully weave in all loose ends from your color changes and the beginning/end of your work. Give your wrap a gentle stretch and block it if desired to open up the stitches and showcase the beautiful drape.
Congratulations! You've just created your very own Candy Cloud Wrap. This plush, romantic accessory is perfect for cozying up on the couch, adding a pop of pastel color to a winter coat, or gifting to a loved one. The simple ripple stitch and easy color changes make it a joy to crochet, and the result is a stunning, one-of-a-kind piece you'll treasure for years. Happy crocheting!