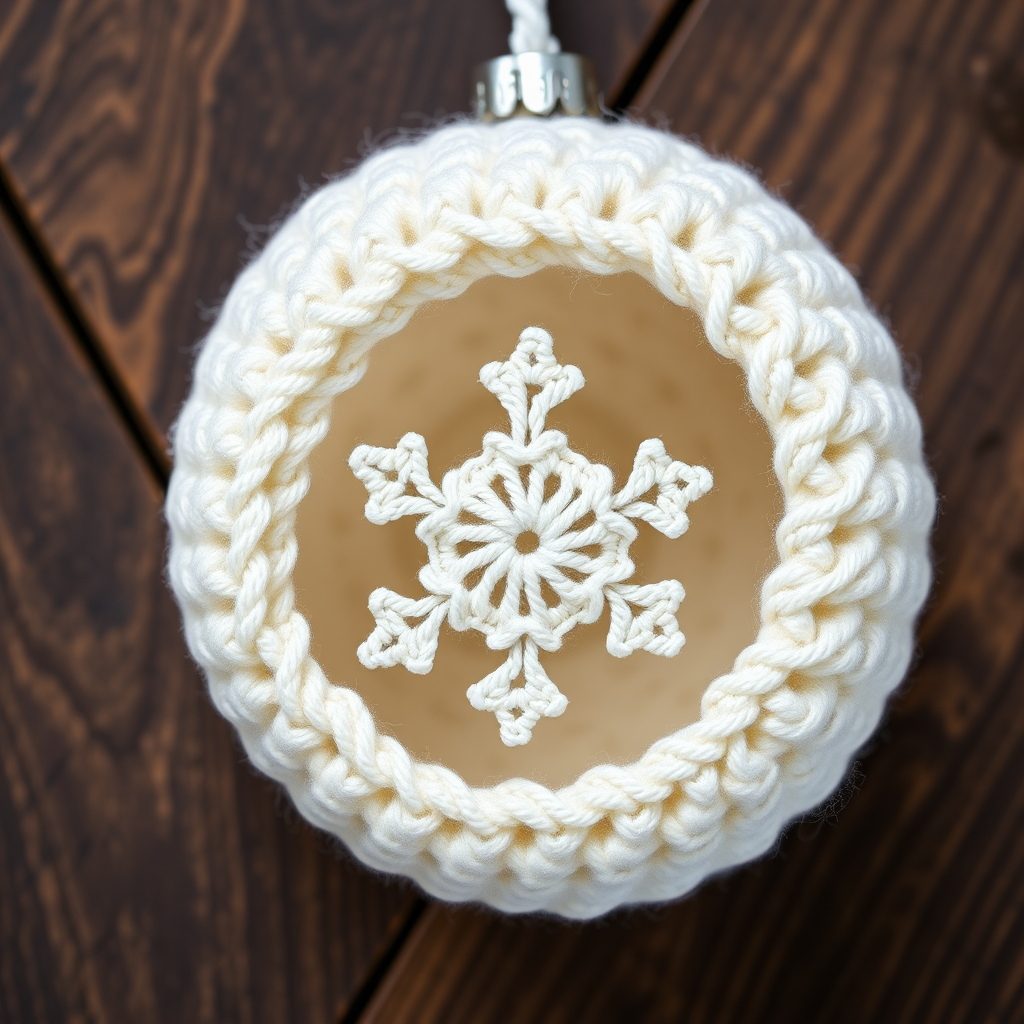
Frosted Berry Kissing Ball Ornament Free Pattern

Frosted Berry Kissing Ball Ornament — Free Beginner Crochet Pattern
Introduction
Welcome to your very first crochet ornament! This Frosted Berry Kissing Ball is the perfect project for someone who has never held a crochet hook before — it is small, quick, and forgiving, and every single stitch is spelled out for you below. The finished ornament is a round, slightly stuffed ball about 8.5 cm (roughly 3⅓ inches) across, worked in a soft sage green yarn with little raised "berry" bumps all over it, a snowy white picot trim around its middle, a tiny red bow near the top, and a white hanging loop so it can dangle from a tree branch or hook. It feels squishy and cozy in your hand, looks wonderfully handmade, and makes a heartfelt gift or a keepsake for your own tree. If you can make a slip knot and hold a hook, you can make this — let's begin!
Materials Needed
- Yarn (main color): DK weight yarn (also called "light worsted," yarn weight category 3) in sage green — approximately 20 yards (about 18 meters). A single small ball is plenty.
- Yarn (trim and loop): DK weight yarn (category 3) in white — approximately 5 yards (about 4.5 meters).
- Yarn (bow): A small amount of DK weight yarn in red — about 1 yard is more than enough.
- Crochet hook: Size E/4 (3.5 mm). (The "E" is the US size name and 3.5 mm is the metric size — they are the same hook.)
- Stitch marker: 1 stitch marker (a small plastic clip or even a safety pin works).
- Tapestry needle: 1 blunt-tipped yarn needle with a large eye, for sewing the bow and loop on and for weaving in ends.
- Scissors: Any small pair of sharp scissors for cutting yarn.
- Stuffing: A small handful of polyester fiberfill, or a small plastic ball (about 5 cm / 2 inches across) to fill the ornament.
- Finished size: Approximately 8.5 cm x 8.5 cm (about 3⅓ inches x 3⅓ inches) — a round ball roughly the size of a large plum.
Abbreviations and Beginner Glossary
Every abbreviation used in this pattern is listed here. Read through this list once before you start — you do not need to memorize it, just come back to it whenever a symbol confuses you.
- ch — chain. Make a loop of yarn on your hook (a "slip knot"), then wrap the yarn over your hook and pull it through the loop already on the hook. That is one chain stitch. Chains look like tiny braided V's.
- sc — single crochet. Insert your hook into the stitch, wrap yarn over the hook, pull up a loop (you now have 2 loops on the hook), wrap yarn over again, and pull through both loops on the hook. One loop remains. That is one single crochet.
- sl st — slip stitch. Insert your hook into the stitch, wrap yarn over, and pull that loop straight through both the stitch and the loop on your hook in one motion. It makes a nearly invisible joining stitch.
- BS — berry stitch. This is the special bumpy stitch that gives the ornament its texture. Here is how to make one, step by step: (1) Insert hook into the indicated stitch, yarn over, pull up a loop. (2) Yarn over and pull through one loop on your hook only — this makes a little chain. (3) Yarn over, insert hook into the same stitch again, yarn over, pull up a loop. (4) Yarn over and pull through all 3 loops on your hook. Done — one berry stitch, which looks like a small raised bump.
- sc2tog — single crochet two together (a decrease). This turns 2 stitches into 1 so the ball closes up. How: insert hook into the first stitch, yarn over, pull up a loop (2 loops on hook). Insert hook into the next stitch, yarn over, pull up a loop (3 loops on hook). Yarn over and pull through all 3 loops. You have made one stitch where there used to be two.
- picot — a tiny decorative bump. How: chain 3, then make a slip stitch into the third chain from your hook (that is the very first chain you made). It forms a little loop that sticks out.
- magic ring — an adjustable loop of yarn used to start working in the round. Make a loop of yarn that overlaps itself, hold the crossing point, insert your hook into the loop, pull up a loop of working yarn, chain 1 to secure, then work your stitches into the ring (around the doubled yarn). When finished, pull the short yarn tail to cinch the center hole closed tight.
- st / sts — stitch / stitches.
- join with sl st — after working all the stitches of a round, insert your hook into the first stitch of that round and make a slip stitch. This closes the round into a circle.
- yarn over — wrap the working yarn (the yarn coming from the ball) over your hook from back to front.
- fasten off — cut the yarn a few inches from your work, then pull the cut end all the way through the last loop on your hook and tighten. This locks the stitch so it will not unravel.
- weave in ends — thread a yarn tail onto the tapestry needle and sew it in and out through the back of your stitches for a few centimeters so it is hidden and secure.
- repeat from * — go back to the asterisk (*) in the instruction and work those stitches again, as many times as the instruction says (often "around," meaning until you reach the end of the round).
- round — one complete circle of stitches worked around the ornament. (Rows are straight lines; rounds are circles.)
Gauge
Gauge is not critical for this project. Because the ornament is a small stuffed ball, a slightly tighter or looser fabric will still look lovely and simply make the ball a touch smaller or larger. The finished ornament measures approximately 8.5 cm x 8.5 cm when worked at the tension described below.
For reference, the fabric in this pattern works up at roughly 16 single crochet stitches x 18 rounds = 4 inches (10 cm) in single crochet worked in the round with the E/4 (3.5 mm) hook.
Why does gauge matter, and what is a gauge swatch? Gauge is simply how big your stitches come out — how many fit into 4 inches. If your stitches are much bigger than the designer's, your ornament will come out larger; if much smaller, it will come out tiny. A "gauge swatch" is a small practice patch you crochet before starting a project to check your stitch size. To make one: chain 18, then single crochet into the second chain from your hook and into every chain across (17 stitches), then work 18 more rows of single crochet. Lay a ruler across the middle and count how many stitches fit in 4 inches. If you get about 16, you are right on track. If you get many more, try a larger hook; if many fewer, try a smaller hook. For this little ornament, though, do not worry — just aim for a fabric that feels firm and dense, with no big gaps between stitches, so the stuffing does not peek through.
Beginner Tips Before You Start
- Use a stitch marker to track your rounds. Place the marker in the first stitch of each round as you make it. When you come back around, you will know exactly where the round began and where to join. Move the marker up to the new first stitch each round.
- Do not pull your yarn too tight. Beginners often tug every stitch snug, which makes the hook hard to insert and the fabric stiff. Keep an even, relaxed tension — the yarn should glide, not fight you.
- Count out loud (or in a whisper). Every round in this pattern ends with a stitch count in parentheses, like (24 sc). Count your stitches at the end of each round and compare. If the number is off, fix it now — it is far easier to fix one round than to discover the mistake five rounds later.
- Work the berry stitches loosely. The berry stitch bunches several loops together, so it naturally pulls tighter than a single crochet. Ease up on your tension on berry rounds so the bumps pop out nicely instead of squishing flat.
- Stuff lightly and late. Do not overstuff — a light handful of fiberfill (or the small plastic ball) is enough. Overstuffing stretches the stitches and hides the berry texture. The pattern tells you exactly when to stuff.
- Keep your starting tail long. When you make the magic ring, leave a 15 cm (6 inch) tail. You will use it later to cinch the center hole completely closed and to weave the end in securely.
Step-by-Step Instructions
Special Stitches (review before starting)
- Berry Stitch (BS): Insert hook in indicated stitch, yarn over, pull up a loop, yarn over, pull through one loop on hook (this makes a chain), yarn over, insert hook in the same stitch, yarn over, pull up a loop, yarn over, pull through all 3 loops on hook.
- Picot: Ch 3, sl st in the third ch from hook.
Body (worked in sage green)
With sage green yarn, make a magic ring (see glossary above). Leave a 15 cm (6 inch) starting tail.
- Round 1: Ch 1 (this does not count as a stitch — it just lifts your yarn to start), work 12 sc into the ring, join with sl st to the first sc. (12 sc) — Place your stitch marker in the first sc of this round. Gently pull the starting tail to close the center hole.
- Round 2: Ch 1, work 2 sc in each st around (that means two single crochets into every single stitch of the previous round), join with sl st to the first sc. (24 sc) — You have just doubled your stitch count, which makes the flat circle start to grow.
- Round 3: Ch 1, *sc in next st, BS in next st; repeat from * around (so: sc, berry, sc, berry, and so on, 12 times in total), join with sl st to the first sc. (12 sc, 12 BS — 24 stitches total)
- Round 4: Ch 1, sc in each st around (one single crochet into every stitch — this includes working into the tops of the berry stitches), join with sl st to the first sc. (24 sc)
- Round 5: Ch 1, *BS in next st, sc in next st; repeat from * around (berry, sc, berry, sc, 12 times in total — note this round is offset from Round 3 so the berries stagger), join with sl st to the first sc. (12 BS, 12 sc — 24 stitches total)
- Round 6: Ch 1, sc in each st around, join with sl st to the first sc. (24 sc)
- Round 7: Ch 1, *sc in next st, BS in next st; repeat from * around (same as Round 3), join with sl st to the first sc. (12 sc, 12 BS — 24 stitches total)
- Round 8: Ch 1, sc in each st around, join with sl st to the first sc. (24 sc) — Do not fasten off yet. This round is also where the white trim will later be attached, so remember it.
- Round 9: Ch 1, *sc2tog over next 2 sts; repeat from * around (work a decrease into stitches 1 and 2, then into stitches 3 and 4, and so on, 12 decreases in total), join with sl st to the first sc. (12 sc) — The ball now begins to close. Stuff lightly with fiberfill or insert the small plastic ball now, before the opening gets too small.
- Round 10: Ch 1, sc2tog over next 2 sts around (6 decreases in total), join with sl st to the first sc. (6 sc)
Fasten off, leaving a long tail (about 20 cm / 8 inches). Thread this tail onto the tapestry needle, pass it through the front loop of each of the remaining 6 stitches, then pull tight to close the top hole completely. Do not weave this tail in yet — you can use it to anchor the hanging loop later.
Snowy Trim (worked in white)
Join white yarn with a sl st to any stitch of Round 8 (the last plain single crochet round of the body, just below where the ball starts to close).
- Round 1: Ch 1, sc in each st around the Round 8 edge, join with sl st to the first sc. (24 sc)
- Round 2: Ch 1, *sc in next st, picot (ch 3, sl st in third ch from hook); repeat from * around (12 sc and 12 picots in total), join with sl st to the first sc. (12 sc, 12 picots) — Fasten off and weave in the ends with your tapestry needle.
Hanging Loop (worked in white)
- Loop: With white yarn, ch 12, join with sl st to the first ch to form a ring. Sl st in each ch around (12 sl sts). (12 sl sts) — Fasten off, leaving a tail. Sew the loop firmly to the top of the ornament using the tapestry needle, stitching through the closed top and the tail you left from Round 10 so it is extra secure. Weave in the end.
Bow (worked in red)
- Row 1: With red yarn, ch 6. Sc in the second ch from hook and in each ch across. (5 sc) — Fasten off, leaving a tail.
- Finishing the bow: Wrap the tail yarn around the center of the little strip several times, pulling gently to gather it into a bow shape, then knot securely at the back. Sew the bow to the front of the ornament near the top, just below the hanging loop, using the tapestry needle. Weave in the end.
Assembly and Finishing
- Closing the top: If you have not already, thread the long sage tail from Round 10 onto the tapestry needle, run it through the front loop of each of the 6 remaining stitches, and pull tight. Push the needle down through the center of the ball and out the bottom, then trim — this hides the tail inside.
- Attaching the trim: The white trim is crocheted directly onto Round 8, so no sewing is needed there — just make sure it sits evenly all the way around. Gently ease it flat with your fingers.
- Sewing on the loop: Use the white tail from the hanging loop and stitch through the loop's base and the top of the ornament 4–5 times, going back and forth, so it can hold the ornament's weight. Knot on the inside and weave in.
- Sewing on the bow: Position the bow on the front, just below the loop. Stitch through the center wrap of the bow and into the ornament 3–4 times. Knot at the back of the bow and weave in.
- Weaving in ends: Thread each remaining yarn tail onto the tapestry needle. Sew it in and out through the back of 5–6 stitches in one direction, then reverse and sew back through 3–4 stitches in the other direction. This "back-and-forth" method locks the end so it will never work loose. Trim the yarn close to the fabric.
- Blocking: "Blocking" means gently shaping the finished piece and letting it dry so it looks its best. Fill a spray bottle with cool water and mist the ornament lightly all over — just damp, not soaking. Pat it into a nice round shape with your hands, fluff out the picots with a fingertip, and set it on a clean towel to dry completely (a few hours, or overnight). Do not wring or squeeze it. Once dry, your ornament will hold its round shape beautifully.
Pro Tips and Variations
- Change the colors: Try a deep burgundy body with a cream trim and a gold bow for a rich, vintage look, or a soft blush pink body with white trim for a romantic Valentine's version. Any DK colors work — just keep the trim a contrasting color so it stands out.
- Make it bigger or smaller: To make a larger ornament, add one more plain single crochet round (24 sc) before Round 9 and use a slightly bigger hook (such as a US F/5, 3.75 mm). To make a tiny version, use a smaller hook (such as a US D/3, 3.25 mm) and thinner yarn — the stitch counts stay exactly the same.
- Substitute the yarn: Any DK (category 3) yarn works — cotton gives a crisp, matte finish, while acrylic or a wool blend gives a soft, fuzzy look. Avoid fluffy novelty yarns for your first attempt, as they make it hard to see your stitches.
- Add a personal touch: Slip a tiny jingle bell inside before stuffing, or sew a small bead or a store-bought mini bow at the top instead of the crocheted one. You can also make a whole set in different colors and hang them in a row along a garland.