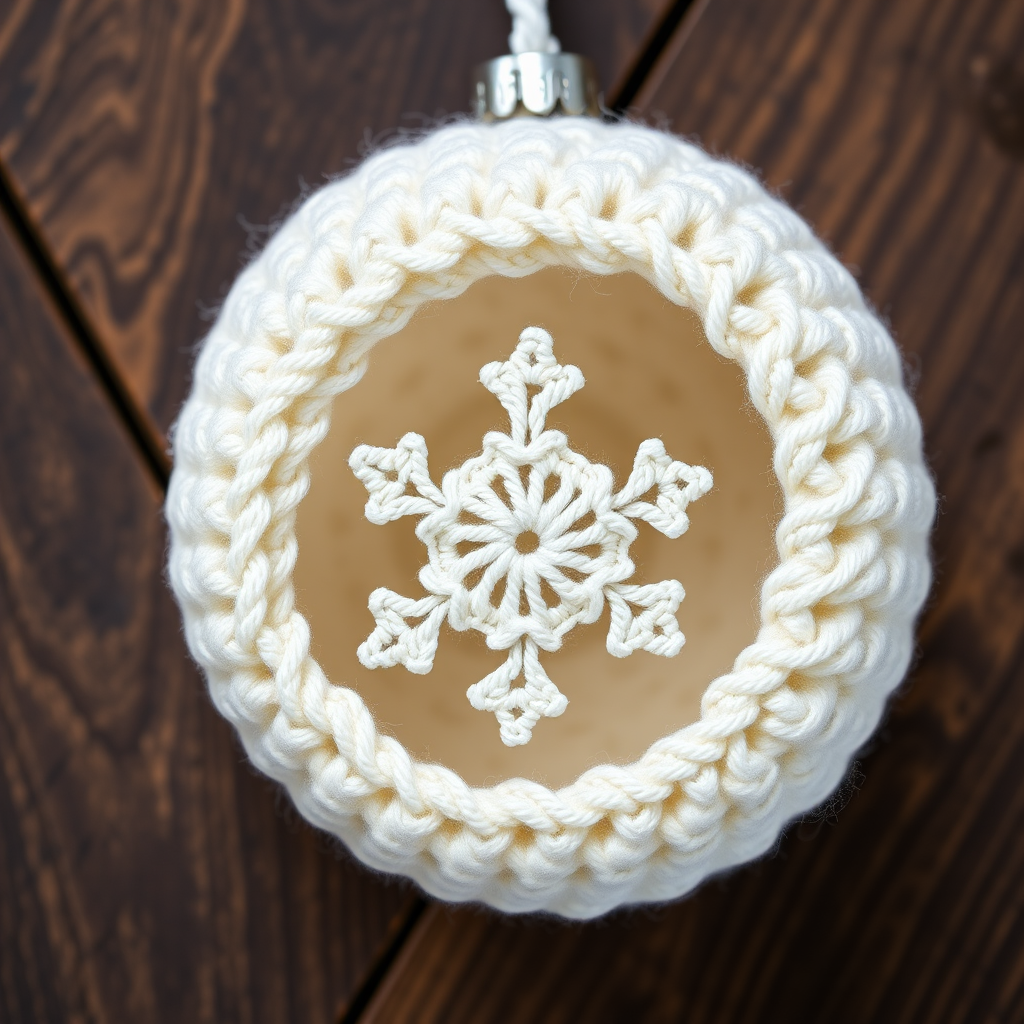
Evergreen Embrace Crochet Wreath Ornament Free Pattern

Evergreen Embrace Crochet Wreath Ornament: A Free Beginner-Friendly Pattern
Bring a touch of woodland elegance to your holiday décor with this charming crochet wreath ornament. The Evergreen Embrace features a lush, textured moss-stitch center in deep forest green, accented with a cozy cream bow and three cranberry-red berries. This quick and satisfying project is perfect for beginners and experienced crocheters alike, making a delightful addition to your Christmas tree, gift wrapping, or festive garlands.
In this comprehensive guide, I'll walk you through every step—from gathering your materials to adding the final hanging loop. By the end, you'll have a beautiful, handmade ornament that captures the cozy spirit of the season. Let's get started!
Materials Needed
Before you begin, gather the following supplies. This project uses small amounts of yarn, making it a fantastic stash-buster for your leftover worsted weight scraps.
| Material | Specification | Approximate Yardage |
|---|---|---|
| Yarn (MC) | Worsted weight, deep forest green | 30 yards |
| Yarn (CC1) | Worsted weight, warm cream | 10 yards |
| Yarn (CC2) | Worsted weight, cranberry red | 5 yards |
| Crochet Hook | Size G/6 (4.25 mm) | - |
| Other | Stitch marker, yarn needle, polyester fiberfill (small amount), scissors | - |
Note: Gauge is not critical for this project. For reference, the finished wreath measures approximately 4 inches in diameter.
Step-by-Step Instructions
This pattern is worked in continuous rounds (spiral) without joining unless otherwise stated. Use a stitch marker to keep track of your rounds. The key to the wreath's center hole is to not pull the magic ring completely closed—leave it slightly open (about 1 inch in diameter) after the first round.
Wreath Body (Make 2 Identical Pieces)
You will crochet two flat circles and then join them together to create a plush, double-sided ornament.
Round 1: With MC (forest green), make a magic ring. Work 6 single crochet (sc) into the ring. Do not pull the ring tightly closed; leave it open about 1 inch. (6 sts)
Round 2: Work 2 sc in each stitch around. (12 sts)
Round 3: *Sc in next stitch, 2 sc in next stitch* repeat from * to * around. (18 sts)
Round 4: *Sc in next 2 stitches, 2 sc in next stitch* repeat from * to * around. (24 sts)
Round 5: *Sc in next 3 stitches, 2 sc in next stitch* repeat from * to * around. (30 sts)
Round 6: *Sc in next 4 stitches, 2 sc in next stitch* repeat from * to * around. (36 sts)
Round 7: Working in the back loop only, sc in each stitch around. (36 sts) – This creates a distinct ridge that will form the outer edge of the wreath, giving it a beautiful textured definition.
Round 8: Sc in each stitch around (working through both loops). (36 sts)
Round 9: *Sc in next 5 stitches, 2 sc in next stitch* repeat from * to * around. (42 sts)
Round 10: Sc in each stitch around. (42 sts)
Fasten off, leaving a long tail (about 12 inches) for sewing. Make a second identical piece.
💡 Pro Tip: As you work the subsequent rounds, the center hole will naturally enlarge. If it becomes too small or tight, gently stretch it with your fingers to maintain that open, wreath-like appearance.
Assembly: Joining the Two Pieces
Now we'll bring the two circles together to form the plush wreath body.
- Place the two wreath pieces together with wrong sides facing (the right sides should be facing outward).
- Thread the long tail from the second piece onto your yarn needle.
- Using a whip stitch, sew around the outer edge, catching stitches from both pieces evenly.
- Stop when you have about a 1-inch opening left unsewn.
- Lightly stuff the wreath with polyester fiberfill through the opening. Don't overstuff—you want a soft, plush look, not a tight ball.
- Continue whip stitching to close the opening completely.
- Weave in all loose ends securely.
Berry Embellishments (Make 3)
These tiny red berries add a festive pop of color and are incredibly quick to make.
- With CC2 (cranberry red), make a magic ring.
- Work 5 sc into the ring.
- Pull the tail to tighten the ring completely closed.
- Slip stitch to the first sc to join.
- Fasten off, leaving a tail for sewing.
Repeat to make a total of 3 berries. Sew each berry onto the front of the wreath, spacing them evenly around the lower half (think of the 4, 5, and 7 o'clock positions).
Creating the Bow
The cream bow is the perfect finishing touch, adding contrast and charm.
- With CC1 (cream), chain 12.
- Row 1: Sc in the second chain from the hook and in each chain across. (11 sts) Chain 1, turn.
- Row 2-4: Sc in each stitch across. (11 sts) At the end of Row 4, fasten off, leaving a long tail (about 15 inches).
- Fold the rectangle so the short ends meet in the middle, creating a bow shape.
- Wrap the long tail tightly around the center of the gathered rectangle several times to cinch it into a bow.
- Secure with a few small stitches through the back of the bow.
- Attach the bow to the top of the wreath (around the 12 o'clock position) using the remaining tail.
Adding the Hanging Loop
This simple loop ensures your ornament is ready to hang on the tree.
- Cut a 6-inch piece of CC1 (cream) yarn.
- Fold it in half to create a loop.
- Insert your crochet hook through the top of the wreath, just behind the bow.
- Pull the folded loop through the wreath.
- Thread the two loose ends through the loop and pull tight to create a secure knot.
- Trim the ends neatly.
Finishing Touches
Your Evergreen Embrace wreath ornament is almost complete! Take a moment to:
- Weave in any remaining yarn ends with your tapestry needle.
- Gently shape the wreath with your hands to ensure it lies flat and the center hole is visible.
- Optionally, block the ornament lightly by misting with water and laying flat to dry for a more polished look.
And there you have it—a beautiful, handmade Evergreen Embrace Crochet Wreath Ornament ready to adorn your tree or brighten someone's holiday! This pattern is wonderfully versatile; try experimenting with different color combinations to match your décor or give as heartfelt handmade gifts.
Happy crocheting, and may your holidays be filled with warmth and creativity!