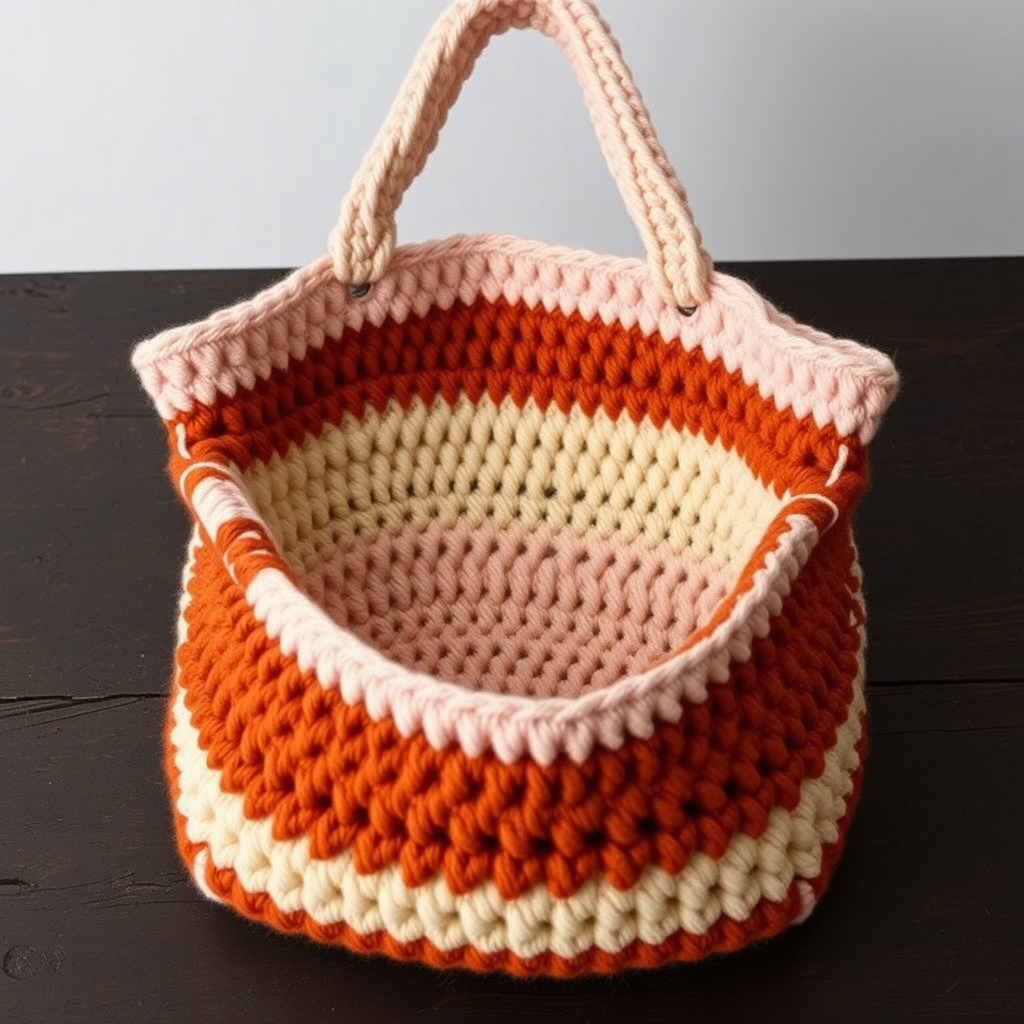
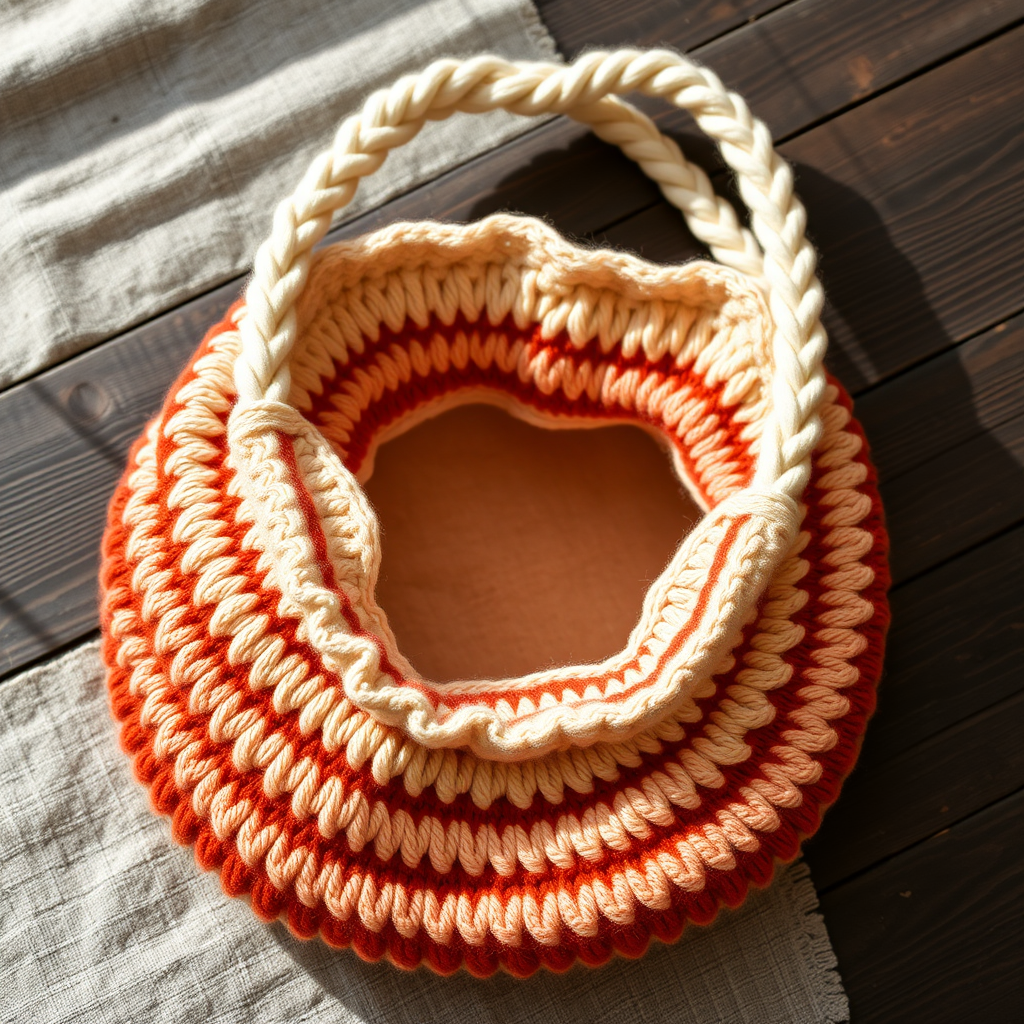
Evergreen Dune Market Tote Free Crochet Pattern – Textured Jute-Striped Carryall

Introducing the Evergreen Dune Market Tote: A Textured Crochet Carryall
Imagine strolling through a sun-drenched farmers' market, your trusty tote bag slung over your shoulder, filled with fresh produce and artisan finds. That's the vision behind the Evergreen Dune Market Tote—a sturdy, oversized crochet bag that blends earthy jute tones with soft cotton stripes for a modern, organic look. This isn't just any bag; it's a statement piece that combines durability with bohemian elegance.
The textured stitch pattern creates a dense, ribbed fabric that's perfect for carrying heavy groceries, beach essentials, or your latest library haul. The color palette—warm sand, deep olive, and burnt terracotta—evokes a sense of groundedness and natural beauty. Best of all, this free pattern is beginner-friendly, guiding you through every step with clear instructions. Let's dive in and create your new favorite accessory!
Materials Needed
Before we begin, gather these supplies to ensure a smooth crochet session:
- Yarn: Lion Brand Re-Up (or any bulky weight cotton/jute blend) in:
- Sand (A) – approximately 250g
- Olive (B) – approximately 75g
- Terracotta (C) – approximately 75g
- Hook: 6.0 mm crochet hook
- Other: Stitch markers, yarn needle, scissors
Gauge: 13 single crochet (sc) x 14 rows = 4 x 4 inches. Always check your gauge to ensure the bag comes out the right size.
Step-by-Step Instructions
Notes: Worked in continuous rounds unless stated. Ch 1 at start of round does not count as a stitch. Use stitch markers to track rounds.
Part 1: The Base (Make 2)
We'll start by creating two identical flat circles that will form the bottom of your tote. This double-layer base ensures extra sturdiness.
Round 1: With color A (Sand), ch 2, work 8 sc in 2nd ch from hook. (8 stitches)
Round 2: 2 sc in each stitch around. (16 stitches)
Round 3: (Sc in next st, 2 sc in next st) around. (24 stitches)
Round 4: (Sc in next 2 sts, 2 sc in next st) around. (32 stitches)
Round 5: (Sc in next 3 sts, 2 sc in next st) around. (40 stitches)
Round 6: (Sc in next 4 sts, 2 sc in next st) around. (48 stitches)
Round 7: (Sc in next 5 sts, 2 sc in next st) around. (56 stitches)
Round 8: (Sc in next 6 sts, 2 sc in next st) around. (64 stitches)
Round 9: (Sc in next 7 sts, 2 sc in next st) around. (72 stitches)
Round 10: (Sc in next 8 sts, 2 sc in next st) around. (80 stitches)
Fasten off and weave in the end. Repeat these 10 rounds to create a second identical base. Set both aside.
Part 2: The Body
Now we'll build the tall, roomy body of the tote, incorporating the beautiful stripe pattern.
Round 1: With right sides facing, join color A to any stitch of one base. Ch 1, sc in each stitch around, working through both loops. (80 stitches)
Round 2: Sc in each stitch around. (80 stitches)
Round 3: Switch to color B (Olive). Sc in each stitch around. (80 stitches)
Round 4: With B, (sc in next 3 sts, 2 sc in next st) around. (100 stitches)
Round 5: With B, sc in each stitch around. (100 stitches)
Round 6: Switch to color A. Sc in each stitch around. (100 stitches)
Round 7: With A, (sc in next 4 sts, 2 sc in next st) around. (120 stitches)
Round 8: With A, sc in each stitch around. (120 stitches)
Round 9: Switch to color C (Terracotta). Sc in each stitch around. (120 stitches)
Round 10: With C, (sc in next 5 sts, 2 sc in next st) around. (140 stitches)
Round 11: With C, sc in each stitch around. (140 stitches)
Round 12: Switch to color A. Sc in each stitch around. (140 stitches)
Round 13: With A, (sc in next 6 sts, 2 sc in next st) around. (160 stitches)
Round 14: With A, sc in each stitch around. (160 stitches)
Rounds 15-20: Continue in color A, sc in each stitch around. (160 stitches)
Round 21: Switch to color B. Sc in each stitch around. (160 stitches)
Round 22: With B, sc in each stitch around. (160 stitches)
Round 23: Switch to color A. Sc in each stitch around. (160 stitches)
Rounds 24-28: With A, sc in each stitch around. (160 stitches)
Round 29: Switch to color C. Sc in each stitch around. (160 stitches)
Round 30: With C, sc in each stitch around. (160 stitches)
Round 31: Switch to color A. Sc in each stitch around. (160 stitches)
Rounds 32-36: With A, sc in each stitch around. (160 stitches)
Fasten off and weave in the end. Your bag body is complete!
Part 3: The Handle
This creates a long, sturdy strap that you'll fold in half to make the double-thick handle.
Row 1: With color A, ch 120, sc in 2nd ch from hook and in each ch across. (119 stitches)
Row 2: Ch 1, turn, sc in each stitch across. (119 stitches)
Fasten off, leaving a long tail (at least 12 inches) for sewing.
Part 4: Assembly
This is where the magic happens—bringing all the pieces together.
Step 1: Place the second base inside the bag, aligning the edges. The wrong sides should be facing each other. Using color A, sc through both layers around the entire top edge to join them together. (160 stitches)
Step 2: Fold the handle in half so the ends meet. Attach each end to the inside of the bag, positioning them about 4 inches from the top edge. Use a yarn needle and the long tail to sew the handle securely, or use slip stitches for a crocheted attachment. Make sure the handle is evenly placed on both sides.
Step 3: Weave in all remaining ends with your yarn needle to give your bag a clean, professional finish.
Your Finished Evergreen Dune Market Tote
Congratulations! You've just crafted a beautiful, eco-friendly tote that's as functional as it is stylish. The dense single crochet stitches make it incredibly strong, while the earthy stripes add a touch of artisanal charm. Whether you're heading to the beach, the market, or just around town, this bag is sure to turn heads and spark conversations.
Remember, crochet is a journey—each stitch is a step. Don't be afraid to make it your own by experimenting with different color combinations. Happy crocheting!