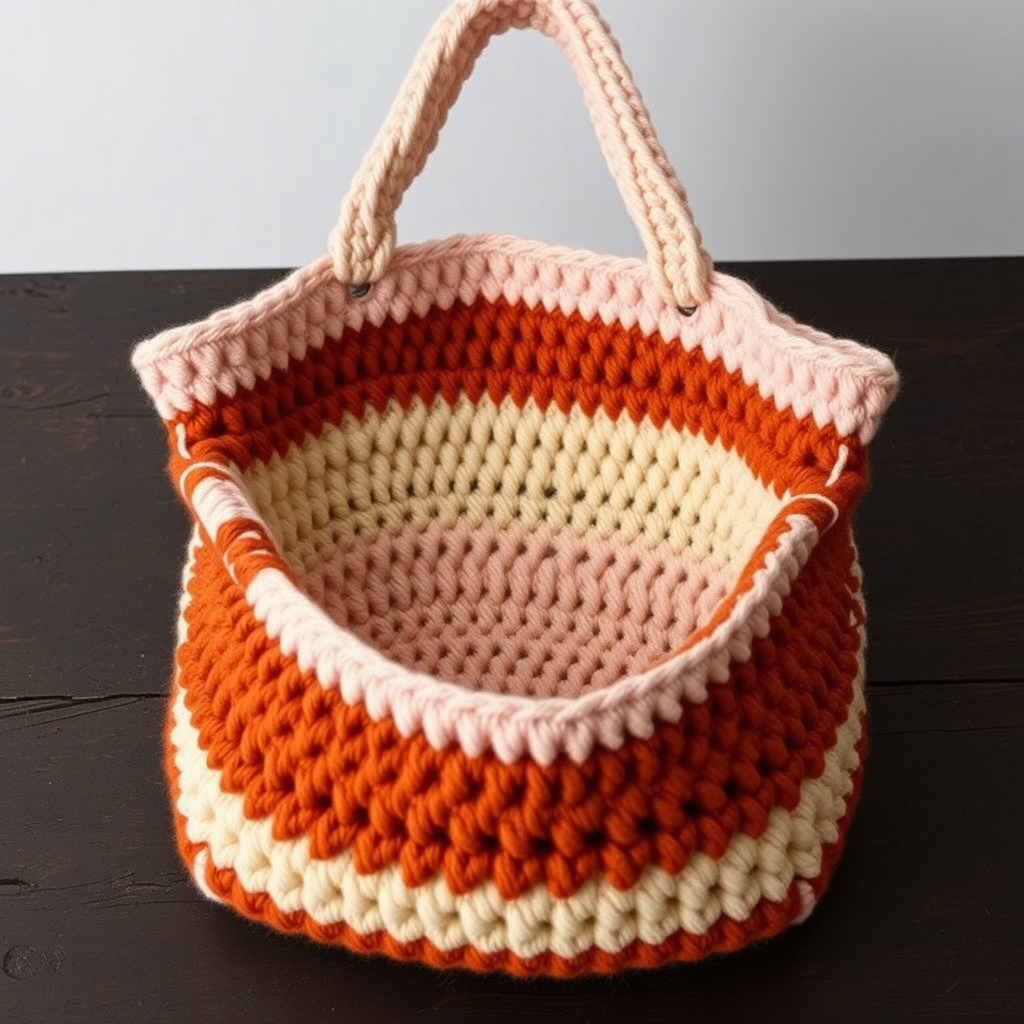
Sunset Slouch Tote Free Pattern
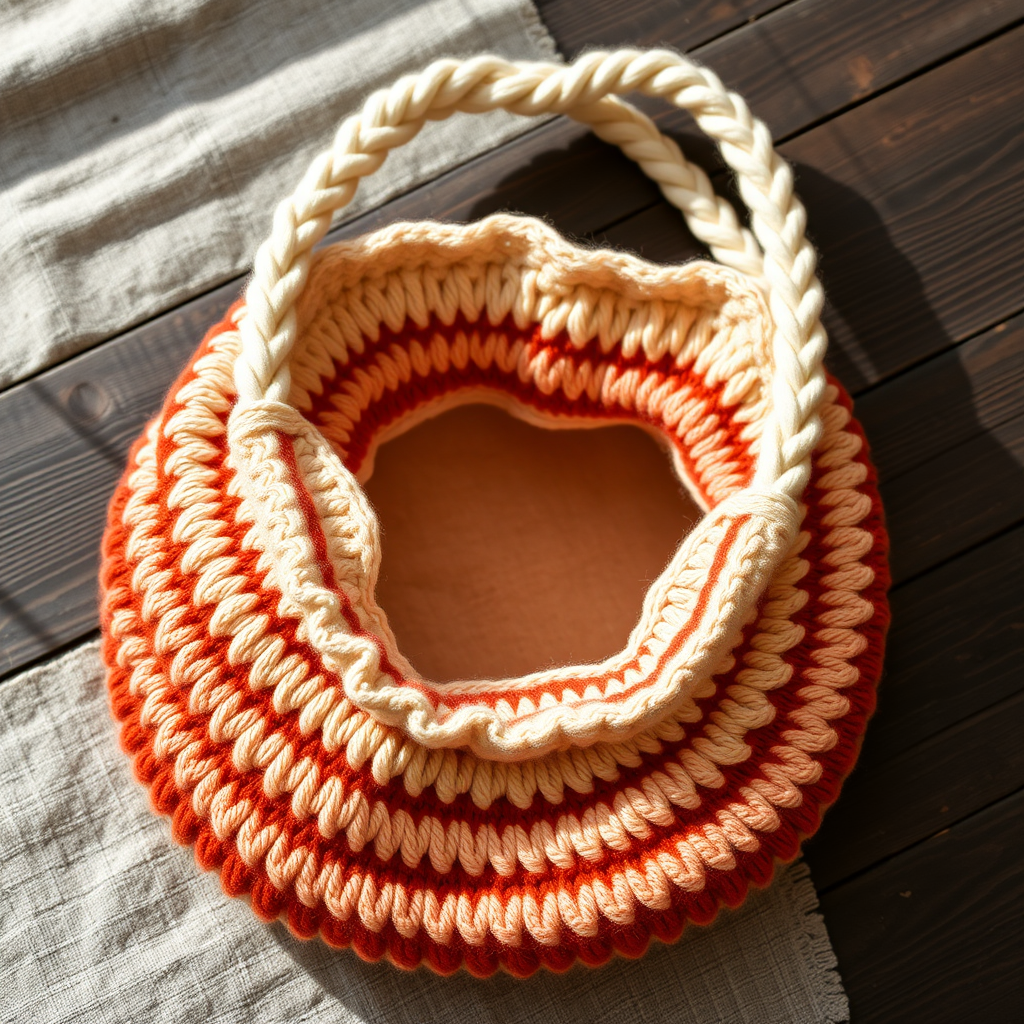
Carry Your World in Color: The Sunset Slouch Tote Free Crochet Pattern
There are some crochet projects that are simply meant to be. The Sunset Slouch Tote is one of them. This isn't just a bag; it's a cozy companion designed for farmers markets, beach days, and everyday errands. With its slouchy silhouette, textured gradient stripes, and soft, chunky yarn, it feels as good as it looks. The warm transition from cream to rust evokes a golden-hour glow, making every carry a little more beautiful. Whether you're a seasoned maker or picking up a hook for the first time, this pattern is designed to be your new favorite go-to. Let's dive into creating this boho masterpiece together.
Why You'll Love This Tote
This pattern is a joy to work up. It uses simple half-double crochet stitches in continuous spirals, creating a mindless, rhythmic flow that's perfect for relaxing evenings. The clever use of back-loop-only (blo) rounds creates a subtle, ridged texture that adds depth and visual interest to each color block. Plus, the sturdy, braided-looking handles are surprisingly easy to make and incredibly functional. The result is a durable, stylish bag that you'll reach for again and again.
Materials Needed
Before we begin our crochet journey, let's gather our supplies. This project is wonderfully portable and requires minimal tools.
- Yarn: Worsted weight cotton or cotton-blend yarn in 5 colors (e.g., cream, peach, coral, terracotta, rust) – approximately 300g total. A cotton blend gives the bag structure while remaining soft and pliable.
- Hook: 5.5 mm (I-9) crochet hook. This size creates a dense, sturdy fabric that holds its shape beautifully.
- Notions: Yarn needle for weaving in ends and sewing handles, stitch marker to track your rounds, and scissors.
Gauge & Size
Gauge: 14 hdc sts x 11 rows = 4 inches (10 cm) in half double crochet. Checking your gauge is important to ensure your bag turns out the intended size, but this pattern is forgiving—a slightly looser or tighter tension will simply change the drape.
Step-by-Step Instructions
Let's get started! This pattern is worked in continuous spiral rounds, which means you won't join at the end of each round. Use a stitch marker to keep track of your place. Important Note: The ch 1 at the beginning of rounds does not count as a stitch.
Part 1: The Base
We'll start by creating a flat, circular base. This provides a solid foundation for the slouchy body.
R1: With cream, make a magic ring, ch 2, work 8 hdc into ring. Pull tight. (8 sts)
R2: Work 2 hdc in each st around. (16 sts)
R3: *2 hdc in next st, hdc in next st* repeat around. (24 sts)
R4: *2 hdc in next st, hdc in next 2 sts* repeat around. (32 sts)
R5: *2 hdc in next st, hdc in next 3 sts* repeat around. (40 sts)
R6: *2 hdc in next st, hdc in next 4 sts* repeat around. (48 sts)
R7: *2 hdc in next st, hdc in next 5 sts* repeat around. (56 sts)
R8: *2 hdc in next st, hdc in next 6 sts* repeat around. (64 sts)
R9: *2 hdc in next st, hdc in next 7 sts* repeat around. (72 sts)
R10: *2 hdc in next st, hdc in next 8 sts* repeat around. (80 sts)
R11: *2 hdc in next st, hdc in next 9 sts* repeat around. (88 sts)
R12: *2 hdc in next st, hdc in next 10 sts* repeat around. (96 sts)
R13: *2 hdc in next st, hdc in next 11 sts* repeat around. (104 sts)
R14: *2 hdc in next st, hdc in next 12 sts* repeat around. (112 sts)
R15: *2 hdc in next st, hdc in next 13 sts* repeat around. (120 sts)
R16: *2 hdc in next st, hdc in next 14 sts* repeat around. (128 sts)
R17: *2 hdc in next st, hdc in next 15 sts* repeat around. (136 sts)
R18: *2 hdc in next st, hdc in next 16 sts* repeat around. (144 sts)
R19: *2 hdc in next st, hdc in next 17 sts* repeat around. (152 sts)
R20: *2 hdc in next st, hdc in next 18 sts* repeat around. (160 sts)
R21: *2 hdc in next st, hdc in next 19 sts* repeat around. (168 sts)
R22: Work even in hdc. (168 sts)
Your base should now be a flat circle. If it's ruffling, your tension may be too loose; if it's cupping, it may be too tight.
Part 2: The Body & Gradient Stripes
Now for the fun part—watching the colors blend! We'll work in vertical stripes, using a special technique to create a beautiful ridged texture.
R23: Switch to peach. Work hdc in back loop only (blo) for this round only. (168 sts)
R24-26: Work hdc in both loops. (168 sts)
R27: Switch to coral. Work hdc in blo for this round. (168 sts)
R28-30: Work hdc in both loops. (168 sts)
R31: Switch to terracotta. Work hdc in blo for this round. (168 sts)
R32-34: Work hdc in both loops. (168 sts)
R35: Switch to rust. Work hdc in blo for this round. (168 sts)
R36-38: Work hdc in both loops. (168 sts)
R39: Switch to cream. Work hdc in blo for this round. (168 sts)
R40-42: Work hdc in both loops. (168 sts)
R43: Switch to peach. Work hdc in blo for this round. (168 sts)
R44-46: Work hdc in both loops. (168 sts)
R47: Switch to coral. Work hdc in blo for this round. (168 sts)
R48-50: Work hdc in both loops. (168 sts)
R51: Switch to terracotta. Work hdc in blo for this round. (168 sts)
R52-54: Work hdc in both loops. (168 sts)
R55: Switch to rust. Work hdc in blo for this round. (168 sts)
R56-58: Work hdc in both loops. (168 sts)
As you work, you'll see the bag naturally begin to take shape, slouching slightly as it grows taller.
Part 3: Top Edging
Let's finish the top of the bag with a clean, sturdy edge.
R59: Switch to cream. Work sc in each st around. (168 sts)
R60: Work sc in each st around. (168 sts)
Fasten off and weave in all ends securely.
Part 4: The Handles (Make 2)
These handles are not only functional but also add a beautiful, braided-looking detail.
With cream, ch 90.
Row 1: hdc in 3rd ch from hook and in each ch across. (88 sts)
Row 2: ch 2, turn, hdc in each st across. (88 sts)
Fasten off, leaving long tails for sewing.
Part 5: Assembly
This is the final step to bring your tote to life!
- Create the Straps: Fold each handle in half lengthwise and sew the long edges together using a yarn needle and the tails. This creates a sturdy, double-thick strap.
- Attach the Handles: Position one handle on each side of the bag, placing them about 3 inches apart from the center front/back. This placement ensures the bag hangs evenly.
- Sew Securely: Using the yarn needle and the long tails, sew the handles firmly to the inside of the bag. Make sure to catch both the handle and the bag fabric for a strong hold. Weave in all remaining ends.
And there you have it—your very own Sunset Slouch Tote! This bag is as practical as it is pretty, ready to accompany you on all your adventures. The soft, textured stripes and sturdy handles make it a timeless piece you'll be proud to say you made yourself. Happy crocheting!