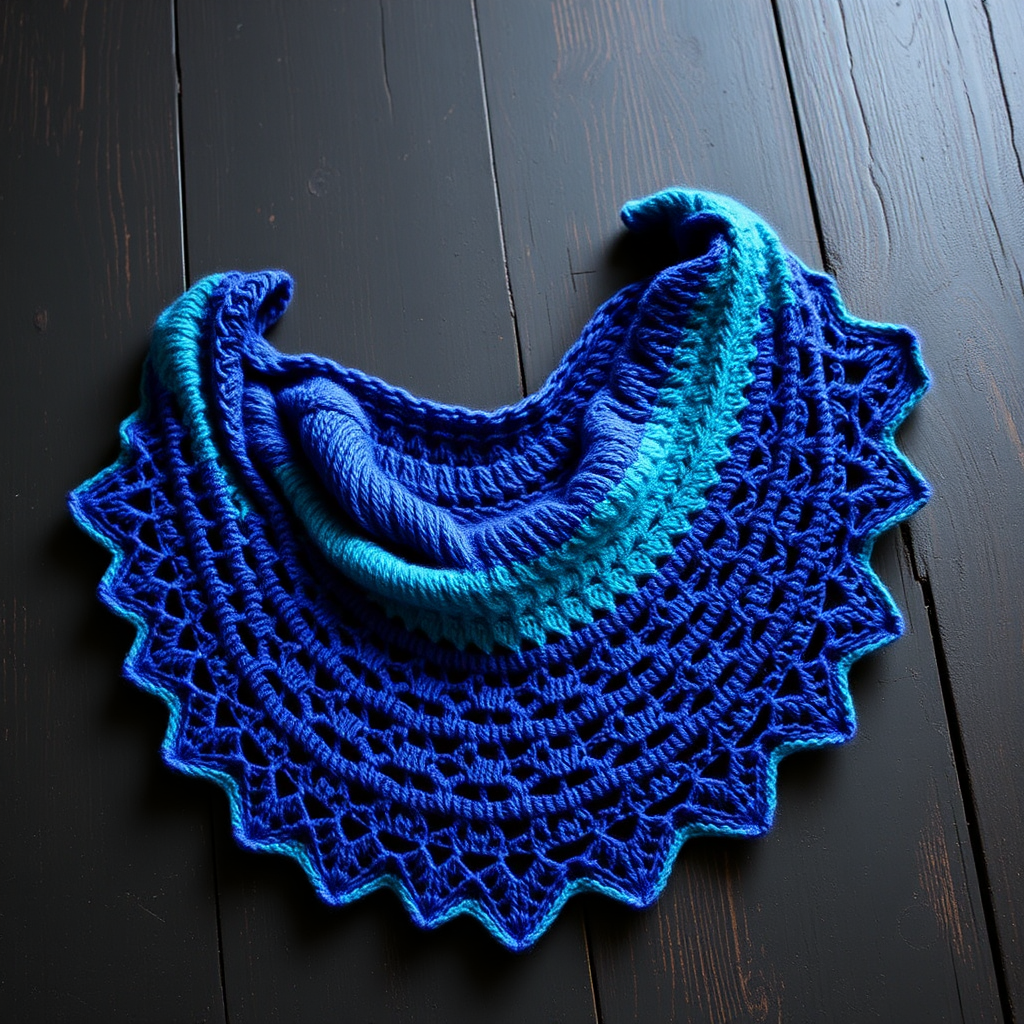
Emberfall Driftwood Shawl Free Pattern – Textured Knitted Wrap

Introducing the Emberfall Driftwood Shawl
Wrap yourself in the warm, organic textures of the Emberfall Driftwood Shawl, a knitted crescent-shaped wrap that mimics the layered beauty of autumn leaves and driftwood. This pattern uses simple knit and purl stitches to create a rich, dimensional fabric that is both cozy and elegant. Perfect for beginners looking to expand their skills, this free pattern combines garter stitch, stockinette, and a simple slipped-stitch texture for visual interest. The result is a stunning accessory that drapes beautifully over the shoulders, with a gently curved bottom edge and a straight top edge—ideal for crisp autumn evenings or as a thoughtful handmade gift.
Materials Needed
Before you begin, gather the following materials to ensure a smooth knitting experience:
- Yarn: Worsted weight yarn in two colors:
- Color A (rust/ember) – 400 yards
- Color B (cream/driftwood) – 300 yards
- Needle: US 9 (5.5 mm) circular knitting needle, 32-inch or longer (to accommodate the growing number of stitches)
- Gauge: 16 stitches and 24 rows = 4 inches in stockinette stitch (blocked). Gauge is important for achieving the correct size and drape, so take a moment to knit a swatch.
- Notions: Stitch markers (4), tapestry needle for weaving in ends, blocking mats and pins (optional but recommended)
Step-by-Step Instructions
This shawl is worked from the top center down, increasing at the edges to form a crescent shape. Follow along carefully, and you'll have a beautiful textured wrap in no time.
Abbreviations
- CO: cast on
- K: knit
- P: purl
- K2tog: knit two together
- YO: yarn over
- Sl1: slip one stitch purlwise
- PM: place marker
- SM: slip marker
- RS: right side
- WS: wrong side
Section 1: Cast On & Increase
This section establishes the foundation of your shawl, creating the top edge and beginning the crescent shape.
- CO 3 stitches.
- Row 1 (RS): K1, YO, K1, YO, K1. (You now have 5 stitches.)
- Row 2 (WS): Knit all stitches.
- Row 3 (RS): K1, YO, K1, YO, K1, YO, K1, YO, K1. (You now have 9 stitches.)
- Row 4 (WS): Knit all stitches.
- Continue increasing: On every RS row, work as follows: K1, YO, knit to the last stitch, YO, K1. On WS rows, knit all stitches. Repeat this pattern until you have 51 stitches on your needle. This creates a triangular shape that will become the top of your crescent.
Section 2: Body with Texture
Now we'll add the slipped-stitch texture that gives the shawl its driftwood-like grain. This section is worked in a 4-row repeat.
- Set up row: K1, PM, K1, PM, knit to the last 2 stitches, PM, K1, PM, K1. You now have 4 markers: edge, increase, increase, edge. The markers divide your work into sections: 1 edge stitch, 1 increase stitch, the main body, 1 increase stitch, and 1 edge stitch.
- Row 1 (RS): K1, SM, YO, K1, SM, *Sl1, K1, repeat from * to the last 2 stitches before the next marker, SM, YO, K1, SM, K1. (This increases 2 stitches—one at each marked increase point.)
- Row 2 (WS): K1, SM, Purl to the next marker, SM, K1, SM, Purl to the next marker, SM, K1. (The K1 sections are your edge and center stitches.)
- Row 3 (RS): K1, SM, YO, K1, SM, *K1, Sl1, repeat from * to the last 2 stitches before the next marker, SM, YO, K1, SM, K1. (Notice the slipped stitches are offset from Row 1, creating a woven texture.)
- Row 4 (WS): Same as Row 2.
- Repeat Rows 1-4 until the shawl measures approximately 20 inches from the center cast-on edge, ending with a WS row. You will have increased 2 stitches every RS row, so the shawl will grow steadily wider.
Section 3: Border
Time to switch to Color B (driftwood/cream) for a delicate eyelet lace border that adds lightness and contrast.
- Switch to Color B. Cut Color A, leaving a tail for weaving in later.
- Row 1 (RS): K1, SM, YO, K1, SM, *K2tog, YO, repeat from * to the last 2 stitches before the next marker, SM, YO, K1, SM, K1.
- Row 2 (WS): Knit all stitches.
- Row 3 (RS): K1, SM, YO, K1, SM, *K1, YO, K2tog, repeat from * to the last 2 stitches before the next marker, SM, YO, K1, SM, K1. (This offsets the eyelets for a staggered lace pattern.)
- Row 4 (WS): Knit all stitches.
- Repeat Rows 1-4 for 6 more times (for a total of 8 border repeats). This will create a lovely, airy border that frames the textured body.
- Bind off loosely on a RS row. To ensure the edge remains stretchy, bind off using a larger needle or a loose bind-off method (such as the knitted bind-off worked loosely).
Finishing
The final steps are crucial for showcasing your work beautifully.
- Weave in all ends using a tapestry needle. Be sure to weave in securely but invisibly, following the path of the yarn to avoid bulk.
- Block the shawl gently. Soak it in lukewarm water with a mild wool wash for 15-20 minutes. Gently squeeze out excess water (do not wring). Lay it flat on a blocking mat, shaping it to open up the lace and even out the edges. Pin the edges to the desired dimensions, especially the top edge and the points of the crescent. Allow it to dry completely before unpinning.
- Enjoy your shawl! The blocking will dramatically improve the stitch definition and drape, revealing the beautiful contrast between the textured body and the lacy border.
Your Emberfall Driftwood Shawl is now complete! The warm rust tones and creamy border make it a versatile accessory that pairs beautifully with jeans, dresses, or cozy sweaters. Whether you keep it for yourself or gift it to a loved one, this shawl is sure to be treasured for its unique texture and handmade charm. Happy knitting!