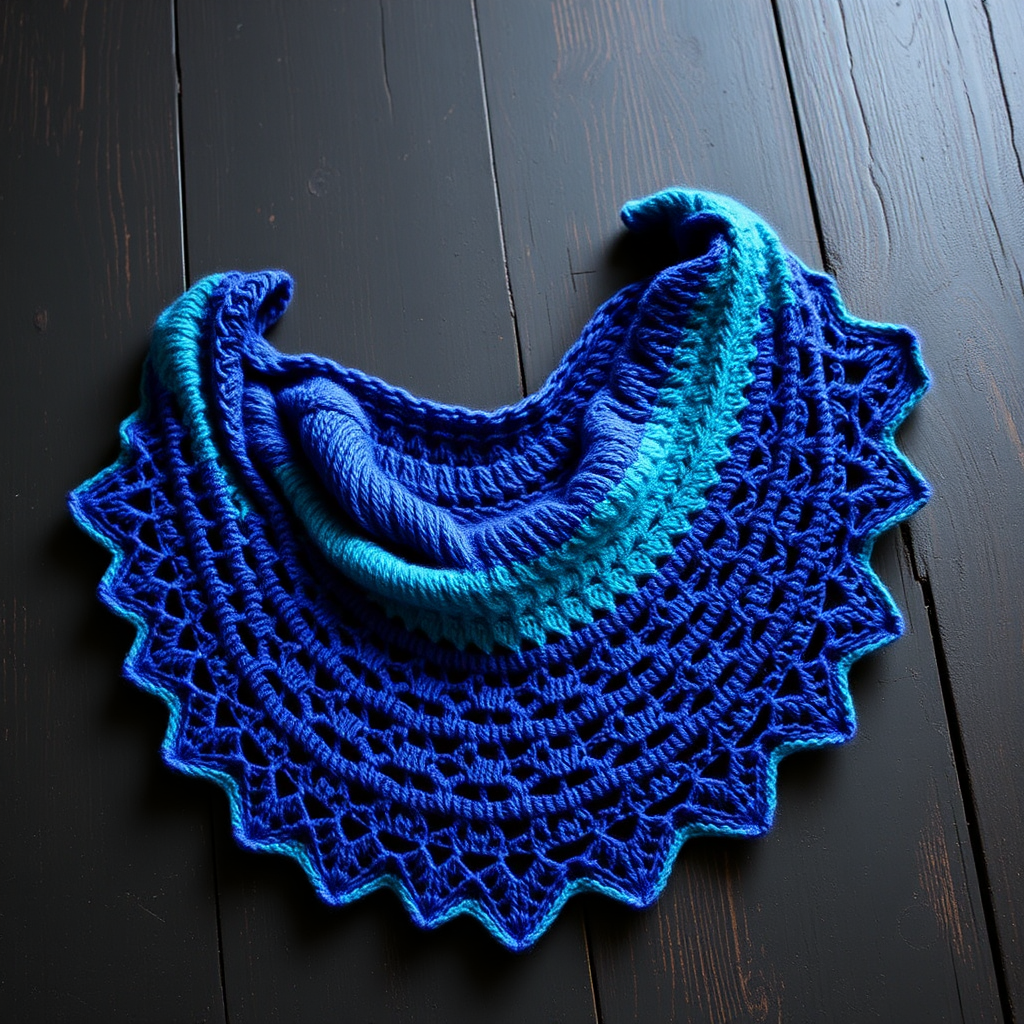
Emberfall Crescent Shawl Free Pattern – Knitted Gradient Autumn Wrap

Wrap Yourself in Autumn: The Emberfall Crescent Shawl
There's something magical about wrapping yourself in a hand-knit shawl as the air turns crisp and the leaves begin to fall. The Emberfall Crescent Shawl captures that cozy feeling perfectly—a crescent-shaped wrap knitted in a stunning gradient of burnt sienna, amber, and deep plum. The textured honeycomb stitch adds a dimensional, raised grid that catches the light and drapes beautifully over any outfit. Whether you're a seasoned knitter or a confident beginner ready for a rewarding project, this free pattern will guide you through creating a wearable piece of autumn art.
This shawl is knitted from the top center outward, increasing at the edges to form that elegant crescent shape. The garter stitch borders keep the edges neat, while the honeycomb stitch body provides the rich texture that makes this piece so special. Let's dive into everything you'll need and the step-by-step process to bring your Emberfall to life.
Materials Needed
Before you begin, gather these supplies to ensure a smooth knitting experience:
- Yarn: Worsted weight yarn in 3 colors—Color A (burnt sienna), Color B (amber), Color C (deep plum). You'll need approximately 400g total. A great choice is Lion Brand Wool-Ease or any similar worsted weight yarn you love.
- Needle: US 8 (5.0 mm) circular knitting needle, 32 inches or longer. The long cable is essential to accommodate the growing number of stitches.
- Notions: Stitch markers (at least 2), a tapestry needle for weaving in ends, and scissors.
- Gauge: 18 stitches and 24 rows = 4 inches in honeycomb stitch (blocked). Gauge is important for achieving the correct drape and size, so take a moment to swatch!
Step-by-Step Instructions
This pattern is broken down into clear sections. Follow along carefully, and you'll be amazed at how quickly the shawl takes shape. Remember to read through the abbreviations first so you're comfortable with the terms.
Abbreviations
- k = knit
- p = purl
- yo = yarn over
- k2tog = knit two together
- sl1 = slip one stitch purlwise
- pm = place marker
- sm = slip marker
- wyif = with yarn in front
Honeycomb Stitch Pattern (multiple of 4 + 2)
This is the heart of the shawl's texture. Work these 4 rows repeatedly:
- Row 1 (RS): k2, *sl1 wyif, k3; repeat from * to last 2 sts, sl1 wyif, k1.
- Row 2 (WS): k2, *p1, k3; repeat from * to last 2 sts, p1, k1.
- Row 3 (RS): k2, *k1, sl1 wyif, k2; repeat from * to last 2 sts, k1, sl1 wyif, k1.
- Row 4 (WS): k2, *k1, p1, k2; repeat from * to last 2 sts, k1, p1, k1.
Repeat rows 1-4 for the pattern. The slipped stitches create that beautiful honeycomb effect.
Setup
With Color A (burnt sienna), cast on 5 stitches. Knit 4 rows (this creates a garter stitch base).
Increase Section (Color A)
Now we'll shape the top edge of the shawl by increasing stitches on every right-side row.
- Row 1 (RS): k2, yo, k1, yo, k2 (you now have 7 stitches)
- Row 2 (WS): k2, p3, k2
- Row 3: k2, yo, k3, yo, k2 (9 stitches)
- Row 4: k2, p5, k2
Continue in this manner—increasing 2 stitches every RS row by working a yarn over after the first 2 stitches and before the last 2 stitches. On WS rows, purl the stitches between the garter borders. Keep going until you have 31 stitches. End with a WS row.
Body Section (Color A)
Now we'll introduce the honeycomb stitch while continuing the increases.
- Row 1 (RS): k2, pm, work Honeycomb Row 1 across to last 2 sts, pm, k2
- Row 2 (WS): k2, sm, work Honeycomb Row 2 across to marker, sm, k2
- Row 3 (RS): k2, yo, sm, work Honeycomb Row 3 across to marker, sm, yo, k2 (this increases 2 stitches)
- Row 4 (WS): k2, sm, work Honeycomb Row 4 across to marker, sm, k2
Repeat rows 1-4, continuing the honeycomb pattern and increasing on every RS row (the yarn overs go just inside the garter stitch borders). Keep going until you have 91 stitches. End with a WS row.
Color Transition to Color B (Amber)
Cut Color A, leaving a tail for weaving in later. Join Color B. Continue in the same pattern—honeycomb stitch with increases on RS rows—for 20 more rows, ending with a WS row. You will now have 111 stitches.
Color Transition to Color C (Deep Plum)
Cut Color B, join Color C. Continue in the same pattern for 20 more rows, ending with a WS row. You will now have 131 stitches.
Edging
This delicate eyelet border adds a lovely finishing touch.
- Row 1 (RS): k2, *yo, k2tog; repeat from * to last 2 sts, k2 (this increases by 1 stitch)
- Row 2 (WS): knit all stitches
- Row 3 (RS): knit all stitches
Bind off loosely knitwise. Be careful not to bind off too tightly, as this will affect the drape of the shawl.
Finishing
Weave in all loose ends with your tapestry needle. Now for the fun part—blocking! Gently wet block the shawl to shape. Pin it out to the crescent shape, stretching the curves gently. Allow it to dry completely before unpinning. This step is crucial for showcasing the honeycomb texture and achieving that beautiful drape.
And there you have it—your very own Emberfall Crescent Shawl! The gradient of warm autumn colors and the cozy honeycomb texture make this a piece you'll reach for all season long. Whether you're curling up with a book or heading out for a crisp evening walk, this shawl will keep you wrapped in warmth and style. Happy knitting!