Ember & Oak Oversized Chunky Crochet Sweater Free Pattern

Ember & Oak Oversized Chunky Crochet Sweater: A Free Beginner-Friendly Pattern
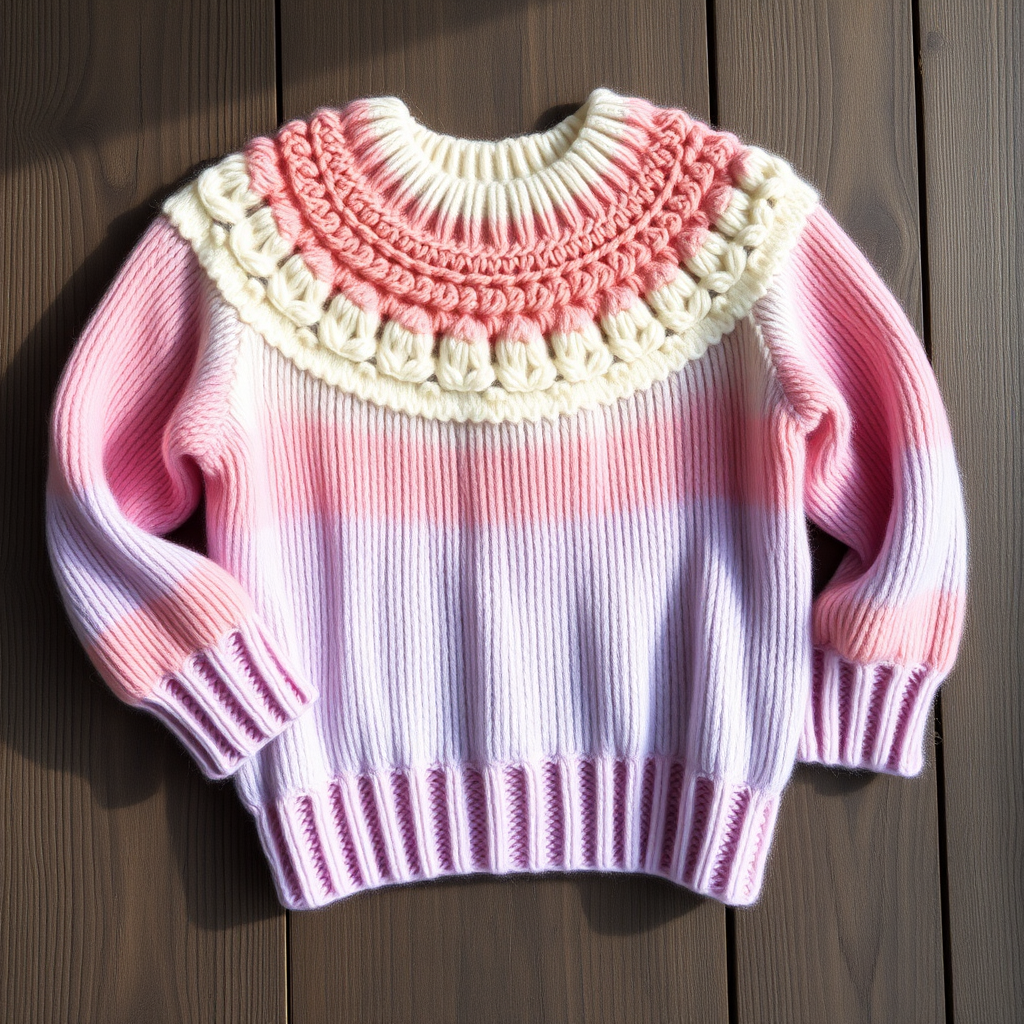
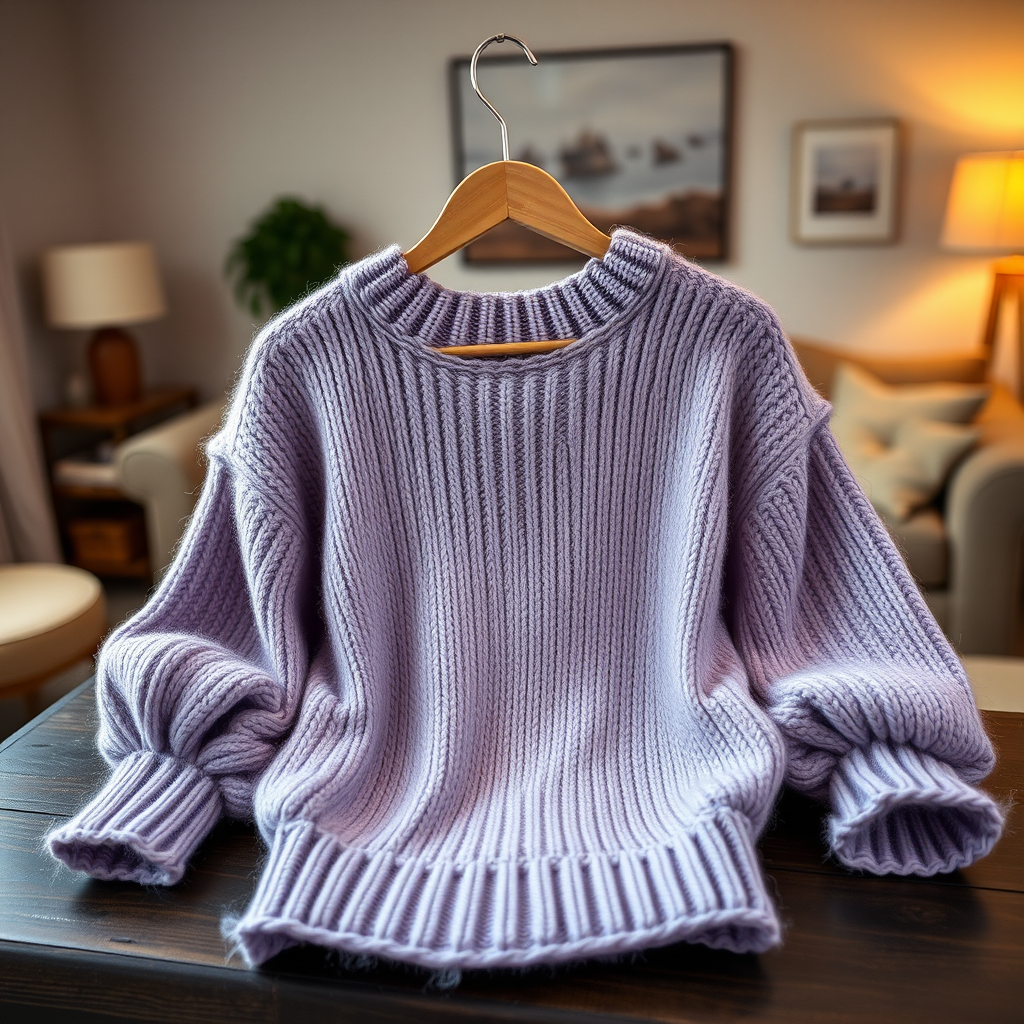
Wrap yourself in the cozy embrace of this oversized, textured crochet sweater, featuring a unique blend of warm autumnal hues and a modern, relaxed silhouette. This pattern is perfect for crafters seeking a stylish, statement piece that feels like a warm hug on chilly days. With its rich palette of burnt orange, deep forest green, and cream, this sweater captures the essence of fall and adds a handmade, artisanal touch to any wardrobe. Designed with beginners in mind, this pattern uses simple stitches and clear instructions to guide you through creating a stunning, boxy-fit garment that is as enjoyable to make as it is to wear.
Materials Needed
Before you begin, gather the following materials to ensure a smooth and enjoyable crochet experience. This project requires super bulky yarn, which works up quickly and creates that plush, chunky texture the sweater is known for.
- Yarn: Super Bulky Weight Yarn (Size 6) in 3 colors:
- Color A - Burnt Orange (approx. 600g)
- Color B - Deep Forest Green (approx. 500g)
- Color C - Cream (approx. 400g)
- Hook: 10mm (N/P-15) crochet hook
- Other: Yarn needle for seaming and weaving in ends, scissors, stitch markers (optional)
Gauge: 8 double crochet stitches x 5 rows = 4 inches (10 cm) in pattern stitch. It is crucial to check your gauge to ensure the sweater fits as intended. If your gauge is off, adjust your hook size accordingly.
Step-by-Step Instructions
This sweater is worked in panels and seamed together. The body is worked flat in rows, and the sleeves are worked in the round. The pattern uses a simple combination of double crochet and front post/back post double crochet to create a beautiful, textured ribbed effect. Follow these detailed instructions carefully, and you will have a beautiful, handmade sweater in no time.
Abbreviations (US terms)
- ch = chain
- dc = double crochet
- fpdc = front post double crochet
- bpdc = back post double crochet
- st(s) = stitch(es)
- sk = skip
- sl st = slip stitch
- RS = right side
- WS = wrong side
Special Stitch: Ribbed Stitch (worked in rows)
This stitch pattern creates the beautiful, textured ribbing that defines the sweater. It is simple to master and adds a professional, polished look to your work.
- Row 1 (RS): 1 dc in 4th ch from hook and in each ch across.
- Row 2 (WS): ch 3 (counts as first dc), *fpdc around next st, bpdc around next st*; repeat from * to * across, ending with 1 dc in top of turning ch.
- Row 3 (RS): ch 3 (counts as first dc), *bpdc around next st, fpdc around next st*; repeat from * to * across, ending with 1 dc in top of turning ch.
- Repeat Rows 2 and 3 for pattern.
Back Panel (make 1)
With Color A, ch 62 (approx. 28 inches wide).
- Row 1 (RS): 1 dc in 4th ch from hook and in each ch across. (60 dc)
- Row 2 (WS): ch 3, *fpdc around next st, bpdc around next st*; repeat from * to * across, ending with 1 dc in top of turning ch. (60 sts)
- Row 3 (RS): ch 3, *bpdc around next st, fpdc around next st*; repeat from * to * across, ending with 1 dc in top of turning ch. (60 sts)
- Repeat Rows 2 and 3, changing colors as follows: Work 10 rows in Color A, then 10 rows in Color B, then 10 rows in Color C, then 10 rows in Color B, then 10 rows in Color A. (Total 50 rows, approx. 25 inches long).
- Fasten off.
Front Panel (make 1)
Work exactly as Back Panel. After completing all rows, do not fasten off. Instead, ch 1 and turn. Now you will create the neckline.
Neckline Shaping:
- Row 1 (RS): Work in pattern across first 22 sts. Turn, leaving remaining sts unworked.
- Row 2 (WS): ch 3, work in pattern across 22 sts. (22 sts)
- Row 3 (RS): ch 3, work in pattern across 20 sts (decrease 1 st at neck edge by working 2 sts together). Turn.
- Row 4 (WS): ch 3, work in pattern across 20 sts. Fasten off.
- Return to the unworked sts. Skip the center 16 sts. Join yarn with sl st to the 23rd st from the left edge (as you look at the RS). ch 3, work in pattern across remaining 22 sts. (22 sts)
- Repeat Rows 2-4 for the other shoulder. Fasten off.
Sleeves (make 2)
With Color C, ch 34 (approx. 16 inches wide).
- Row 1 (RS): 1 dc in 4th ch from hook and in each ch across. (32 dc)
- Row 2 (WS): ch 3, *fpdc around next st, bpdc around next st*; repeat from * to * across, ending with 1 dc in top of turning ch. (32 sts)
- Row 3 (RS): ch 3, *bpdc around next st, fpdc around next st*; repeat from * to * across, ending with 1 dc in top of turning ch. (32 sts)
- Repeat Rows 2 and 3, working 8 rows in Color C, then 8 rows in Color A, then 8 rows in Color B, then 8 rows in Color C. (Total 32 rows, approx. 16 inches long).
- Fasten off.
Assembly
Once all panels are complete, it's time to assemble your sweater. Take your time with this step to ensure a neat and professional finish.
- Seam Shoulders: With RS together, sew the shoulder seams of the Front and Back panels.
- Set in Sleeves: With RS together, pin the center of the sleeve top to the shoulder seam. Pin the edges of the sleeve to the armhole edges (approx. 8 inches down from shoulder seam on both front and back). Sew the sleeves in place.
- Seam Sides and Sleeves: With RS together, sew the side seams from the bottom of the sweater up to the sleeve opening, then continue sewing the sleeve seam down to the cuff. Repeat on other side.
- Neckline Edging: With RS facing, join Color C with sl st at the left shoulder seam. ch 1, work 1 sc in each st around the neckline. Join with sl st to first sc. Fasten off. Weave in all ends.
Congratulations! You have completed your very own Ember & Oak Oversized Chunky Crochet Sweater. This beautiful, textured garment is perfect for cozy autumn days and will surely become a favorite in your handmade wardrobe. The rich, earthy colors and plush, ribbed texture make it a standout piece that showcases your crafting skill. Enjoy wearing your new creation, and don't forget to share your finished sweater with fellow crafters!