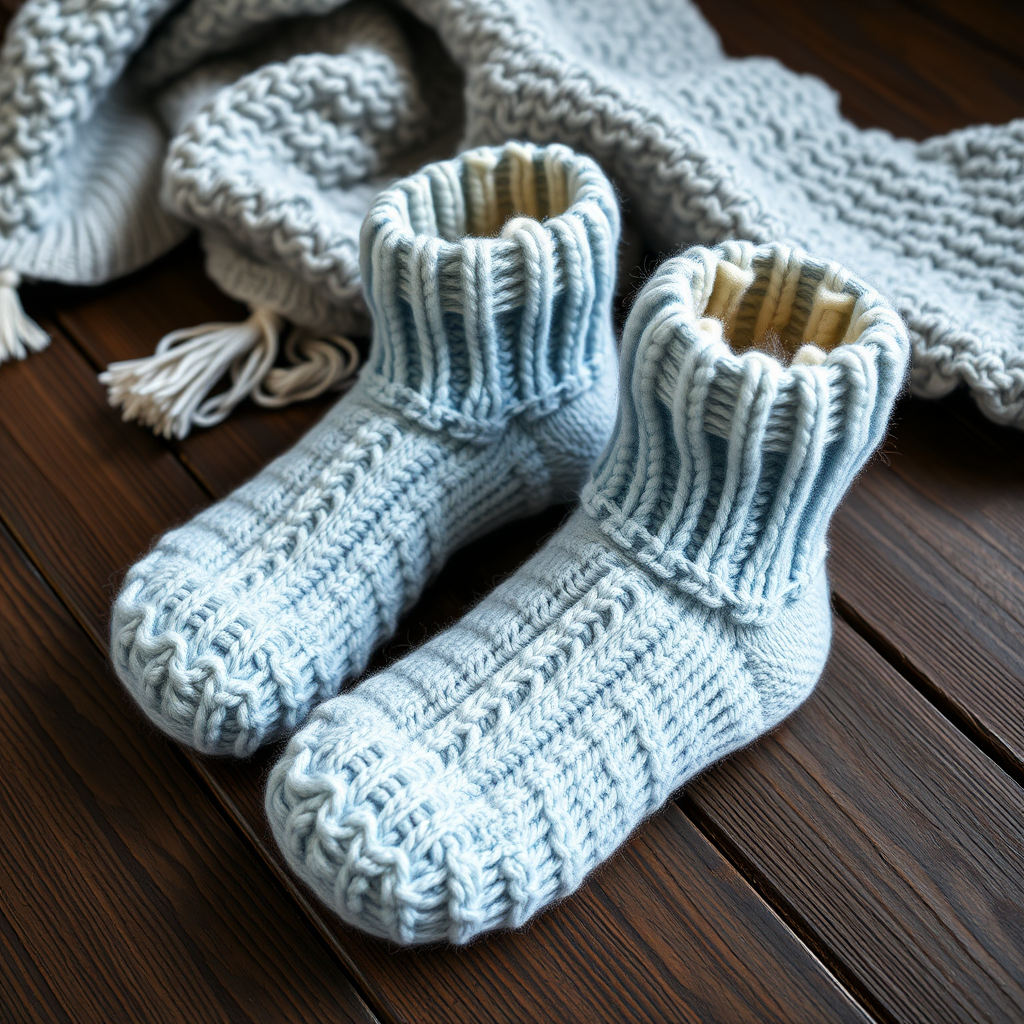
Ember Glow Cabin Slipper Socks Free Pattern – Knitted Cozy Fireside Footwear

Ember Glow Cabin Slipper Socks: A Free Knitting Pattern for Cozy Fireside Evenings
Imagine curling up by a crackling fire, a warm drink in hand, and your feet wrapped in the softest, most comforting slipper socks imaginable. That's the magic of the Ember Glow Cabin Slipper Socks. This free knitting pattern is designed for both beginners and seasoned knitters who want a quick, satisfying project. With a rich gradient of ember-inspired hues—from golden yellow to burnt orange to deep charcoal—these socks look like they've captured the very essence of a glowing hearth.
Knitted flat from the toe up and then seamed, this pattern creates a dense, squishy fabric that hugs your foot perfectly. It's a fast knit using worsted weight yarn, making it an ideal weekend project or a heartfelt handmade gift. Let's dive into this cozy adventure and create footwear that will keep your toes toasty all season long.
Why You'll Love This Pattern
This isn't just any slipper sock pattern. It's a celebration of texture, color, and comfort. The stockinette stitch creates a smooth, classic surface that shows off the beautiful color transitions. The construction is simple—worked flat with minimal shaping—so you can relax and enjoy the process. Plus, the optional fabric puff paint dots on the sole add a practical, non-slip touch that makes these perfect for hardwood or tile floors.
Materials Needed
Before you begin, gather your supplies. Here's everything you'll need to bring your Ember Glow slipper socks to life:
- Yarn: Worsted weight yarn in 3 colors (approximately 200g total):
- Color A: Deep Charcoal
- Color B: Burnt Orange
- Color C: Golden Yellow
- Needles: US 7 (4.5 mm) knitting needles (or size needed to obtain gauge)
- Notions: Tapestry needle for seaming, stitch markers (optional)
- Extras: Fabric puff paint (optional, for non-slip soles)
Gauge
18 stitches and 24 rows = 4 inches in stockinette stitch. Always take time to check your gauge. If your stitches are too tight, try larger needles. If they're too loose, switch to smaller needles. This ensures your socks fit perfectly.
Step-by-Step Instructions
This pattern is worked flat from the toe up, then seamed. It creates a cozy, felted-look fabric that hugs the foot. Follow these detailed instructions carefully, and you'll have a beautiful pair of slipper socks in no time.
Abbreviations
- CO: Cast on
- K: Knit
- P: Purl
- K2tog: Knit two stitches together (decrease)
- SSK: Slip, slip, knit (slip two stitches knitwise, then knit them together through back loops—a left-leaning decrease)
- M1L: Make one left (increase): Insert left needle from front to back under the bar between stitches, knit through back loop.
- M1R: Make one right (increase): Insert left needle from back to front under the bar between stitches, knit through front loop.
- St(s): Stitch(es)
- Rep: Repeat
- RS: Right side
- WS: Wrong side
Toe (Make 2)
We'll start with the golden yellow toe, which gives these socks their warm, glowing start.
- With Color C (Golden Yellow), CO 10 sts.
- Row 1 (RS): K all.
- Row 2: K1, M1L, K to last st, M1R, K1. (12 sts)
- Rep Rows 1-2 until you have 20 sts. (This will take 10 rows total: 5 increase rows and 5 plain knit rows).
Pro Tip: The toe shaping creates a gentle curve that fits the foot beautifully. Keep your tension even for the best results.
Foot
Now we transition to the burnt orange section, which forms the main body of the foot.
- Switch to Color B (Burnt Orange).
- Work even in stockinette (K on RS, P on WS) for 20 rows, or until the foot measures 1 inch less than desired foot length from toe to heel.
Pro Tip: To measure, place the work against your foot. You want the heel to start about 1 inch before your actual heel. This accounts for the heel shaping and seam.
Heel
Time for the deep charcoal heel, which adds structure and warmth.
- Switch to Color A (Deep Charcoal).
- Row 1 (RS): K12, K2tog, turn. (13 sts on needle)
- Row 2 (WS): Slip 1, P to last 2 sts, P2tog, turn. (12 sts)
- Row 3: Slip 1, K to last 2 sts, SSK, turn. (11 sts)
- Continue in this manner, working one less stitch each row before the decrease, until 8 sts remain.
Pro Tip: This is a short-row heel. When you "turn," you leave the remaining stitches unworked on the needle. This creates a cup shape that cradles your heel. Don't worry if it looks a bit odd at first—it will come together beautifully.
Leg
Now we'll build up the leg of the sock, creating the colorful stripes.
- With Color A, pick up and knit 10 sts along the side of the heel, K the 8 heel sts, pick up and knit 10 sts along the other side. (28 sts)
- Work even in stockinette for 10 rows.
- Switch to Color B and work 10 rows.
- Switch to Color C and work 10 rows.
- Bind off loosely.
Pro Tip: When picking up stitches, insert your needle under both loops of the edge stitch to create a clean, seamless look. Bind off loosely to ensure the top of the sock stretches comfortably over your calf.
Finishing
The final steps bring your sock together.
- Fold the sock in half with right sides together.
- Seam the toe and the back of the leg using mattress stitch. This creates an invisible, professional-looking seam.
- Weave in all ends securely.
- Repeat for the second sock.
Optional: Non-Slip Soles
To make your slipper socks extra grippy and safe on smooth floors, apply a few dots of fabric puff paint to the sole. Let them dry completely according to the manufacturer's instructions. This adds both function and a fun, textured detail.
Your Cozy Companion Awaits
And there you have it—your very own pair of Ember Glow Cabin Slipper Socks! These aren't just socks; they're a warm hug for your feet, a splash of autumn color, and a testament to your knitting skills. Whether you're making them for yourself or as a thoughtful handmade gift, they're sure to be cherished.
We'd love to see your finished creations! Share your photos on social media with the hashtag #EmberGlowSlippers and tag us. Happy knitting, and stay cozy!