Ember Dune Shawl Free Knitting Pattern – Textured Sunset Wrap

Wrap Yourself in the Warmth of a Desert Sunset: The Ember Dune Shawl
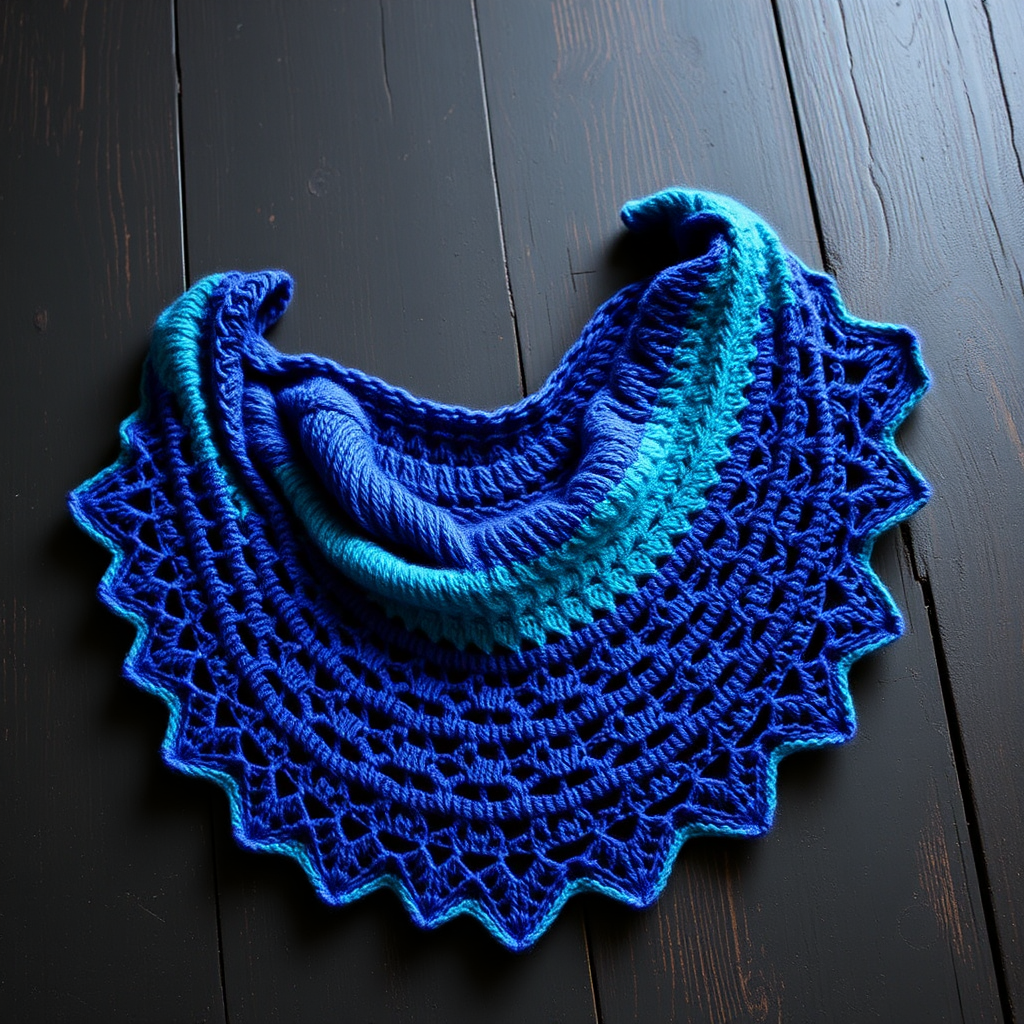
Imagine wrapping yourself in the warm, glowing hues of a desert sunset. The Ember Dune Shawl is more than just a knitting project; it's an experience. This uniquely textured wrap features a stunning gradient of burnt orange, terracotta, and dusty rose, creating a mesmerizing, sand-dune ripple effect that is both cozy and modern. Whether you're a seasoned knitter looking for a mindful project or a confident beginner ready for a beautiful challenge, this free pattern will guide you to create a stunning, handmade accessory you'll treasure for years.
This shawl is worked from the top center down, with increases at the beginning and end of each row to form a graceful triangle. The magic lies in the combination of simple garter stitch and a slipped-stitch pattern, which creates a deeply textured, woven fabric that catches the light beautifully. The result is a soft, drapey, and visually captivating piece that feels like a warm embrace.
Materials Needed: Gathering Your Sunset Palette
Before you begin, gather your materials. The beauty of this pattern is its simplicity—you only need a few essentials to create this stunning wrap.
- Yarn: Worsted weight yarn in 3 colors:
- Color A (Burnt Orange): Approx. 150g
- Color B (Terracotta): Approx. 120g
- Color C (Dusty Rose): Approx. 80g
- Needle: US 8 (5.0 mm) circular knitting needle, 32-inch or longer. The long cord is essential to hold the increasing number of stitches.
- Other Tools: Yarn needle for weaving in ends, scissors, and blocking mats or a towel for finishing.
Gauge & Abbreviations
Gauge: 18 stitches and 24 rows = 4 inches in stockinette stitch (blocked). While gauge isn't critical for a shawl, it helps ensure you use the right amount of yarn and achieve the desired drape.
Abbreviations:
- k = knit
- p = purl
- sl = slip stitch purlwise
- yo = yarn over
- k2tog = knit two together
- kfb = knit front and back (increase)
- RS = right side
- WS = wrong side
Step-by-Step Instructions: Knitting Your Ember Dune Shawl
This shawl is worked flat, back and forth, from the top center down. Follow these detailed instructions carefully, and you'll see your sunset take shape.
Pattern Notes
- The shawl is worked flat, back and forth on your circular needle.
- Edge Stitch: Always slip the first stitch of each row purlwise with yarn in front to create a neat, chain-like edge. This makes picking up stitches and finishing much easier.
- The slipped-stitch pattern is worked over a multiple of 4 stitches plus 2.
Getting Started: The Setup Rows
With Color A (Burnt Orange), cast on 3 stitches.
- Row 1 (RS): kfb, k1, kfb (5 stitches)
- Row 2 (WS): kfb, k3, kfb (7 stitches)
- Row 3 (RS): kfb, k5, kfb (9 stitches)
- Row 4 (WS): kfb, k7, kfb (11 stitches)
You've now created the foundation of your triangle.
Beginning the Pattern: Creating the Ripple Effect
Now we'll introduce the slipped-stitch pattern. Remember to slip the first stitch of every row purlwise with yarn in front.
- Row 5 (RS): kfb, k1, *sl 1, k3; repeat from * to last 2 stitches, sl 1, kfb (13 stitches)
- Row 6 (WS): kfb, k2, *sl 1, k3; repeat from * to last 3 stitches, sl 1, k2, kfb (15 stitches)
- Row 7 (RS): kfb, k3, *sl 1, k3; repeat from * to last 4 stitches, sl 1, k3, kfb (17 stitches)
- Row 8 (WS): kfb, k4, *sl 1, k3; repeat from * to last 5 stitches, sl 1, k4, kfb (19 stitches)
Continuing the Pattern: The Main Body
This is where the magic happens. You will now repeat Rows 5-8, always working the increases (kfb) at the beginning and end of each row, and maintaining the slipped-stitch pattern across the middle. The pattern will naturally shift by one stitch each repeat, creating a beautiful, diagonal ripple effect across the shawl.
Pro Tip: As you work, the slipped stitches will form vertical columns that gently lean to one side, mimicking the ripples of sand dunes.
Color Changes: Painting Your Sunset
The gradient effect is achieved by changing colors in a specific sequence. Follow this rhythm to create the sunset fade:
- Work 12 rows of the pattern in Color A (Burnt Orange).
- Switch to Color B (Terracotta) and work 10 rows.
- Switch to Color C (Dusty Rose) and work 8 rows.
- Switch back to Color B and work 10 rows.
- Switch back to Color A and work 12 rows.
- Continue alternating colors in this manner, decreasing the number of rows in each subsequent Color C section by 2 (e.g., 6 rows, then 4 rows) until you have used all your yarn or the shawl reaches your desired size.
This gradual shift in row counts creates a beautifully balanced, symmetrical gradient.
Final Rows: The Finishing Touch
When the shawl is approximately 60 inches wide (or your desired size), it's time to finish.
- Garter Border: Work 4 rows of garter stitch (knit every row) in Color A, continuing the increases (kfb) at the beginning and end of each row. This creates a clean, structured edge.
- Bind Off (WS): On the next row (WS), knit all stitches loosely. Then, bind off knitwise on the following row. Be careful not to bind off too tightly, as this will prevent the shawl from draping beautifully.
Finishing & Blocking: Revealing the Full Beauty
Your Ember Dune Shawl is almost complete!
- Weave in Ends: Carefully weave in all loose yarn ends with your yarn needle.
- Block the Shawl: This step is crucial. Soak the shawl in lukewarm water with a gentle wool wash for 15-20 minutes. Gently squeeze out excess water (do not wring). Lay the shawl flat on a blocking mat or clean towel. Gently stretch it to its final dimensions, paying attention to the edges to even them out. Pin if necessary.
- Dry: Allow the shawl to dry completely flat. This process will open up the texture, even out the stitches, and give your shawl that beautiful, professional drape.
Once dry, your Ember Dune Shawl is ready to be worn and admired. Drape it over your shoulders for a cozy evening, or use it as a stylish wrap to elevate any outfit. The rich, warm colors and unique texture are sure to draw compliments and spark conversations. Enjoy the fruits of your labor—you've just created a wearable piece of art!