Ember Dune Infinity Cowl Free Pattern – Knitted Gradient Sand Ripple Wrap

Ember Dune Infinity Cowl: A Free Knitting Pattern for a Gradient Sand Ripple Wrap
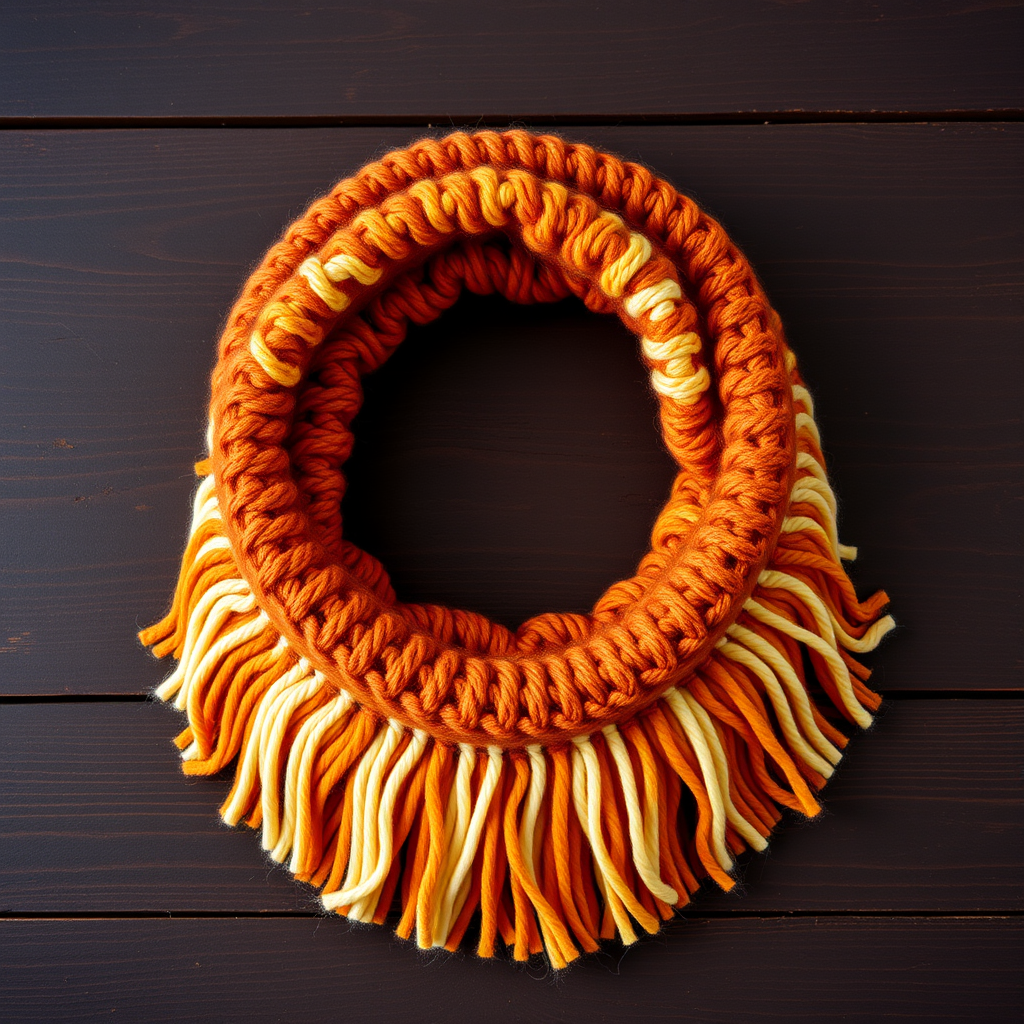
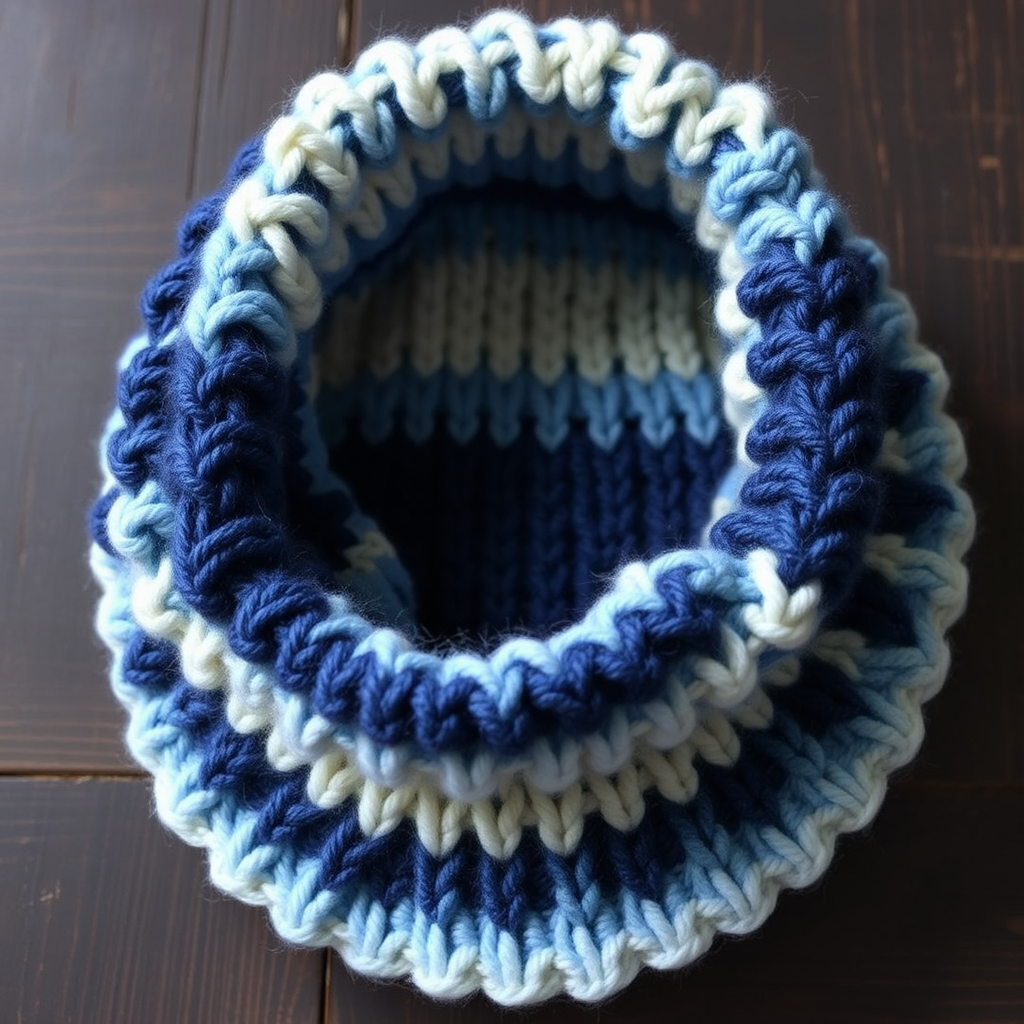
Wrap yourself in the warm hues of a desert sunset with this uniquely textured, gradient-knitted cowl. The ripple stitch pattern creates a mesmerizing, organic flow that feels both modern and timeless. Inspired by the shifting sands and fiery skies of the dunes, this infinity cowl is the perfect statement piece for transitional weather or a cozy accent on chilly evenings. The dramatic gradient—from deep terracotta through warm amber to soft sand—is achieved with simple color changes, making this an accessible yet impressive project for knitters ready to move beyond the basics.
This free pattern is designed to be a relaxing, rhythmic knit. The combination of ribbing, yarn overs, and decreases produces a beautifully textured fabric with subtle eyelet details that catch the light. Whether you're crafting for yourself or searching for a heartfelt handmade gift, the Ember Dune Cowl is a rewarding project that knits up quickly with worsted weight yarn.
Materials Needed
Before you cast on, gather the following supplies to ensure a smooth knitting experience. This project is perfect for using up three complementary skeins of worsted weight yarn from your stash.
- Yarn: Worsted weight yarn in 3 colors:
- Color A (deep terracotta) – approx. 220 yds
- Color B (warm amber) – approx. 220 yds
- Color C (soft sand) – approx. 220 yds
- Needle: US 8 (5.0 mm) 24-inch circular knitting needle (for knitting in the round).
- Notions: Stitch marker, tapestry needle for weaving in ends, scissors.
- Gauge: 18 stitches and 24 rows = 4 inches in stockinette stitch. Accurate gauge ensures the correct drape and circumference.
Step-by-Step Instructions
This pattern is worked in the round, creating a seamless infinity cowl. The finished dimensions are approximately 24 inches in circumference and 12 inches tall (unfolded). The pattern is a multiple of 12 stitches, which makes it easy to memorize and repeat.
Abbreviations
- CO: Cast on
- K: Knit
- P: Purl
- K2tog: Knit two together (right-leaning decrease)
- SSK: Slip, slip, knit (left-leaning decrease)
- YO: Yarn over (creates an eyelet hole)
- St(s): Stitch(es)
- Rep: Repeat
Getting Started: Cast On and Ribbing
With Color A (deep terracotta), CO 108 sts. Join in the round, being careful not to twist your stitches. Place a stitch marker to indicate the beginning of the round.
Rounds 1-4: Work in K1, P1 ribbing. This creates a neat, stretchy edge that will frame the ripple pattern beautifully.
The Ripple Pattern
The main body of the cowl is created using a simple 6-round repeat that incorporates decreases and yarn overs to form the wave-like texture. The pattern is worked over a multiple of 12 stitches, so you will repeat the sequence 9 times around the cowl (108 sts / 12 sts = 9 reps).
Round 5 (Pattern Round): *K2tog, K2tog, YO, K1, YO, K1, YO, K1, YO, SSK, SSK*; rep from * to * around (9 reps).
In this round, you are decreasing 4 stitches (2 K2tog and 2 SSK) and increasing 4 stitches (4 YOs), which keeps the stitch count consistent at 108 stitches.
Round 6: Knit all sts. This plain knit round allows the eyelets and decreases to pop against the smooth background.
Rounds 7-8: Repeat Rounds 5-6. This completes the first color block in Color A.
Color Transitions
To achieve the beautiful gradient effect, you will switch colors every 4 rounds. When changing colors, simply drop the old color and start knitting with the new one at the beginning of a round. Leave a 6-inch tail to weave in later.
Switch to Color B (warm amber).
Rounds 9-12: Repeat Rounds 5-8. This completes the second color block.
Switch to Color C (soft sand).
Rounds 13-16: Repeat Rounds 5-8. This completes the third color block.
Switch to Color B (warm amber).
Rounds 17-20: Repeat Rounds 5-8. This creates a symmetrical gradient, mirroring the top and bottom.
Switch to Color A (deep terracotta).
Rounds 21-24: Repeat Rounds 5-8. This completes the final pattern section.
Finishing the Cowl
Rounds 25-28: Work in K1, P1 ribbing. This mirrors the bottom edge and provides a polished finish.
Bind off loosely in pattern. To ensure the bind-off edge is as stretchy as the ribbing, use a larger needle or a stretchy bind-off method (such as the Jenny's Surprisingly Stretchy Bind-Off).
Weave in all ends using a tapestry needle, being careful to secure them on the inside of the cowl so they are invisible from the outside.
Blocking for Perfection
Blocking is essential to open up the ripple pattern and give the cowl its final, professional drape. Soak the cowl in lukewarm water with a gentle wool wash for 15-20 minutes. Gently squeeze out excess water (do not wring). Lay it flat on a towel, roll it up to remove more water, then shape it into a circle. Allow it to dry completely. This process will relax the yarn and beautifully define the wave-like texture and eyelet details.
Your Ember Dune Infinity Cowl is now ready to wear! Drape it around your neck in a double loop for extra warmth, or let it hang loose for a chic, effortless look. The rich, earthy colors and plush texture make it a versatile accessory that pairs beautifully with both casual and dressy outfits.