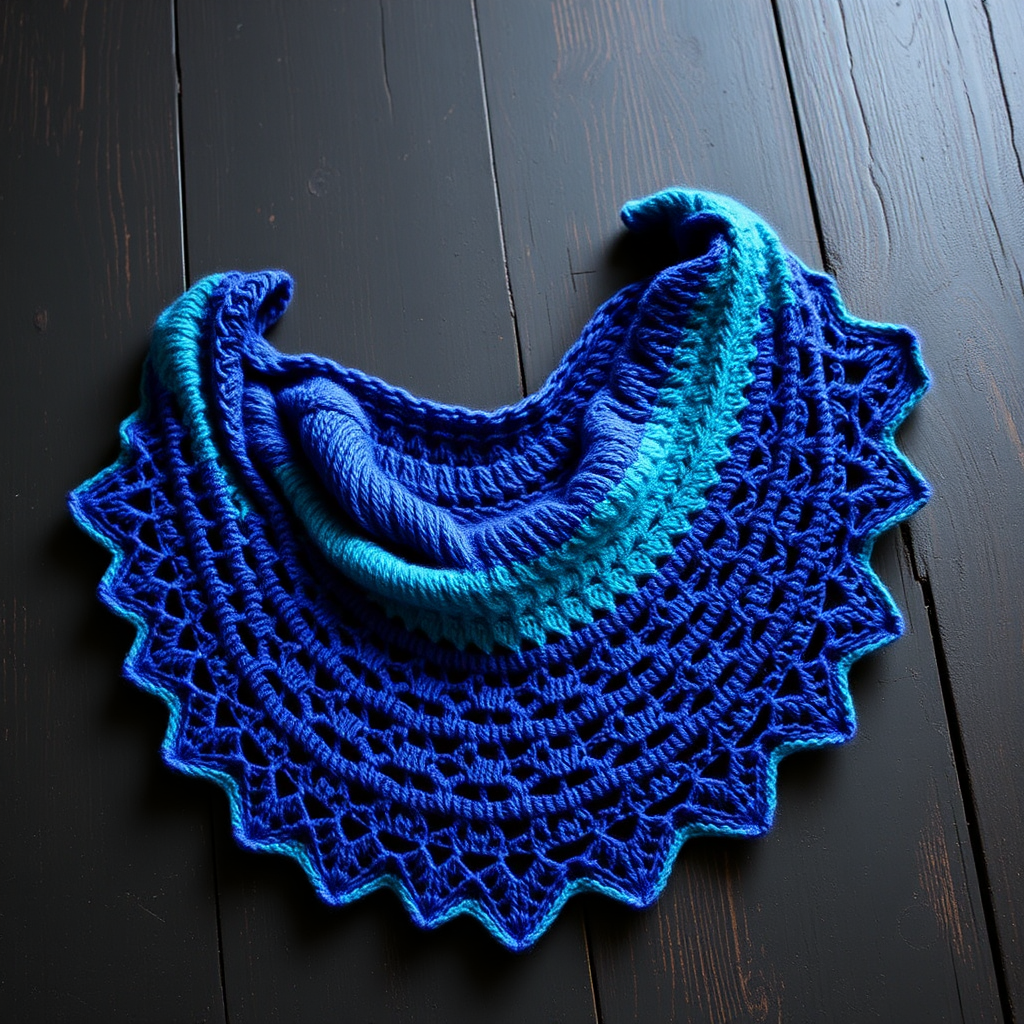
Drifting Dune Sideways Shawl Free Knitting Pattern – Textured Desert Gradient Wrap

Drifting Dune Sideways Shawl: A Free Knitting Pattern for a Textured Desert Gradient Wrap
Wrap yourself in the warm, sculptural waves of the Drifting Dune Shawl—a sideways-knit masterpiece that mimics wind-carved sand with a rich gradient of terracotta, ochre, and cream. This free pattern offers a meditative, rhythmic knit with a unique bias drape and elegant garter-ridge texture. Whether you're a seasoned knitter looking for a new challenge or a confident beginner ready to expand your skills, this pattern will guide you through creating a stunning, artisan-quality wrap that's as cozy as it is beautiful.
The sideways construction is the secret to this shawl's distinctive drape. Instead of knitting from the top down or bottom up, you'll work from one long edge to the other, creating a bias that wraps elegantly around your shoulders. The result is a wide, asymmetrical triangle with a gently curved top edge and a pointed bottom tip—a shape that flatters and drapes beautifully.
The color transitions are smooth and gradual, with each 12-row block blending into the next. The surface is covered in subtle horizontal ridges formed by the garter stitch pattern, giving it a textured, woven look reminiscent of wind-blown sand dunes. The edges are neat and slightly rolled, adding to the organic, handcrafted feel.
Materials Needed
Before you begin, gather the following materials. This pattern uses worsted weight yarn in three complementary colors to create the desert gradient effect.
Yarn
- Color A (Terracotta): 220 yards of worsted weight yarn. Suggested: Malabrigo Rios in 'Terracotta'
- Color B (Ochre): 220 yards of worsted weight yarn. Suggested: Malabrigo Rios in 'Ochre'
- Color C (Cream): 220 yards of worsted weight yarn. Suggested: Malabrigo Rios in 'Natural'
Total yarn needed: approximately 660 yards of worsted weight yarn.
Needles
- US 8 (5.0 mm) circular knitting needle, 32-inch or longer. The circular needle is essential to accommodate the large number of stitches as the shawl grows.
Gauge
- 18 stitches and 24 rows = 4 inches in garter stitch (blocked). Gauge is not critical for this pattern, but it will affect the final size of your shawl. If you knit looser or tighter, your shawl will be larger or smaller accordingly.
Other Supplies
- Stitch markers (optional, but helpful for tracking color blocks)
- Yarn needle for weaving in ends
- Scissors
- Blocking mats and pins (for finishing)
Step-by-Step Instructions
This pattern is designed to be accessible for knitters who know the basics: knit, purl, increases, and decreases. The special stitches are explained below, and the pattern is broken into clear sections. Take your time, and enjoy the rhythmic, meditative flow of this knit.
Special Stitches
- kfb (knit front and back): Increase 1 stitch by knitting into the front of the stitch, then without removing it from the left needle, knit into the back of the same stitch. This creates 2 stitches from 1.
- k2tog (knit two together): Decrease 1 stitch by inserting the right needle through the next two stitches on the left needle as if to knit, then knitting them together as one.
- sl1 wyif (slip 1 stitch purlwise with yarn in front): With the yarn held to the front of your work, insert the right needle into the next stitch as if to purl, and slip it to the right needle without knitting it. This creates a neat, clean edge.
Pattern Notes
- The shawl is knit sideways from one long edge to the other, creating a bias drape.
- Worked in garter stitch (knit every row) with a repeating ridge pattern.
- Use the circular needle to accommodate the large number of stitches.
- The first stitch of every row is slipped purlwise with yarn in front (sl1 wyif) to create a neat, finished edge.
Foundation: Casting On and Shaping the Top Edge
Step 1: With Color A, cast on 3 stitches using your preferred method (long-tail cast on works well).
Step 2: Work the following two rows to begin shaping the top edge of the shawl:
Row 1 (RS): kfb, knit to end. (4 stitches)
Row 2 (WS): sl1 wyif, knit to end.
Step 3: Repeat Rows 1-2 until you have 60 stitches on the needle. This forms the top edge of the shawl. Each repeat adds 1 stitch (on Row 1) and maintains the stitch count on Row 2. You will work a total of 57 repeats of Rows 1-2 to go from 3 to 60 stitches.
Tip: Place a stitch marker every 10 stitches to help you count accurately as you increase.
Body: The Ridge Pattern
Now you'll work the main body of the shawl in a repeating 12-row pattern. This pattern maintains the stitch count at 60 stitches while creating the beautiful garter-ridge texture. You'll change colors every 12 rows in the following sequence:
- 12 rows in Color A
- 12 rows in Color B
- 12 rows in Color C
- Repeat this sequence until the shawl reaches the desired length.
The 12-Row Ridge Pattern:
Row 1 (RS): sl1 wyif, kfb, knit to last 3 stitches, k2tog, k1. (60 stitches)
Row 2 (WS): sl1 wyif, knit to end.
Row 3 (RS): sl1 wyif, kfb, knit to last 3 stitches, k2tog, k1. (60 stitches)
Row 4 (WS): sl1 wyif, knit to end.
Row 5 (RS): sl1 wyif, kfb, knit to last 3 stitches, k2tog, k1. (60 stitches)
Row 6 (WS): sl1 wyif, knit to end.
Row 7 (RS): sl1 wyif, kfb, knit to last 3 stitches, k2tog, k1. (60 stitches)
Row 8 (WS): sl1 wyif, knit to end.
Row 9 (RS): sl1 wyif, kfb, knit to last 3 stitches, k2tog, k1. (60 stitches)
Row 10 (WS): sl1 wyif, knit to end.
Row 11 (RS): sl1 wyif, kfb, knit to last 3 stitches, k2tog, k1. (60 stitches)
Row 12 (WS): sl1 wyif, knit to end.
Understanding the Pattern: On every right-side row (Rows 1, 3, 5, 7, 9, 11), you increase 1 stitch at the beginning (kfb) and decrease 1 stitch near the end (k2tog). This keeps the stitch count at 60 while creating a subtle bias shape. The wrong-side rows are simple knit rows with the slipped edge stitch.
Color Changes: When you complete 12 rows (one full pattern repeat), switch to the next color in the sequence. For example, after completing 12 rows in Color A, join Color B and work 12 rows, then join Color C and work 12 rows. Continue this sequence until the shawl measures approximately 60 inches from the cast-on edge to the live stitches, or until you have used most of your yarn. Important: End after a complete 12-row color block to maintain the pattern integrity.
Tip: When changing colors, leave a 6-inch tail to weave in later. You can also carry the yarn up the side if you prefer, but weaving in ends gives a cleaner finish.
Shaping the Bottom Edge
Once your shawl reaches the desired length, it's time to shape the pointed bottom edge. This section decreases the stitch count to create the elegant point.
Step 1: Work the following two rows to begin decreasing:
Row 1 (RS): sl1 wyif, k2tog, knit to last 3 stitches, k2tog, k1. (58 stitches)
Row 2 (WS): sl1 wyif, knit to end.
Step 2: Repeat these 2 rows until you have 4 stitches remaining on your needle. Each repeat of Row 1 decreases the stitch count by 2 (one at the beginning and one at the end), while Row 2 maintains the count.
Step 3: Work the final row to close the point:
Final Row: k2tog twice. (2 stitches)
Step 4: Cut the yarn, leaving a 6-inch tail. Thread the tail through the remaining 2 stitches and pull tight to secure. Weave in the end.
Finishing
Step 1: Weave in all loose ends using a yarn needle. Be sure to weave in the tails from your color changes and the cast-on and bind-off edges.
Step 2: Block the shawl gently to shape. Soak the shawl in lukewarm water with a mild wool wash for 20-30 minutes. Gently squeeze out excess water (do not wring or twist). Lay the shawl flat on a clean towel and roll it up to remove more water.
Step 3: Place the shawl on blocking mats and pin out the points and edges to the desired shape. The top edge should be gently curved, and the bottom point should be sharp and defined. Pin the edges to create a smooth, even line.
Step 4: Allow the shawl to dry completely before unpinning. This may take 24-48 hours depending on humidity.
Wearing and Caring for Your Shawl
Once your Drifting Dune Shawl is complete and blocked, it's ready to wear. The bias drape means it wraps beautifully around your shoulders, and the textured garter ridges add visual interest to any outfit. The warm terracotta, golden ochre, and soft cream colors evoke the desert landscape that inspired this design.
To care for your hand-knit shawl, hand wash in cold water with a gentle wool wash and lay flat to dry. Store it folded in a drawer or on a shelf, away from direct sunlight to prevent fading.
This pattern is perfect for using up worsted weight yarn from your stash, and the color combinations are endless. Try a cool palette of blues and grays for a coastal feel, or stick with the desert theme and experiment with different warm tones. The rhythmic, repetitive nature of the pattern makes it an excellent project for relaxing evenings or social knitting groups.
Happy knitting! We'd love to see your finished Drifting Dune Shawl—share your photos and color combinations in the comments below.