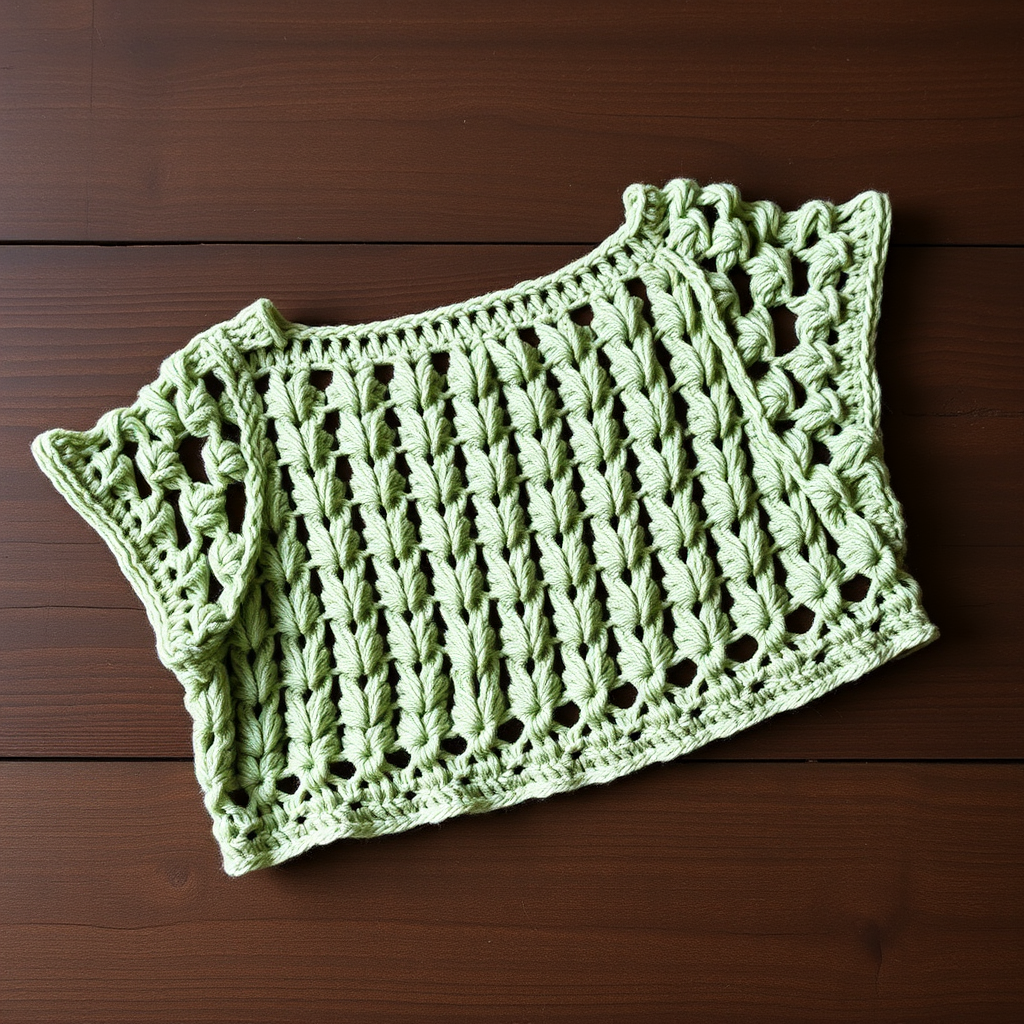
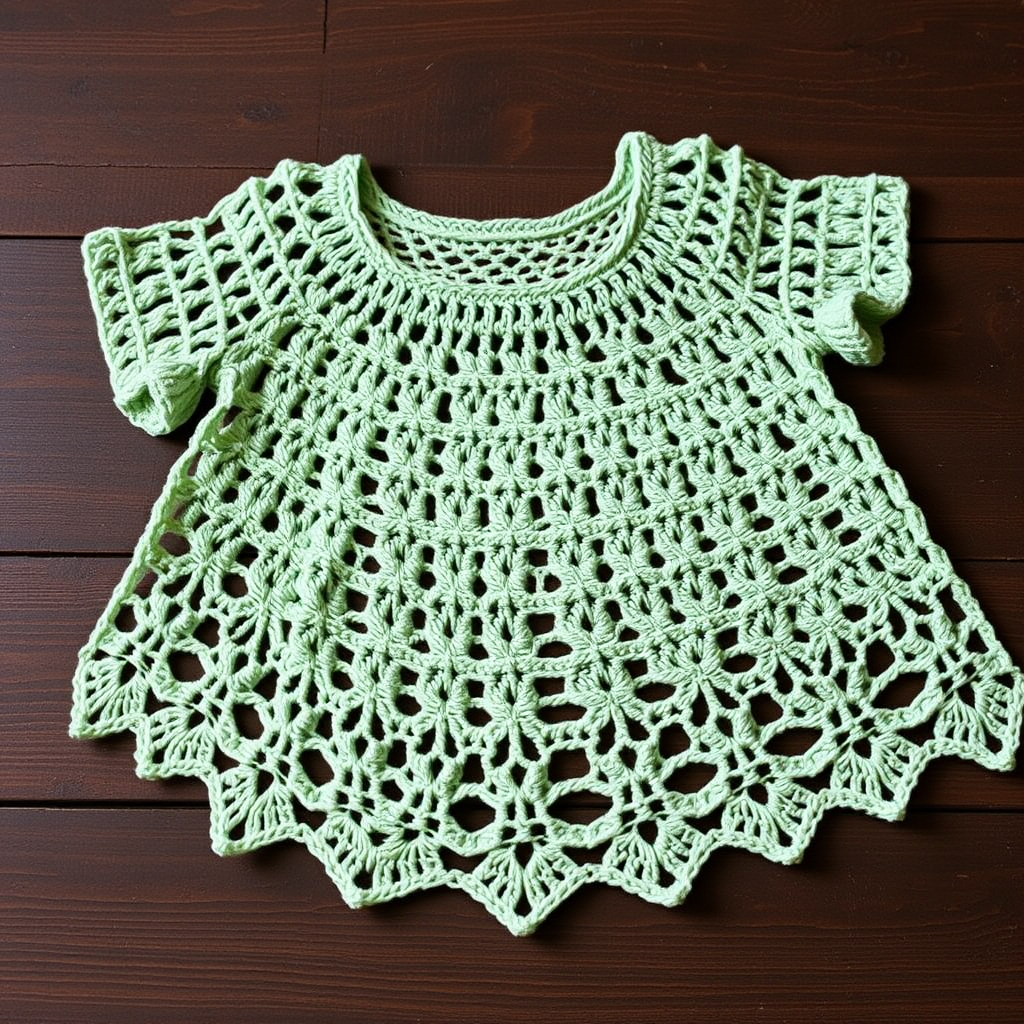
Crimson Lace Crochet Top Free Pattern – Romantic Boho Summer Tee
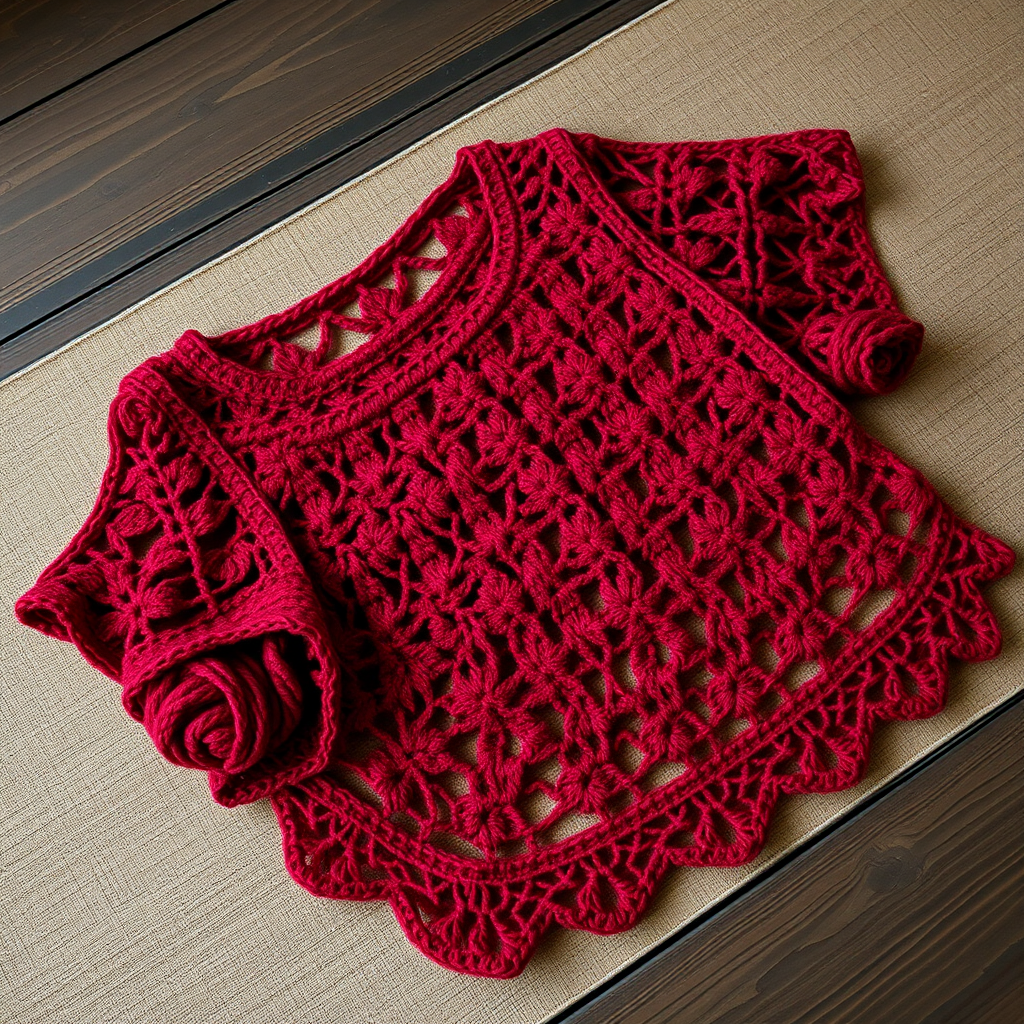
Crimson Lace Crochet Top Free Pattern – Romantic Boho Summer Tee
Imagine a garment that feels like a gentle breeze against your skin—light, airy, and adorned with a delicate floral mesh that catches the sunlight. That's exactly what you'll create with this stunning Crimson Lace Crochet Top. Crafted in a rich, deep crimson red using a soft bamboo-cotton blend, this romantic boho-inspired tee is the perfect addition to your warm-weather wardrobe. The best part? Despite its intricate, lace-like appearance, this pattern is surprisingly beginner-friendly. With just a few basic stitches and a simple 4-row repeat, you'll create a one-of-a-kind piece that drapes beautifully and feels luxurious to wear. Whether you're heading to a beach bonfire, a summer festival, or simply enjoying a lazy afternoon in the garden, this top is sure to become your new favorite handmade treasure.
Materials Needed
Before you begin, gather the following supplies to ensure a smooth and enjoyable crochet experience:
- Yarn: Lion Brand Truboo (or any light worsted weight cotton/bamboo blend) in Crimson Red – 3 (3, 4, 4) skeins. The bamboo-cotton blend gives the top its beautiful drape and subtle sheen.
- Hook: 5.0 mm (H-8) crochet hook
- Other Tools: Yarn needle for weaving in ends, scissors, and stitch markers (optional but helpful for keeping track of rows)
Gauge: 4 repeats of the lace pattern (16 sts) x 8 rows = 4 inches in the lace stitch pattern. Always check your gauge to ensure the correct fit—adjust your hook size if needed.
Step-by-Step Instructions
Understanding the Pattern
This top is worked in two panels (front and back) from the bottom up, then seamed at the shoulders and sides. The lace pattern is a simple 4-row repeat that creates a beautiful floral mesh. The sizes are indicated as Small (Medium, Large, X-Large), so follow the numbers that correspond to your desired size throughout the pattern.
Stitch Abbreviations
- ch = chain
- sc = single crochet
- dc = double crochet
- tr = treble crochet
- sk = skip
- st(s) = stitch(es)
- sl st = slip stitch
- sp = space
The Lace Pattern (Multiple of 4 + 2)
This is the heart of your top. Once you master this 4-row repeat, the entire project will flow effortlessly. Let's break it down:
Row 1 (Right Side): Sc in 2nd ch from hook, *ch 3, sk 3 ch, sc in next ch; rep from * to end. Turn.
Explanation: You're creating a foundation row of single crochets separated by chain-3 loops. This forms the base for the floral mesh.
Row 2: Ch 4 (counts as tr), sk first sc, *tr in next ch-3 sp, ch 1, tr in same sp; rep from * to last sc, tr in last sc. Turn.
Explanation: This row builds the "petals" of your flowers. Each chain-3 space from Row 1 gets two treble crochets separated by a chain-1, creating a V-shape that forms the floral clusters.
Row 3: Ch 1, sc in first tr, *ch 3, sc in next ch-1 sp; rep from * to last tr, ch 3, sc in top of turning ch. Turn.
Explanation: This row creates new chain-3 spaces between the V-shapes, setting up the next round of flowers. The single crochets anchor the mesh.
Row 4: Ch 3 (counts as dc), *3 dc in next ch-3 sp; rep from * to last ch-3 sp, 2 dc in last ch-3 sp, dc in last sc. Turn.
Explanation: This row fills the chain-3 spaces with clusters of double crochets, creating a solid, textured band that gives the fabric structure and stability.
Row 5: Ch 1, sc in first dc, *ch 3, sk 3 dc, sc in next dc; rep from * to end. Turn.
Explanation: This row returns you to the open mesh pattern, skipping over the double crochet clusters to create new chain-3 spaces. This is essentially Row 1 of the repeat.
Repeat Rows 2-5 for the pattern. You'll see the floral mesh emerge beautifully as you go!
Front Panel
Foundation: Chain 82 (90, 98, 106) loosely. This loose foundation is crucial—it ensures your bottom edge has the same stretch and drape as the rest of the fabric.
Body: Work Row 1 of the lace pattern, then continue in the lace pattern (Rows 2-5) until the piece measures 12 (13, 14, 15) inches from the beginning. End on a Row 4. This gives you a solid row at the underarm point, making the armhole shaping cleaner.
Shape Armholes: On the next row (Right Side), slip stitch over the first 6 (8, 8, 10) stitches, then work in pattern to the last 6 (8, 8, 10) stitches. Turn, leaving the remaining stitches unworked. You now have 70 (74, 82, 86) stitches. This creates the underarm curve.
Continue in pattern on these stitches until the armhole measures 7 (8, 9, 10) inches. End on a Row 4. This ensures you have a solid row before starting the neckline shaping.
Shape Neckline (Right Shoulder): On the next row (Right Side), work in pattern over the first 20 (22, 26, 28) stitches, then turn. You'll now work only on these stitches for the right shoulder.
- Decrease 1 stitch at the neck edge every row 4 times. To decrease, simply skip the first stitch at the neck edge when working the row. You'll have 16 (18, 22, 24) stitches remaining.
- Work even (no decreases) until the armhole measures 9 (10, 11, 12) inches. Fasten off.
Shape Neckline (Left Shoulder): Skip the center 30 (30, 30, 30) stitches. Join yarn in the next stitch. Work in pattern over the last 20 (22, 26, 28) stitches.
- Decrease 1 stitch at the neck edge every row 4 times. You'll have 16 (18, 22, 24) stitches remaining.
- Work even until the armhole measures 9 (10, 11, 12) inches. Fasten off.
Back Panel
Work the back panel exactly the same as the front, but with one key difference: shape the neckline 2 inches shorter than the front. This means if your front armhole is 9 inches, you'll start the back neckline shaping when the armhole measures 7 inches. This creates a lower front neckline and a higher back neckline for a comfortable, flattering fit.
Shape Neckline (Right Shoulder): On the next row (Right Side), work in pattern over the first 20 (22, 26, 28) stitches, then turn.
- Decrease 1 stitch at the neck edge every row 2 times. You'll have 18 (20, 24, 26) stitches remaining.
- Work even until the armhole measures 9 (10, 11, 12) inches. Fasten off.
Shape Neckline (Left Shoulder): Skip the center 30 (30, 30, 30) stitches. Join yarn in the next stitch. Work in pattern over the last 20 (22, 26, 28) stitches.
- Decrease 1 stitch at the neck edge every row 2 times. You'll have 18 (20, 24, 26) stitches remaining.
- Work even until the armhole measures 9 (10, 11, 12) inches. Fasten off.
Finishing Touches
Now comes the satisfying part—bringing your panels together into a beautiful, wearable top!
Seams: With right sides together, sew the shoulder seams using a whipstitch. Then sew the side seams, leaving 8 (9, 10, 11) inches open at the top for the armholes. Make sure to try it on at this point to check the fit—you can always adjust the seam length before finishing.
Armhole Edging: Join yarn at the underarm. Work 1 round of single crochet evenly around the entire armhole opening. Join with a slip stitch to the first single crochet. Fasten off. Repeat for the other armhole. This neat edging prevents stretching and gives a polished finish.
Neckline Edging: Join yarn at the shoulder seam. Work 1 round of single crochet evenly around the entire neckline. Join with a slip stitch to the first single crochet. Fasten off. This stabilizes the neckline and prevents it from stretching out of shape.
Bottom Hem Edging: Join yarn at the side seam. Work 1 round of single crochet evenly around the bottom edge. Join with a slip stitch to the first single crochet. Fasten off. This gives the hem a clean, finished look.
Weave in all ends using your yarn needle. Take your time with this step—it makes a huge difference in the final appearance and durability of your garment.
Block the top to open up the lace pattern and even out the stitches. To block, gently wet the top with cool water, squeeze out excess (don't wring!), lay it flat on a towel, and shape it to the correct measurements. Pin if necessary and allow to dry completely. This step is essential for lace patterns—it transforms your work from a slightly scrunched fabric into a beautifully draped, open mesh.
And there you have it—your very own Crimson Lace Crochet Top! This romantic, boho-inspired piece is perfect for layering over a swimsuit at the beach, pairing with high-waisted jeans for a festival look, or dressing up with a flowy skirt for a summer date night. The bamboo-cotton blend keeps you cool and comfortable, while the intricate lace pattern ensures you'll receive compliments everywhere you go. Happy crocheting!