Cozy Cabin Autumn Leaf Mug Cozy Free Knitting Pattern
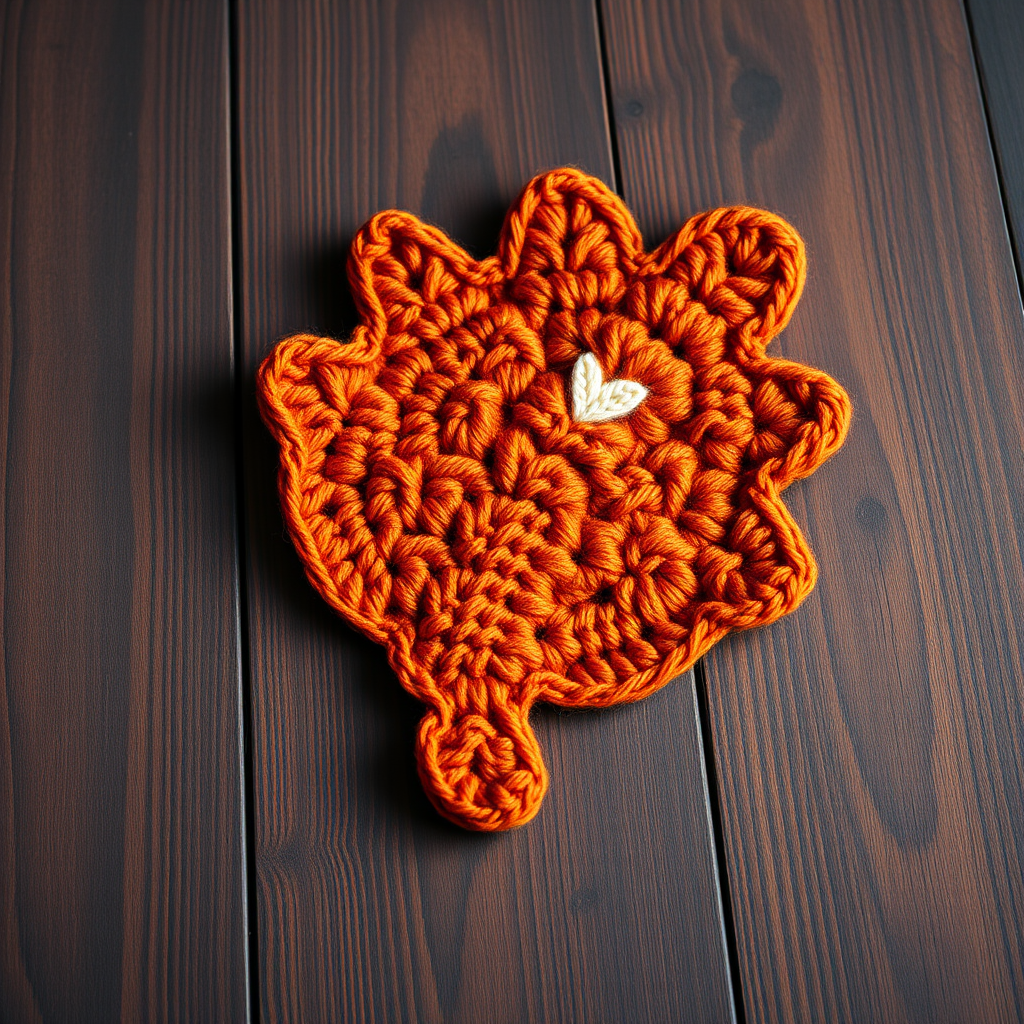
Cozy Cabin Autumn Leaf Mug Cozy: A Free Knitting Pattern for Beginners
Wrap your favorite mug in a little piece of autumn with this charming knitted leaf-shaped coaster. Perfect for crisp mornings and warm beverages, this quick project uses simple knit and purl stitches to create a textured leaf that adds a touch of woodland warmth to your table. Whether you're a seasoned knitter looking for a fast gift or a beginner ready for your first shaped project, this pattern is designed to be approachable, satisfying, and beautifully seasonal.
Why You'll Love This Pattern
This mug rug is more than just a coaster—it's a celebration of fall. The burnt orange body with a cream vein evokes images of cozy cabins, crackling fires, and steaming apple cider. The pattern introduces you to essential shaping techniques like yarn overs (increases) and knit-two-together (decreases), all within a compact, manageable project. You'll finish in an evening and immediately want to make a whole set in different colors.
Materials Needed
Before you begin, gather these simple supplies. The project is designed for worsted weight yarn, which is widely available and easy to work with.
- Yarn: Worsted weight yarn in two colors:
- Main Color (MC): Burnt orange (approximately 30-40 yards)
- Contrast Color (CC): Cream or mustard yellow (small amount for embroidery)
- Needles: US Size 7 (4.5 mm) knitting needles
- Extras: Tapestry needle for weaving in ends and embroidering the vein, scissors
Gauge
20 stitches and 26 rows = 4 inches in stockinette stitch. While gauge isn't critical for this project (it's a decorative item), matching it will ensure your leaf is the perfect size for a standard mug. If your leaf turns out too large or small, simply adjust your needle size.
Step-by-Step Instructions
This pattern is worked flat from the stem to the leaf tip. Don't be intimidated by the shaping—each step is explained clearly. Let's get started!
Abbreviations
- CO: Cast on
- K: Knit
- P: Purl
- K2tog: Knit two together (a right-leaning decrease)
- SSK: Slip, slip, knit (a left-leaning decrease)
- YO: Yarn over (an increase that creates a small hole)
- St(s): Stitch(es)
- RS: Right side (the front of your work)
- WS: Wrong side (the back of your work)
Stem (Make 1)
We begin with the stem, which forms the base of the leaf.
- With your Main Color (MC), CO 5 sts.
- Row 1: Knit across all 5 stitches.
- Row 2: Purl across all 5 stitches.
- Repeat Rows 1 and 2 (alternating knit and purl rows) until the piece measures 2 inches from the cast-on edge. Tip: This creates a garter stitch stem, which lies flat and looks neat.
- End with a purl row (WS). You are now ready to begin the leaf body.
Leaf Body (Increasing)
Now we'll shape the wide part of the leaf by increasing stitches in the center. This creates a symmetrical diamond shape.
- Next Row (RS): K2, YO, K1, YO, K2. You now have 7 sts on your needle.
- Next Row: Purl across all 7 stitches.
- Next Row (RS): K3, YO, K1, YO, K3. You now have 9 sts.
- Next Row: Purl across all 9 stitches.
- Continue the pattern: Keep increasing 2 stitches on every RS row by working YO, K1, YO into the center stitch. The center stitch is always the middle stitch of your row. For example:
- Row 5 (RS): K4, YO, K1, YO, K4 (11 sts)
- Row 6 (WS): Purl across.
- Row 7 (RS): K5, YO, K1, YO, K5 (13 sts)
- Row 8 (WS): Purl across.
- Keep going: Continue this sequence until you have 21 sts on your needle. Tip: You should have 10 stitches on each side of the center stitch.
- End with a WS purl row. Your leaf body is now at its widest point.
Leaf Shaping (Decreasing)
Time to taper the leaf to a point. We'll decrease one stitch at each edge on every RS row.
- Row 1 (RS): K2tog, knit across until 2 stitches remain, SSK. You now have 19 sts. Note: K2tog leans right, SSK leans left, creating a neat, symmetrical point.
- Row 2 (WS): Purl across all 19 stitches.
- Repeat Rows 1 and 2 (decreasing on RS, purling on WS) until you have 5 sts remaining on your needle.
- End with a WS purl row.
Leaf Tip
We're almost done! The final decreases will form the sharp tip of the leaf.
- Next Row (RS): K2tog, K1, SSK. You now have 3 sts.
- Next Row: Purl across all 3 stitches.
- Next Row (RS): K3tog (knit three stitches together). You now have 1 st remaining.
- Cut your yarn, leaving a 6-inch tail. Thread the tail through the remaining loop on your needle and pull tight to secure. Weave in this end and the cast-on end using your tapestry needle.
Finishing Touches
Your leaf is complete, but a little detail will make it truly special.
- Embroider the Vein: Using your Contrast Color (CC) yarn and a tapestry needle, embroider a simple vein down the center of the leaf. Use a running stitch or backstitch from the stem to the tip. This adds a beautiful, professional-looking detail.
- Alternative Option: If you prefer, you can knit a small CC stripe by working 2 rows of CC in the middle of the leaf body (around the time you have 15-17 stitches). This creates a different but equally charming look.
- Block Your Leaf: To enhance the shape and help the leaf lie flat, gently wet-block it. Soak the leaf in lukewarm water for 10 minutes, gently squeeze out excess water (don't wring), and lay it flat on a towel. Shape it into a leaf form and pin the edges if needed. Allow it to dry completely. This step smooths out the stitches and gives your leaf a polished, natural curve.
Your Cozy Creation Awaits
And there you have it—a beautiful, handmade autumn leaf mug cozy that's perfect for gifting or keeping for yourself. This pattern is a wonderful way to practice increases and decreases while creating something genuinely useful and decorative. Make a few in different colors—crimson, golden yellow, and forest green—to create a whole fall foliage collection for your table.
We'd love to see your finished leaves! Share your creations online with the hashtag #CozyCabinLeaf and inspire other crafters. Happy knitting, and enjoy your cozy autumn moments.


