Cloud Nine Driftwood Airplane Ornament Free Crochet Pattern – Soft Yarn Sky Décor
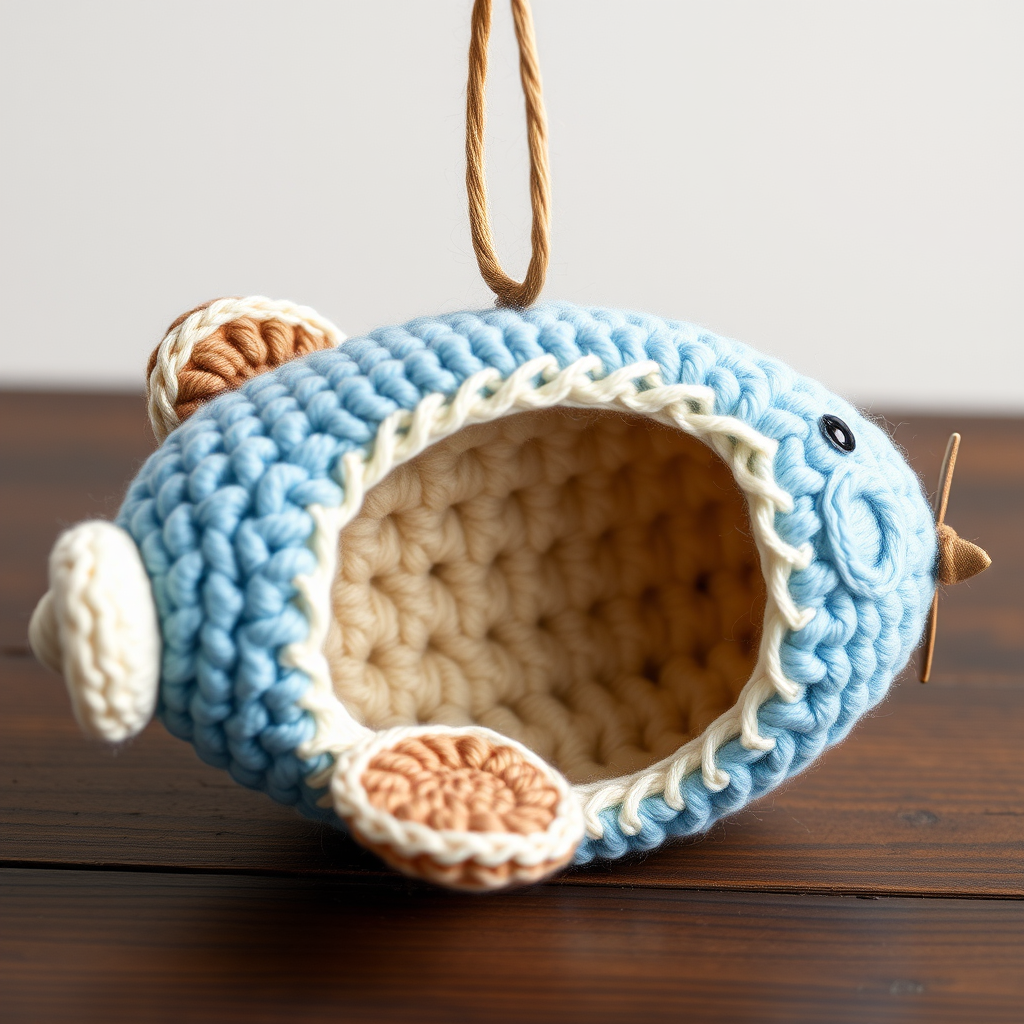
Cloud Nine Driftwood Airplane Ornament: A Free Crochet Pattern for Cozy Sky Décor
Imagine a whimsical airplane floating through the clouds, crafted from the softest yarn in a palette of sky blue, ivory, and warm taupe. This charming amigurumi ornament brings a touch of handmade magic to any holiday tree, nursery mobile, or cozy corner. With its rounded fuselage, textured wings, and delicate propeller, this one-of-a-kind keepsake is as delightful to create as it is to display. Whether you're a seasoned crocheter or a curious beginner, this pattern is designed to guide you through every stitch with clarity and ease.
Materials Needed
Before you begin your crafting journey, gather these simple supplies. The beauty of this project lies in its accessibility—everything is easy to find at your local craft store.
- Yarn: Worsted weight (#4) cotton or acrylic yarn in the following colors:
- Ivory (for wings, propeller blades, and hanging loop)
- Sky blue (for fuselage and windows)
- Warm taupe (for tail fins)
- Dark brown (small amount for propeller hub and optional details)
- Hook: 3.5 mm (E) crochet hook
- Other: Polyester fiberfill for stuffing, stitch marker, yarn needle, scissors
Gauge note: 4 sc x 4 rows = 1 inch. Gauge is not critical for this project, but maintaining consistent tension will ensure a neat, professional finish.
Step-by-Step Instructions
This pattern is worked in continuous spirals unless otherwise noted. Always use a stitch marker to track the beginning of each round—this is essential for keeping your counts accurate.
Fuselage (Body)
Start with sky blue yarn.
- R1: Make a magic ring, work 6 single crochet (sc) into the ring. (6 stitches)
- R2: Increase (inc) in each stitch around. (12 stitches)
- R3: (Sc in next stitch, inc) around. (18 stitches)
- R4: (Sc in next 2 stitches, inc) around. (24 stitches)
- R5-10: Sc in each stitch around for 6 even rounds. (24 stitches)
- R11: (Sc in next 2 stitches, decrease (dec)) around. (18 stitches)
- R12: (Sc in next stitch, dec) around. (12 stitches)
- Stuff firmly: Fill the fuselage with polyester fiberfill, ensuring it's plush but not overstuffed—you want it to keep its rounded shape.
- R13: Dec around. (6 stitches)
- Fasten off, leaving a tail. Weave the end through the remaining stitches and pull tight to close. Weave in the end securely.
Wings (Make 2)
Use ivory yarn.
- R1: Magic ring, 6 sc in ring. (6 stitches)
- R2: Inc in each stitch around. (12 stitches)
- R3: (Sc in next stitch, inc) around. (18 stitches)
- R4-6: Sc in each stitch around for 3 even rounds. (18 stitches)
- R7: (Sc in next stitch, dec) around. (12 stitches)
- R8: Sc in each stitch around. (12 stitches)
- Fasten off, leaving a long tail for sewing. Flatten the wing slightly and sew it to the side of the fuselage, positioning it slightly above the center. Repeat for the second wing on the opposite side, ensuring they are symmetrical.
Tail Fins (Make 2)
Use warm taupe yarn.
- R1: Magic ring, 6 sc in ring. (6 stitches)
- R2: (Sc in next stitch, inc) around. (9 stitches)
- R3-4: Sc in each stitch around for 2 even rounds. (9 stitches)
- Fasten off, leaving a tail. Sew to the back end of the fuselage, angling each fin slightly upward for that classic airplane silhouette.
Propeller Hub
Use dark brown yarn.
- R1: Magic ring, 4 sc in ring. (4 stitches)
- R2: (Sc in next stitch, inc) around. (6 stitches)
- R3: Sc in each stitch around. (6 stitches)
- Fasten off, leaving a tail. Sew to the front center of the fuselage.
Propeller Blades (Make 2)
Use ivory yarn.
- Chain (ch) 4.
- Sc in the 2nd ch from hook, half double crochet (hdc) in the next ch, double crochet (dc) in the last ch.
- Fasten off, leaving a tail. Sew one blade on each side of the propeller hub, angling them outward for a dynamic look.
Windows (Make 3)
Use sky blue yarn.
- R1: Magic ring, 6 sc in ring. (6 stitches)
- Slip stitch (sl st) to join, fasten off, leaving a tail.
- Sew onto the fuselage in a neat row, evenly spaced, to mimic airplane windows.
Hanging Loop
- Cut a 6-inch piece of ivory yarn.
- Thread it through the top of the fuselage using a yarn needle.
- Tie a secure knot and create a loop for hanging. Trim any excess yarn.
Finishing Touches
- Weave in all loose ends carefully with a yarn needle to ensure a clean finish.
- Optionally, add a small embroidered smile or extra details on the fuselage using dark brown yarn for a touch of personality.
- Block gently if needed to even out the stitches and shape the ornament perfectly.
Your Cloud Nine Driftwood Airplane Ornament is now complete! This soft, squishy, and huggable creation is ready to bring a breath of fresh air to your décor. Whether it's a gift for a little aviator or a charming addition to your own collection, this handmade treasure is sure to be cherished for years to come. Happy crocheting!


