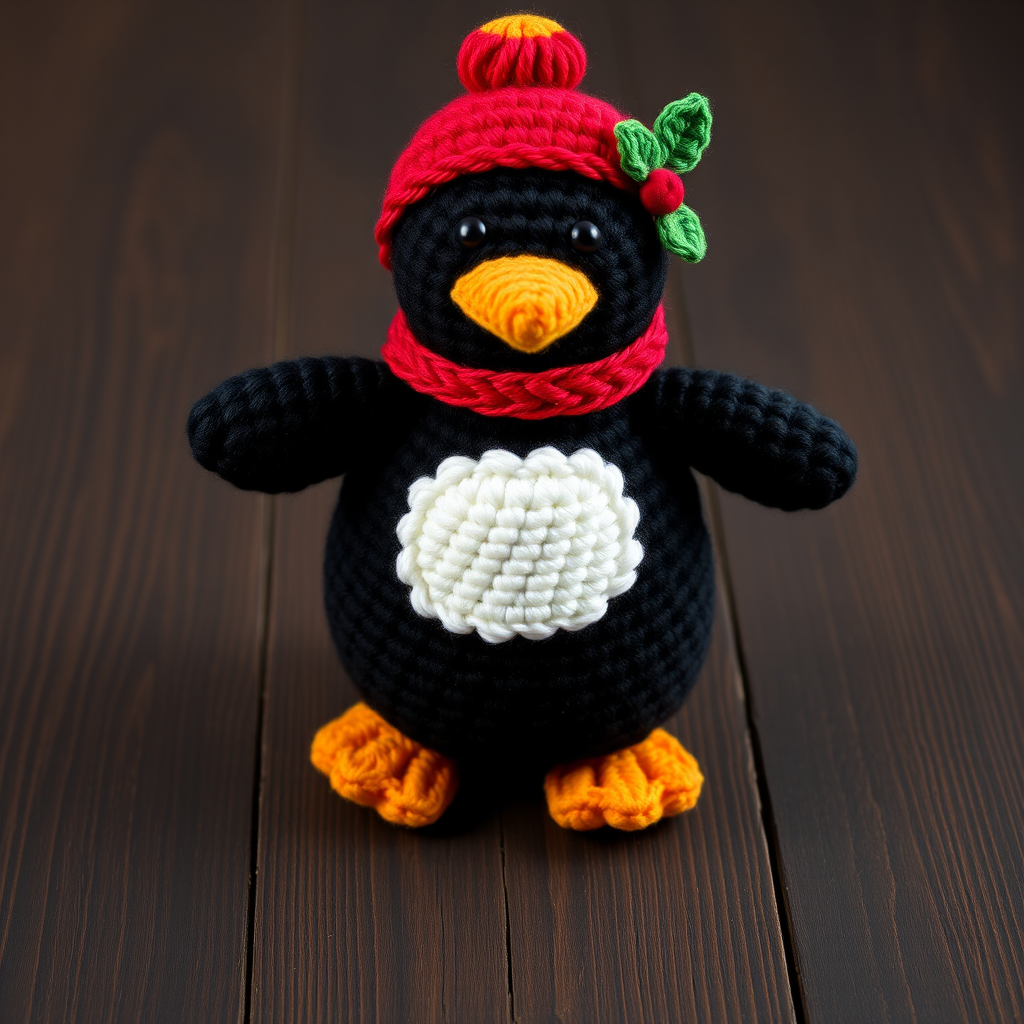
Whimsical Woolen Garden Gnome Free Pattern

Whimsical Woolen Garden Gnome: A Free Beginner-Friendly Crochet Pattern
Bring a touch of enchanted forest charm to your home with this adorable crocheted gnome, complete with a fluffy beard and a pointy hat. Perfect for beginners and seasoned crafters alike, this project works up quickly using basic amigurumi techniques. This little fellow makes a delightful garden companion, a whimsical shelf decoration, or a heartfelt handmade gift. With just a few basic stitches and some simple shaping, you'll have your very own magical friend in no time.
Materials Needed
Before you begin, gather the following supplies. This project is wonderfully portable and requires minimal materials, making it perfect for crafting on the go.
- Yarn: Worsted weight yarn in three colors:
- Red: For the body and hat (e.g., Loops & Threads Impeccable in Cherry)
- Cream: For the beard (e.g., Loops & Threads Impeccable in Aran)
- Skin Tone: For the head, arms, and nose (e.g., Loops & Threads Impeccable in Soft Peach)
- Crochet Hook: H/8 (5.0 mm) crochet hook
- Yarn Needle: For sewing pieces together and weaving in ends
- Stuffing: Polyester fiberfill or your preferred stuffing material
- Black Yarn or Safety Eyes: For the eyes (optional, you can embroider them)
- Stitch Marker: To keep track of your rounds (optional but helpful)
Gauge: Not critical for this project; aim for a tight stitch to prevent stuffing showing. The finished gnome will stand about 6 inches tall.
Step-by-Step Instructions
This pattern is worked in continuous spirals unless otherwise noted. Do not join at the end of rounds unless specified. Use a stitch marker to keep track of your rounds.
Head
Start with your skin tone yarn.
- Round 1: Make a magic ring, work 6 single crochet (sc) into the ring. (6 stitches)
- Round 2: Work 2 sc in each stitch around. (12 stitches)
- Round 3: *Sc in the next stitch, 2 sc in the next stitch*; repeat from * to * around. (18 stitches)
- Round 4: *Sc in the next 2 stitches, 2 sc in the next stitch*; repeat from * to * around. (24 stitches)
- Round 5: *Sc in the next 3 stitches, 2 sc in the next stitch*; repeat from * to * around. (30 stitches)
- Rounds 6-10: Sc in each stitch around. (30 stitches)
- Round 11: *Sc in the next 3 stitches, sc2tog (single crochet 2 together)*; repeat from * to * around. (24 stitches)
- Round 12: *Sc in the next 2 stitches, sc2tog*; repeat from * to * around. (18 stitches)
- Stuff the head firmly with fiberfill, shaping it into a nice round ball.
- Round 13: *Sc in the next stitch, sc2tog*; repeat from * to * around. (12 stitches)
- Round 14: Sc2tog around. (6 stitches)
- Fasten off, leaving a long tail. Thread the tail through a yarn needle, weave it through the front loops of the remaining 6 stitches, and pull tight to close the hole. Weave in the tail to hide it.
Body
Switch to your red yarn.
- Round 1: Make a magic ring, work 6 sc into the ring. (6 stitches)
- Round 2: Work 2 sc in each stitch around. (12 stitches)
- Round 3: *Sc in the next stitch, 2 sc in the next stitch*; repeat from * to * around. (18 stitches)
- Round 4: *Sc in the next 2 stitches, 2 sc in the next stitch*; repeat from * to * around. (24 stitches)
- Rounds 5-8: Sc in each stitch around. (24 stitches)
- Round 9: *Sc in the next 2 stitches, sc2tog*; repeat from * to * around. (18 stitches)
- Rounds 10-11: Sc in each stitch around. (18 stitches)
- Stuff the body firmly with fiberfill.
- Fasten off, leaving a long tail for sewing the body to the head.
Arms (Make 2)
Start with your skin tone yarn.
- Round 1: Make a magic ring, work 6 sc into the ring. (6 stitches)
- Rounds 2-4: Sc in each stitch around. (6 stitches)
- Switch to red yarn.
- Rounds 5-6: Sc in each stitch around. (6 stitches)
- Stuff lightly—just enough to give the arm shape without making it bulky.
- Fasten off, leaving a long tail for sewing the arms to the body.
Nose
Use your skin tone yarn.
- Round 1: Make a magic ring, work 6 sc into the ring. (6 stitches)
- Round 2: Sc in each stitch around. (6 stitches)
- Fasten off, leaving a long tail. Stuff lightly and sew to the center of the face, positioning it between where the eyes will be.
Beard
Attach your cream yarn to the side of the head, just below the nose. The beard is worked in rows, not rounds.
- Row 1: Chain 1, sc in the same stitch, sc in the next 8 stitches. (9 stitches)
- Row 2: Chain 1, turn your work. Sc2tog, sc in the next 5 stitches, sc2tog. (7 stitches)
- Row 3: Chain 1, turn. Sc2tog, sc in the next 3 stitches, sc2tog. (5 stitches)
- Row 4: Chain 1, turn. Sc2tog, sc in the next stitch, sc2tog. (3 stitches)
- Fasten off and weave in the ends. The beard will naturally curve around the face, creating a fluffy, full look.
Hat
Use your red yarn.
- Round 1: Make a magic ring, work 6 sc into the ring. (6 stitches)
- Round 2: Work 2 sc in each stitch around. (12 stitches)
- Round 3: *Sc in the next stitch, 2 sc in the next stitch*; repeat from * to * around. (18 stitches)
- Round 4: *Sc in the next 2 stitches, 2 sc in the next stitch*; repeat from * to * around. (24 stitches)
- Rounds 5-7: Sc in each stitch around. (24 stitches)
- Round 8: *Sc in the next 6 stitches, sc2tog*; repeat from * to * around. (21 stitches)
- Round 9: Sc in each stitch around. (21 stitches)
- Round 10: *Sc in the next 5 stitches, sc2tog*; repeat from * to * around. (18 stitches)
- Round 11: Sc in each stitch around. (18 stitches)
- Round 12: *Sc in the next 4 stitches, sc2tog*; repeat from * to * around. (15 stitches)
- Round 13: Sc in each stitch around. (15 stitches)
- Round 14: *Sc in the next 3 stitches, sc2tog*; repeat from * to * around. (12 stitches)
- Round 15: Sc in each stitch around. (12 stitches)
- Round 16: *Sc in the next 2 stitches, sc2tog*; repeat from * to * around. (9 stitches)
- Round 17: Sc in each stitch around. (9 stitches)
- Round 18: *Sc in the next stitch, sc2tog*; repeat from * to * around. (6 stitches)
- Rounds 19-20: Sc in each stitch around. (6 stitches)
- Fasten off, leaving a long tail. Gather the top of the hat and close it securely. Sew the hat to the head, positioning it slightly angled for that whimsical, drooping look.
Assembly
Now it's time to bring your gnome to life! Follow these steps to assemble all the pieces.
- Sew the head to the body: Using the long tail from the body, sew the head securely to the top of the body. Make sure it's centered and firmly attached.
- Sew the arms to the body: Position the arms on either side of the body, about halfway down. Sew them securely using the long tails left on the arms.
- Sew the nose to the face: Position the nose in the center of the face, slightly above the beard. Sew it securely.
- Sew the hat to the head: Place the hat on top of the head at a jaunty angle. Sew it in place around the base of the hat.
- Add the eyes: Embroider simple eyes with black yarn, or attach safety eyes. If embroidering, place them just above the nose, one on each side. For a classic gnome look, make small "x" stitches or simple French knots.
- Weave in all ends: Use your yarn needle to hide any remaining yarn tails inside the gnome.
Congratulations! You've just created your very own Whimsical Woolen Garden Gnome. This project is wonderfully customizable—try different color combinations, add a little mushroom, or make a whole family of gnomes. The soft, squishy texture and charming details make this a treasured piece that brings a smile to everyone who sees it. Happy crocheting!