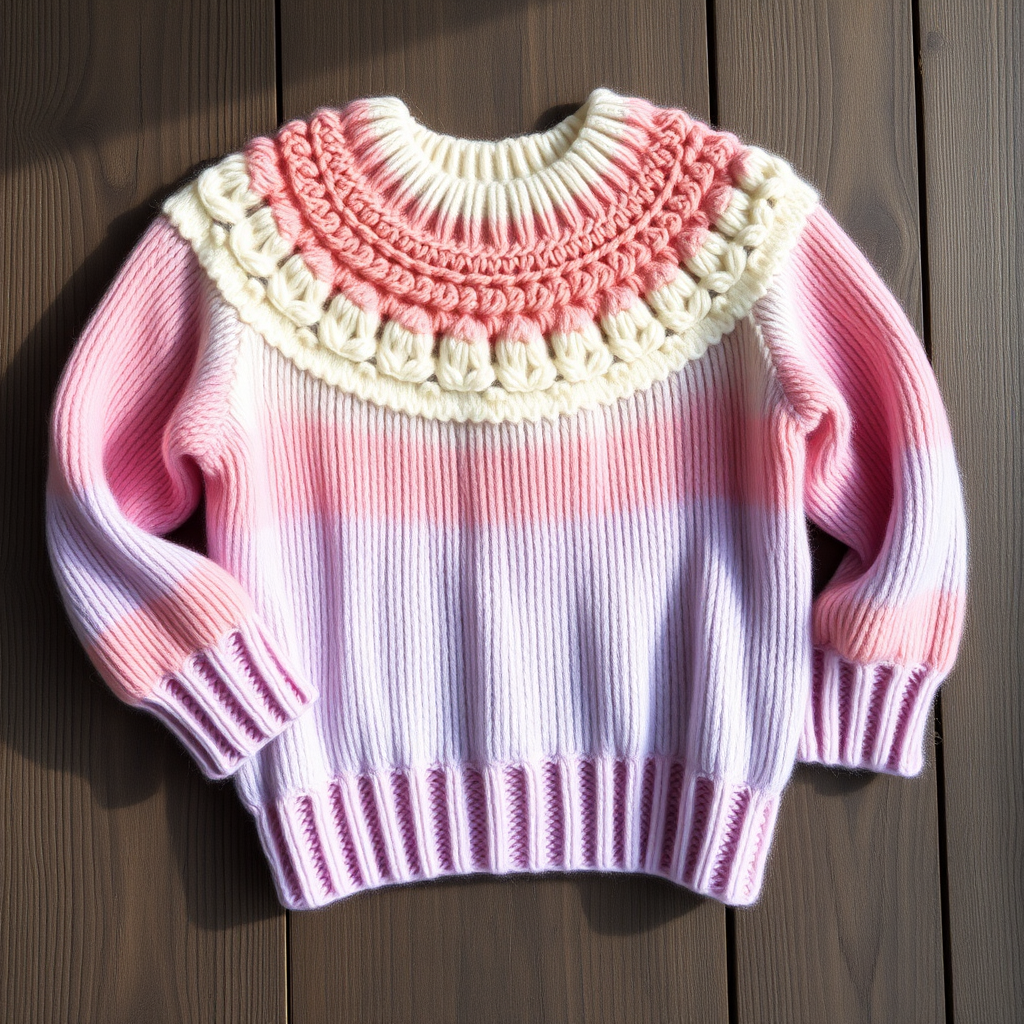
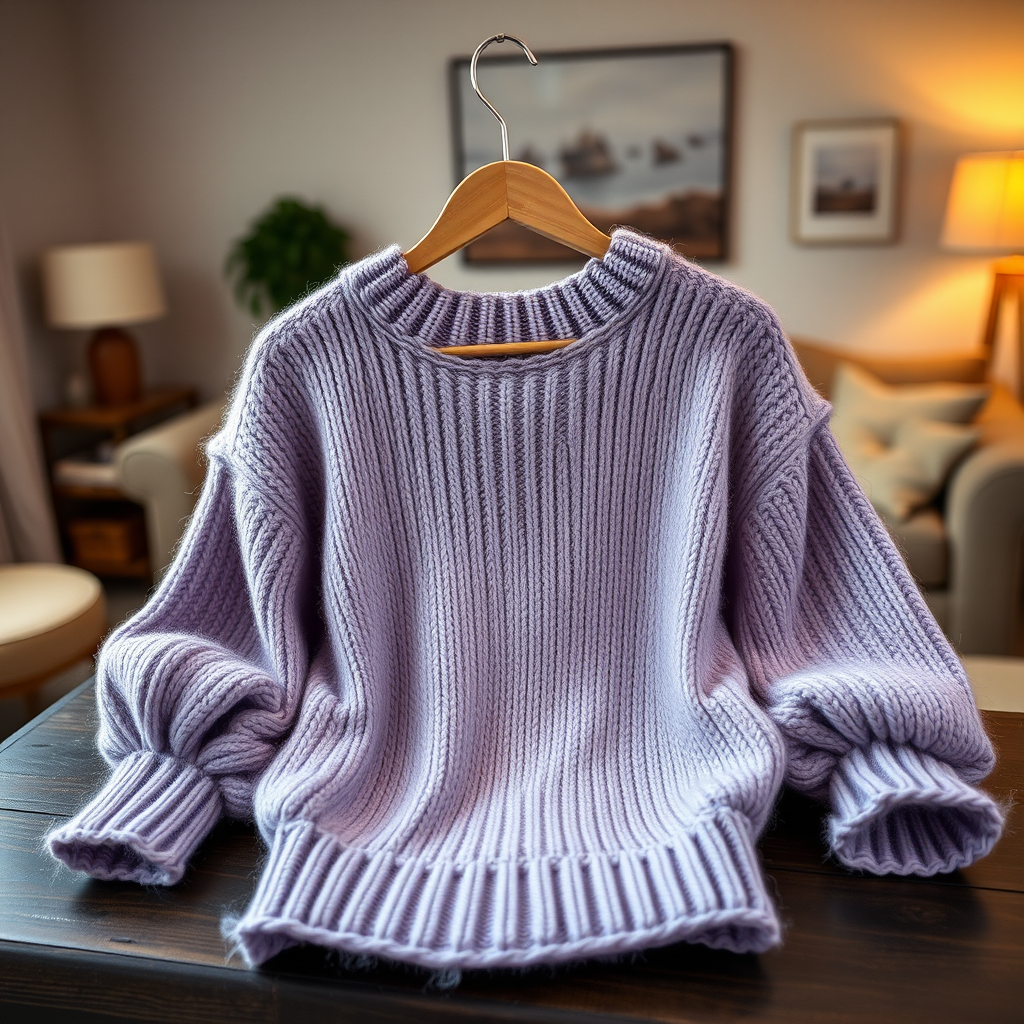
Cinnamon Spiced Ribbed Sweater Free Pattern – Cozy Autumn Knit Pullover

Wrap Yourself in Autumn: The Cinnamon Spiced Ribbed Sweater
There's a certain magic to the first crisp day of autumn—the air smells of woodsmoke, the light turns golden, and all you want is to wrap yourself in something warm and handmade. The Cinnamon Spiced Ribbed Sweater captures that feeling perfectly. Knit from the top down in a deeply textured ribbed pattern, this seamless pullover features a rich palette of cinnamon, nutmeg, and clove that evokes the comfort of a spiced kitchen on a cool fall afternoon.
This pattern is designed for knitters who love a cozy, relaxed fit with a classic crew neck and long sleeves. The top-down construction means you can try it on as you go, ensuring a perfect fit every time. The rhythmic K2, P2 ribbing is meditative and easy to memorize, making this an ideal weekend project that yields a wardrobe staple you'll reach for all season long.
Why You'll Love This Pattern
- Seamless Top-Down Construction: No seaming required—just pure, uninterrupted knitting.
- Deeply Textured Ribbing: The all-over K2, P2 pattern creates vertical ridges that are both flattering and cozy.
- Warm Spice Palette: Three complementary shades of worsted weight yarn create beautiful color blocking at the hem, cuffs, and yoke.
- Relaxed, Cozy Fit: Designed with positive ease, this sweater is perfect for layering over your favorite fall tops.
Materials Needed
Before you begin, gather your supplies. This pattern calls for worsted weight yarn in three warm, spicy shades. The yardage estimates below cover all sizes from XS to XL.
Yarn
- Main Color (MC) – Cinnamon: Approximately 1200 (1350, 1500, 1650, 1800) yards of worsted weight yarn
- Contrast Color 1 (CC1) – Nutmeg: Approximately 200 (225, 250, 275, 300) yards
- Contrast Color 2 (CC2) – Clove: Approximately 150 (170, 190, 210, 230) yards
Needles & Notions
- US 7 (4.5 mm) 16-inch circular needle for the yoke
- US 7 (4.5 mm) 32-inch circular needle for the body
- US 7 (4.5 mm) double-pointed needles (DPNs) for the sleeves
- Stitch markers (at least 4)
- Waste yarn or stitch holders for sleeve stitches
- Tapestry needle for weaving in ends
Gauge
20 stitches and 28 rows = 4 inches in stockinette stitch, after blocking. Be sure to knit a gauge swatch and block it before measuring—this ensures your sweater will fit as intended.
Step-by-Step Instructions
Sizes & Measurements
This pattern is written for sizes XS (S, M, L, XL) with a finished chest measurement of 34 (38, 42, 46, 50) inches. The sweater is designed to be worn with 2-4 inches of positive ease, so choose the size that corresponds to your actual chest measurement plus your desired ease.
Abbreviations
- CO: Cast on
- K: Knit
- P: Purl
- K2tog: Knit two stitches together (decrease)
- SSK: Slip, slip, knit (decrease)
- PM: Place marker
- SM: Slip marker
- M1L: Make one left (increase)
- M1R: Make one right (increase)
- RS: Right side
- WS: Wrong side
Knitting the Yoke
The yoke is worked from the neckline down in the round, with increases placed evenly throughout the ribbing to shape the shoulders and chest.
Step 1: With MC and the 16-inch circular needle, CO 80 (88, 96, 104, 112) stitches. Join in the round, being careful not to twist your stitches. PM at the beginning of the round to mark the start.
Step 2: Work K2, P2 ribbing for 1.5 inches. This forms the crew neck collar.
Step 3 (Increase Round): *K2, P2, M1L, K2, P2, M1R*; repeat from * to * around. You will have increased 20 stitches. Your stitch count is now 100 (110, 120, 130, 140) stitches.
Step 4: Continue in K2, P2 ribbing for 2 inches, working all stitches as they appear.
Step 5 (Increase Round): Repeat the increase round from Step 3. Your stitch count is now 120 (132, 144, 156, 168) stitches.
Step 6: Work even in ribbing for 2 inches.
Step 7 (Increase Round): Repeat the increase round again. Your stitch count is now 140 (154, 168, 182, 196) stitches.
Step 8: Work even in ribbing for 2 inches.
Step 9 (Increase Round): Repeat the increase round one final time. Your stitch count is now 160 (176, 192, 208, 224) stitches.
Step 10: Work even in ribbing until the yoke measures 7 (7.5, 8, 8.5, 9) inches from the cast-on edge. This measurement should be taken from the top of the shoulder, not the neckline.
Dividing for Body and Sleeves
Now it's time to separate the sleeve stitches from the body stitches. This is the magic moment where your sweater starts to take shape!
Step 11: On the next round, work in ribbing across the first 48 (52, 56, 60, 64) stitches (this is the front). Place the next 32 (36, 40, 44, 48) stitches on waste yarn for the first sleeve. CO 8 (10, 12, 14, 16) stitches under the arm. Work across the next 48 (52, 56, 60, 64) stitches (this is the back). Place the next 32 (36, 40, 44, 48) stitches on waste yarn for the second sleeve. CO 8 (10, 12, 14, 16) stitches under the arm. You now have 112 (124, 136, 148, 160) stitches for the body.
Knitting the Body
The body is worked in the round from the underarm down to the hem, with beautiful color blocking to add visual interest.
Step 12: Join CC1 (Nutmeg). Work in K2, P2 ribbing for 2 inches. This creates a warm nutmeg band at the top of the body.
Step 13: Switch to MC (Cinnamon). Work even in ribbing until the body measures 10 (11, 12, 13, 14) inches from the underarm, or until the sweater reaches your desired length. Remember that you'll be adding a 2-inch band of CC2 at the bottom, so factor that into your desired total length.
Step 14: Switch to CC2 (Clove). Work in K2, P2 ribbing for 2 inches. This deep, dark band grounds the sweater and echoes the yoke.
Step 15: Bind off loosely in ribbing. To ensure a stretchy edge, bind off using a needle one size larger, or use a stretchy bind-off method such as the tubular bind-off or Jenny's surprisingly stretchy bind-off.
Knitting the Sleeves
Now for the sleeves! You'll work these in the round from the underarm down to the cuff, with gentle decreases to shape the arm.
Step 16: Transfer the sleeve stitches from waste yarn onto your DPNs. Pick up and knit 8 (10, 12, 14, 16) stitches from the underarm cast-on edge. PM at the center of the underarm to mark the beginning of the round. Your stitch count is now 40 (46, 52, 58, 64) stitches.
Step 17: Work in K2, P2 ribbing with MC for 2 inches.
Step 18 (Decrease Round): K2tog, work in ribbing to the last 2 stitches, SSK. You have decreased 2 stitches. Your stitch count is now 38 (44, 50, 56, 62) stitches.
Step 19: Repeat the decrease round every 1.5 inches until the sleeve measures 12 (13, 14, 15, 16) inches from the underarm, or until it reaches your desired length. The decreases should be worked evenly around the underarm, keeping the ribbing pattern intact across the top of the sleeve.
Step 20: Switch to CC1 (Nutmeg). Work even in ribbing for 2 inches. This creates a matching nutmeg cuff.
Step 21: Bind off loosely in ribbing, using the same stretchy method as the body.
Finishing Touches
You're almost done! The final steps will transform your knitted pieces into a polished, professional-looking sweater.
Step 22: Weave in all ends carefully with a tapestry needle. Take your time with this step—secure ends well so they don't work their way out with wear. Block the sweater to the specified measurements. Lay it flat on a blocking mat, gently shape it to the correct dimensions, and pin if necessary. Allow it to dry completely before wearing.
Tips for Success
- Check your gauge: Knitting a gauge swatch and blocking it before you start will save you from disappointment later. If your gauge is off, switch needle sizes accordingly.
- Use stitch markers wisely: Place a marker at each increase point in the yoke to help you keep track of your pattern repeats.
- Try it on as you go: The beauty of top-down knitting is that you can try on your sweater at any point to check the fit. Don't be afraid to adjust the length of the yoke or body to suit your preferences.
- Keep your tension even: When switching between colors, be careful not to pull the yarn too tightly, which can cause puckering.
This Cinnamon Spiced Ribbed Sweater is more than just a garment—it's a cozy hug in yarn form, a wearable reminder of crisp autumn days and warm spiced treats. The rhythmic ribbing makes it a perfect project for cozy evenings by the fire, and the result is a timeless piece you'll treasure for years to come.
Happy knitting, and may your autumn be filled with warmth and beautiful handmade things!