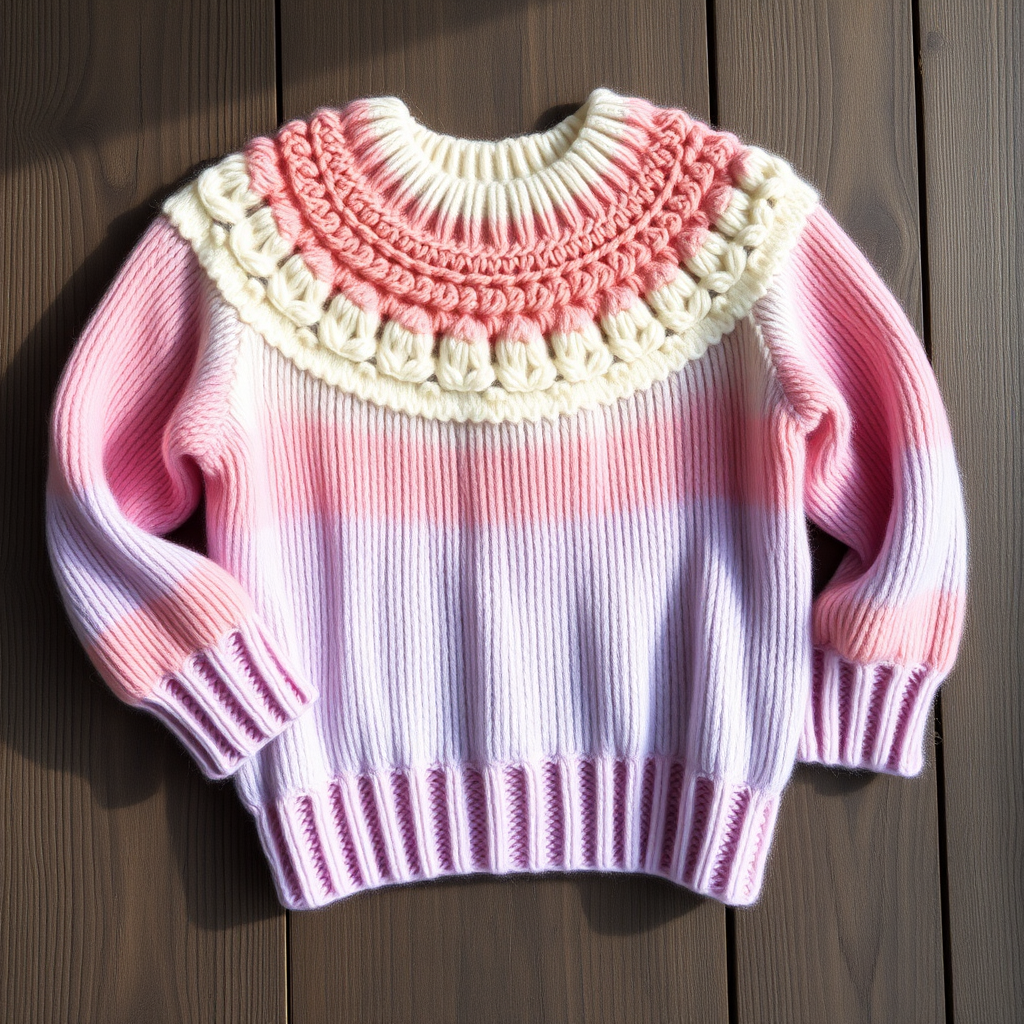
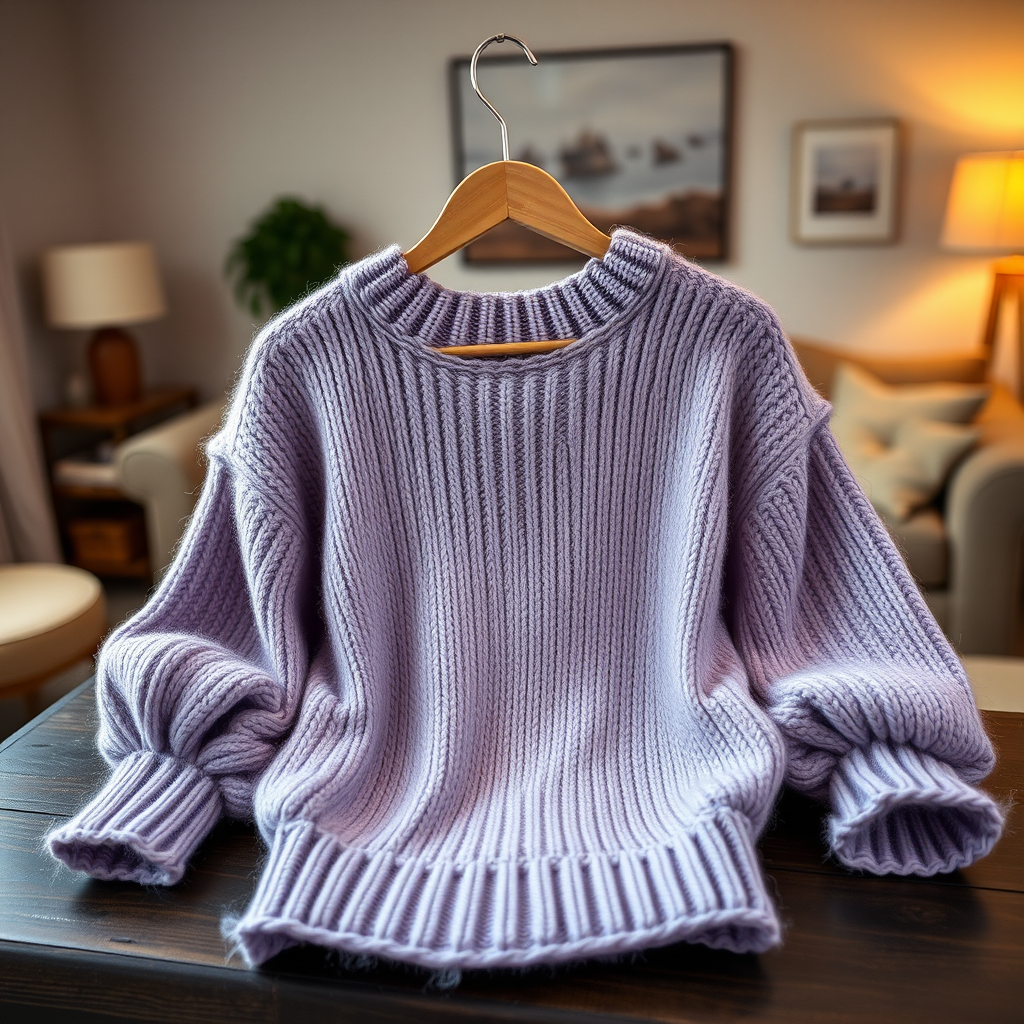
Celestial Drift Lovers Knot Pullover Free Pattern – Knitted Striped Sweater
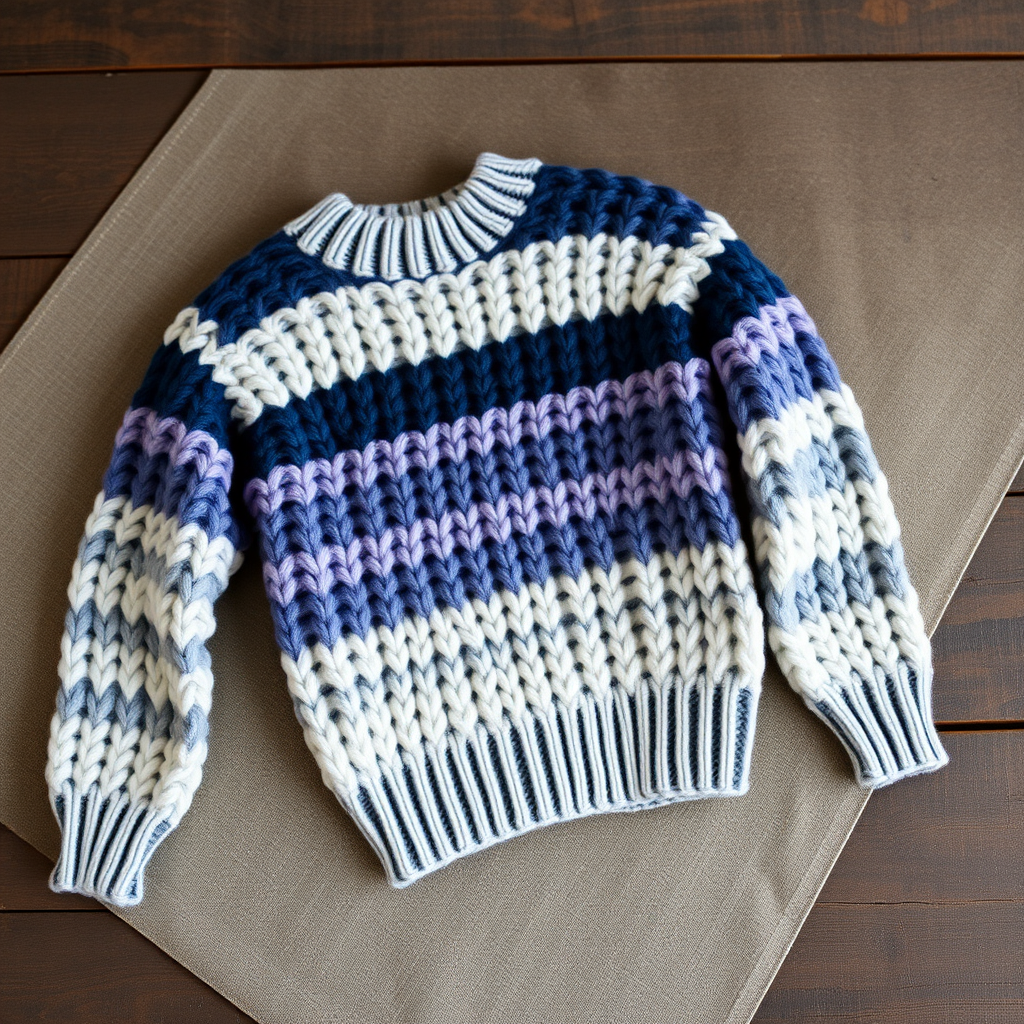
Celestial Drift Lovers Knot Pullover: A Free Knitting Pattern for a Dreamy Striped Sweater
Wrap yourself in the ethereal beauty of the night sky with this uniquely textured Lovers Knot pullover. Featuring soft gradient stripes in twilight hues—deep indigo, dusty lavender, and silver moon—this cozy, long-sleeve sweater blends classic romance with modern celestial charm. The Lovers Knot stitch creates a woven, braided appearance that looks far more complex than it actually is, making this an heirloom-quality knit that's surprisingly accessible for confident beginners and intermediate knitters alike.
This free pattern includes detailed instructions for sizes S through XL, with a slightly fitted silhouette, ribbed crew neck, and cuffs that give it a polished, handcrafted finish. Whether you're knitting for yourself or as a gift, this sweater is destined to become a wardrobe staple.
Materials Needed
Before you begin, gather the following supplies to ensure a smooth knitting experience:
Yarn
- Worsted weight yarn in 3 colors:
- Color A: Deep Indigo
- Color B: Dusty Lavender
- Color C: Silver Moon
- Approximate yardage: 1200 (1350, 1500, 1650) yards total, depending on size
Needles & Notions
- US Size 7 (4.5 mm) knitting needles for body and sleeves
- US Size 6 (4.0 mm) knitting needles for ribbing
- Stitch markers
- Tapestry needle for weaving in ends and seaming
- Stitch holders (for neck stitches)
Gauge
18 stitches and 24 rows = 4 inches in Lovers Knot pattern (knit side), after blocking. Always knit a gauge swatch before starting to ensure your finished sweater matches the intended measurements.
Step-by-Step Instructions
Sizes & Measurements
This pattern is written for sizes S (M, L, XL) with a finished chest measurement of 36 (40, 44, 48) inches. Instructions are given in order for each size, with the smallest size listed first.
Abbreviations
- K = knit
- P = purl
- K2tog = knit two together (decrease)
- P2tog = purl two together (decrease)
- M1 = make one (increase)
- RS = right side
- WS = wrong side
- St(s) = stitch(es)
The Lovers Knot Pattern
This stitch pattern creates a beautiful woven, braided texture. It's worked over a multiple of 4 + 2 stitches. Here's how to work it:
Row 1 (RS): K2, *P2, K2; repeat from * to end of row.
Row 2 (WS): P2, *K2, P2; repeat from * to end of row.
Row 3 (RS): K2, *P2, K2; repeat from * to end of row.
Row 4 (WS): Purl all stitches.
Row 5 (RS): K2, *P2, K2; repeat from * to end of row.
Row 6 (WS): P2, *K2, P2; repeat from * to end of row.
Row 7 (RS): K2, *P2, K2; repeat from * to end of row.
Row 8 (WS): Purl all stitches.
Repeat rows 1–8 for the entire pattern. The purl rows (4 and 8) create the subtle horizontal lines that give the Lovers Knot its distinctive braided look.
Stripe Sequence
Throughout the body and sleeves, you'll work the following stripe sequence:
*8 rows Color A, 8 rows Color B, 8 rows Color C; repeat from * for the entire piece. This creates soft, dreamy bands of color that transition gently like twilight fading into night.
Back Panel
Ribbing: With smaller needles (US 6) and Color A, cast on 82 (90, 98, 106) stitches. Work in K2, P2 ribbing for 3 inches, ending with a WS row.
Body: Switch to larger needles (US 7) and begin the Lovers Knot pattern. Work in pattern, following the stripe sequence, until the piece measures 15 (15.5, 16, 16.5) inches from the cast-on edge, ending with a WS row.
Armhole Shaping:
1. Bind off 4 (5, 6, 7) stitches at the beginning of the next 2 rows.
2. Decrease 1 stitch at each edge every RS row 4 (5, 6, 7) times. To do this, work K2tog at the beginning of the row and K2tog through the back loop at the end of the row (or use your preferred decrease method).
3. Continue in pattern without further decreases until the armhole measures 7.5 (8, 8.5, 9) inches from the bind-off edge.
4. Bind off all remaining stitches loosely.
Front Panel
Ribbing and Body: Work exactly the same as the back panel, including the armhole shaping, until the armhole measures 5 (5.5, 6, 6.5) inches.
Neck Shaping:
1. Work across the first 20 (22, 24, 26) stitches, then place the center 30 (32, 34, 36) stitches on a stitch holder. Join a new ball of yarn and work the remaining 20 (22, 24, 26) stitches.
2. Working both sides separately, decrease 1 stitch at each neck edge every RS row 5 times. This means you'll work K2tog at the neck edge on each right-side row.
3. Continue in pattern until the armhole measures the same as the back (7.5 (8, 8.5, 9) inches).
4. Bind off the remaining 15 (17, 19, 21) stitches for each shoulder.
Sleeves (Make 2)
Ribbing: With smaller needles (US 6) and Color A, cast on 38 (42, 46, 50) stitches. Work in K2, P2 ribbing for 3 inches, ending with a WS row.
Sleeve Body: Switch to larger needles (US 7) and begin the Lovers Knot pattern. Follow the stripe sequence as established.
Increasing: Increase 1 stitch at each edge every 6th row until you have 62 (68, 74, 80) stitches on your needles. To increase, use M1 (make one) before the last stitch at the beginning of the row and after the first stitch at the end of the row, or use your preferred increase method.
Continue in pattern without further increases until the sleeve measures 18 (18.5, 19, 19.5) inches from the cast-on edge.
Cap Shaping:
1. Bind off 4 (5, 6, 7) stitches at the beginning of the next 2 rows.
2. Decrease 1 stitch at each edge every RS row until the cap measures 4.5 (5, 5.5, 6) inches from the bind-off edge.
3. Bind off all remaining stitches loosely.
Finishing & Assembly
Blocking: Block all pieces to the specified measurements. This is crucial for the Lovers Knot pattern to open up and show its beautiful texture. Use a gentle steam block or wet block, pinning pieces to the correct dimensions.
Seaming:
1. Sew the shoulder seams using a mattress stitch or your preferred seaming method.
2. Set in the sleeves, matching the center of the sleeve cap to the shoulder seam.
3. Sew the side seams and sleeve seams in one continuous line.
Neckband:
1. With smaller needles (US 6) and Color A, pick up and knit 80 (84, 88, 92) stitches evenly around the neck opening, including the stitches on the holder.
2. Work in K2, P2 ribbing for 1.5 inches.
3. Bind off loosely in pattern to maintain stretchiness.
Final Touches: Weave in all ends carefully. Block the sweater again gently to even out the seams and set the neckband.
Tips for Success
- Gauge is everything: Always knit a swatch and block it before measuring. The Lovers Knot pattern can change gauge significantly after blocking.
- Color transitions: When changing colors, work the first stitch of the new color on a RS row for the cleanest transition. Weave in ends as you go to minimize finishing work.
- Stitch markers: Place markers at the armhole edges to help you track your decreases and measure accurately.
- Take your time with the neckband: A loose bind-off is essential for the neckband to stretch comfortably over the head.
This Celestial Drift Lovers Knot Pullover is a joy to knit and even more delightful to wear. The rhythmic pattern and soothing color transitions make it a meditative project, while the finished result is a stunning, textured sweater that looks like it came from a boutique. Happy knitting!