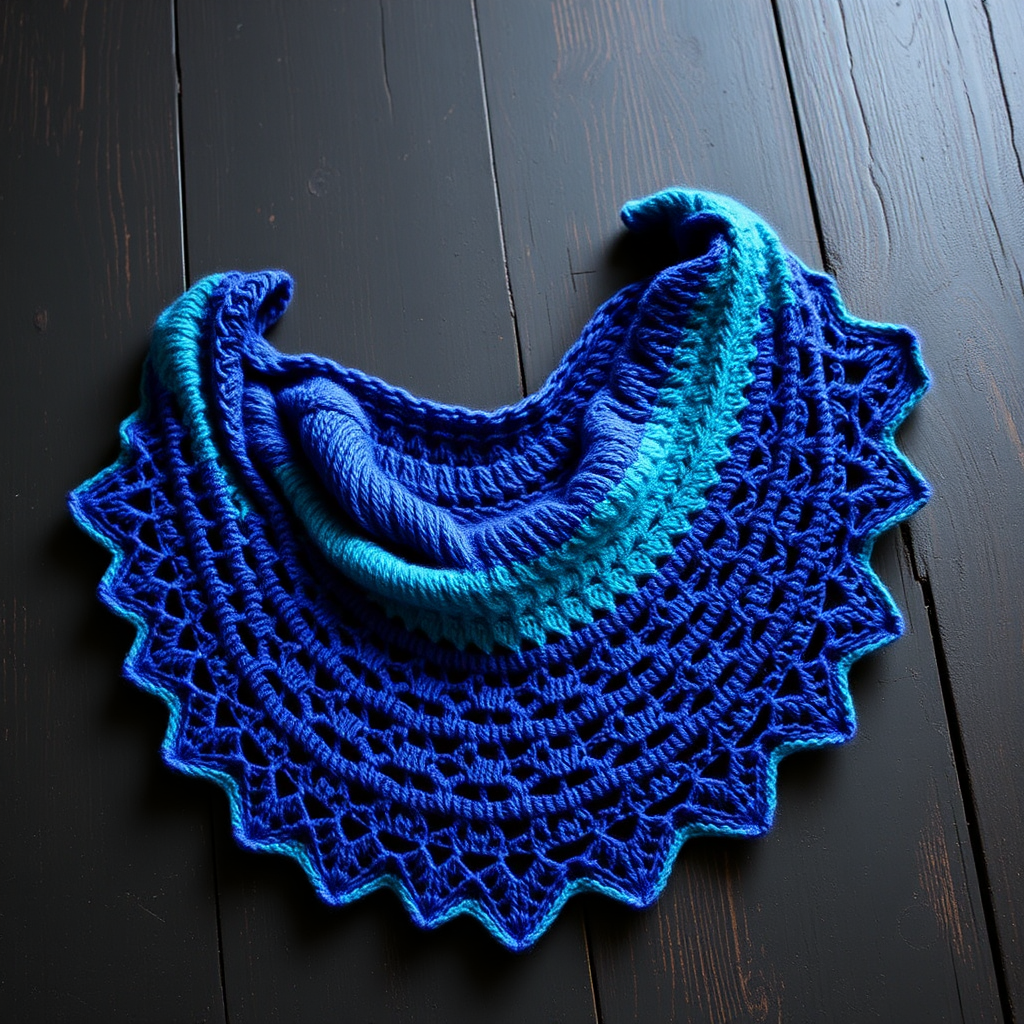
Aurora Dune Sideways Shawl Free Pattern – Knitted Gradient Desert Wrap

Aurora Dune Sideways Shawl: A Free Knitting Pattern for a Gradient Desert Wrap
Wrap yourself in the shifting sands of a desert sunset with this stunning sideways-knit shawl. The Aurora Dune Shawl uses gradient yarns to paint warm dunes against a twilight sky, creating an asymmetric crescent shape that drapes elegantly over your shoulders. The textured garter-ridge stripes add a tactile, organic rhythm to the fabric, making this project as delightful to knit as it is to wear.
This free pattern is perfect for intermediate knitters looking to expand their skills with short-row shaping, while still being accessible to confident beginners who want to try something new. The sideways construction creates a unique crescent silhouette that differs from traditional top-down or bottom-up shawls, giving you a truly distinctive finished piece.
Design Inspiration & Visual Details
The Aurora Dune Shawl captures the breathtaking moment when the sun dips below the horizon, painting the desert in layers of warm sand, fiery terracotta, and deep twilight plum. The shawl features three distinct horizontal gradient bands that transition seamlessly from one shade to the next, mimicking the natural color shifts of a desert sunset.
The dense garter stitch surface creates subtle horizontal ridges that catch the light beautifully, producing a rippled dune-like effect across the entire fabric. The short-row shaping produces a gentle crescent curve, with the inner edge slightly shorter than the outer edge, allowing the shawl to wrap elegantly around your shoulders and stay in place without constant adjustment.
Materials Needed
Before you begin, gather the following materials to ensure a smooth knitting experience:
Yarn
- Fingering weight yarn in 3 gradient shades (e.g., Sand, Terracotta, Deep Plum) – approximately 400g total (100g each shade)
- Alternative: A single gradient skein (400g) with long color transitions
Needles & Notions
- US 6 (4.0 mm) circular needle, 32-inch (80 cm) or longer – the long cord is essential for holding all stitches comfortably
- Stitch markers (at least 2)
- Tapestry needle for weaving in ends
- Wool wash for blocking
- Blocking mats and pins (optional but recommended)
Gauge
20 stitches and 32 rows = 4 inches (10 cm) in garter stitch, after blocking. Gauge is important for achieving the correct drape and size, so take a moment to knit a swatch before starting.
Pattern Abbreviations
Familiarize yourself with these abbreviations before beginning:
- k = knit
- k2tog = knit two together (decrease)
- yo = yarn over (increase)
- sl1 = slip one stitch purlwise
- w&t = wrap and turn (short row technique)
- pm = place marker
- sm = slip marker
Step-by-Step Instructions
This shawl is knit sideways from one tip to the other, using short rows to create the crescent shape. The pattern uses three gradient shades (A, B, C) worked in sequence, but you can also use a single gradient yarn and ignore the color changes.
Setup
With shade A, cast on 3 stitches using your preferred method (long-tail cast on works well).
Row 1 (RS): k3.
Row 2 (WS): k3.
Increase Section
Work in shade A until you have 30 stitches on your needle. This section creates the pointed tip of the shawl.
Row 3 (RS): k1, yo, k to end.
Row 4 (WS): k all stitches (knit the yo as a normal stitch – this creates a small decorative hole at the edge).
Repeat Rows 3-4 until you have 30 stitches on the needle. End with a WS row. Count your stitches carefully – you should have 30 stitches total.
Short Row Section (Creating the Crescent Curve)
Now you will work short rows, leaving stitches unworked at the end of each row to create the curved edge of the crescent. This is where the magic happens!
Row 1 (RS): k30, w&t.
Note: When you wrap and turn, you're creating a turning point that will be resolved later.
Row 2 (WS): k to end (knit the wrapped stitch together with its wrap when you come to it – this hides the wrap and prevents holes).
Row 3 (RS): k28, w&t.
Row 4 (WS): k to end (including the wrapped stitch).
Row 5 (RS): k26, w&t.
Row 6 (WS): k to end.
Continue this pattern, working 2 fewer stitches before each w&t on the RS rows, until you have only 2 stitches left before the w&t. End with a WS row.
Pro tip: Place a marker at the center of your work to help you track your progress through the short rows.
Reverse Short Rows (Building the Other Side)
Now you'll work the short rows in reverse to build the other side of the crescent. This creates the balanced curve on the opposite edge.
Row 1 (RS): k2, w&t.
Row 2 (WS): k to end.
Row 3 (RS): k4, w&t.
Row 4 (WS): k to end.
Row 5 (RS): k6, w&t.
Row 6 (WS): k to end.
Continue this pattern, working 2 more stitches before each w&t on the RS rows, until you have worked all 30 stitches. End with a WS row.
Color Transition
If using multiple shades, switch to shade B at this point. If using a single gradient yarn, continue seamlessly without any color change.
Repeat the Short Row Section exactly as above (from Row 1 to the end of the reverse short rows) with shade B. Then switch to shade C and repeat the short row section once more.
Remember: Each color section should follow the same short row pattern – decreasing to 2 stitches, then increasing back to 30 stitches.
Decrease Section
Work in shade C until only 3 stitches remain. This section mirrors the increase section and creates the second pointed tip.
Row 1 (RS): k1, k2tog, k to end.
Row 2 (WS): k all stitches.
Repeat Rows 1-2 until you have 3 stitches left on your needle. End with a WS row.
Final Row & Bind Off
Final Row: k3, then bind off all stitches loosely. A loose bind-off is essential to maintain the drape of the shawl – consider using a larger needle or a stretchy bind-off method if needed.
Finishing & Blocking
Proper finishing transforms your knitting from a crumpled piece into a beautiful, drapey shawl. Follow these steps for professional results:
- Weave in all ends using a tapestry needle. Be sure to weave in securely but not too tightly, as this can pucker the fabric.
- Soak the shawl in lukewarm water with a drop of wool wash for 20 minutes. This allows the fibers to relax and open up.
- Gently squeeze out excess water – do not wring or twist, as this can felt the yarn.
- Lay flat on a towel and roll up to remove additional moisture.
- Gently stretch to shape the crescent, pinning the edges if desired. Pay special attention to the curved edges to ensure they're even.
- Allow to dry completely – this may take 24-48 hours depending on humidity.
Optional Edging
For a more polished edge, you can pick up stitches along the long curved edge and knit a simple garter stitch border for 4 rows, then bind off. This adds a subtle frame to the shawl and helps the edge lay flat.
Tips for Success
- Track your rows: Use a row counter or a piece of paper to mark off each row, especially during the short row sections.
- Wrap and turn technique: If you're new to short rows, practice the w&t technique on a swatch first. The key is to wrap the stitch snugly but not too tightly.
- Color transitions: When switching colors, do so at the beginning of a RS row for the cleanest transition. Leave a tail of about 6 inches to weave in later.
- Blocking is essential: Don't skip the blocking step – it's what gives the shawl its beautiful drape and opens up the stitch pattern.
Wearing Your Aurora Dune Shawl
This versatile shawl can be styled in multiple ways. Drape it over your shoulders for an elegant evening look, wrap it around your neck as a cozy scarf, or let it hang loose as a statement piece. The gradient colors make it perfect for transitioning from day to evening wear, and the textured garter stitch adds visual interest to any outfit.
The Aurora Dune Shawl makes a thoughtful handmade gift for a loved one – or treat yourself to a piece of desert sunset you can wear anytime. The pattern is designed to be relaxing and meditative, with repetitive short rows that create a soothing rhythm as you knit.
We'd love to see your finished Aurora Dune Shawl! Share your progress and finished projects on social media using the hashtag #AuroraDuneShawl, and tag us so we can admire your beautiful work. Happy knitting!