Aurora Dune Cocoon Sweater Free Pattern – Textured Knit Wrap

Wrap Yourself in Comfort: The Aurora Dune Cocoon Sweater
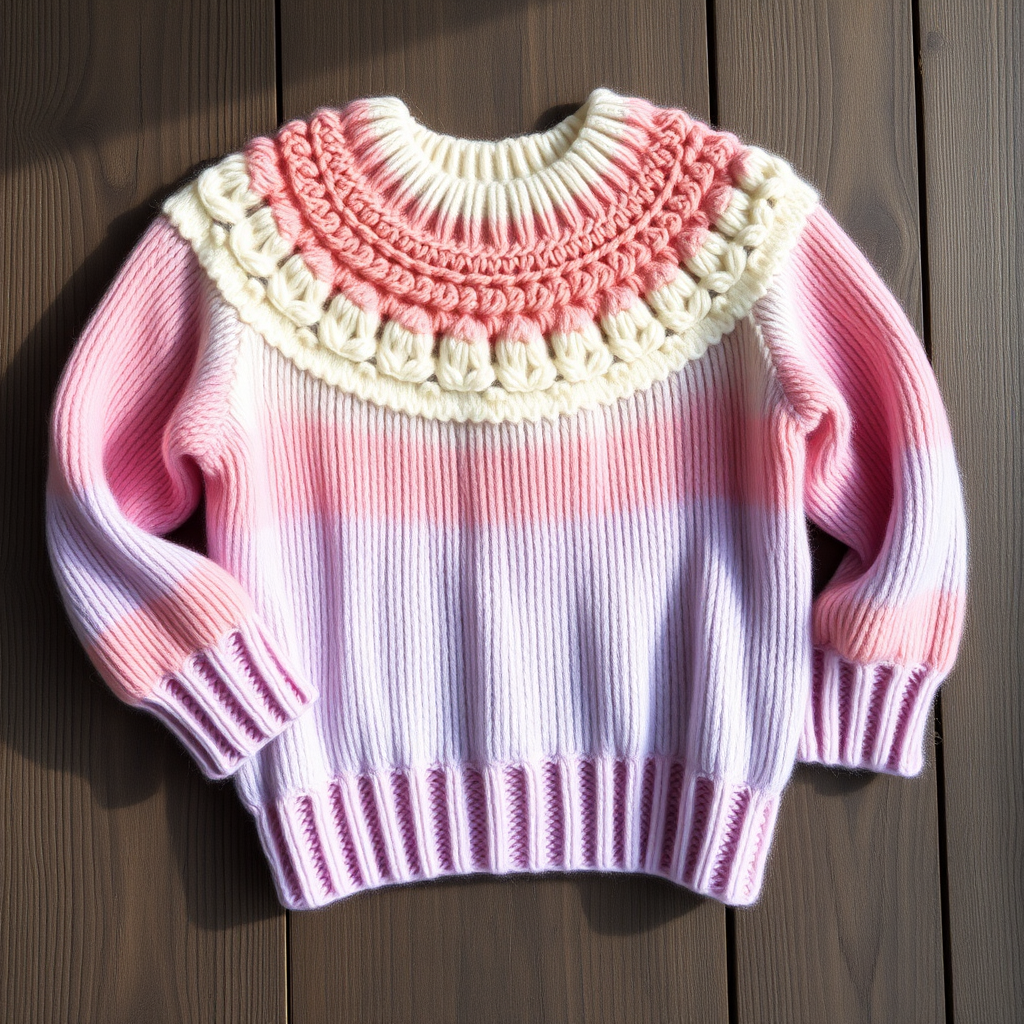
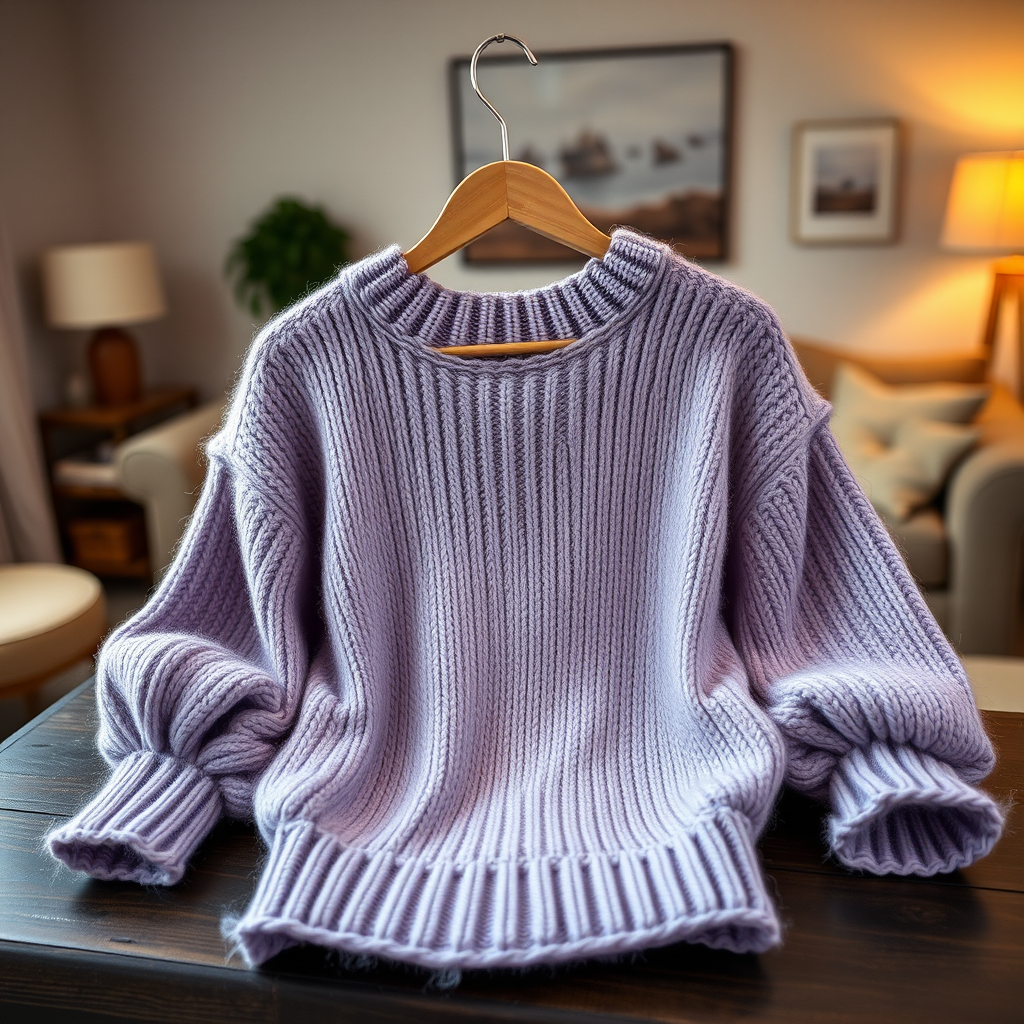
There are some knitting projects that feel like a warm hug from the very first stitch, and the Aurora Dune Cocoon Sweater is exactly that. This isn't just another sweater pattern; it's an experience in texture and drape. With its open-front, wrap-style silhouette and mesmerizing slipped-stitch pattern, this modern knit is designed for cozy evenings, crisp mornings, and effortless, everyday style. The combination of a soft sage green base with delicate dusty rose and cream bands creates a subtle, woven-like texture that looks far more complex than it actually is. Best of all, this free pattern is knit in one piece from the top down, making it a surprisingly accessible project for knitters ready to move beyond the basics. Let's dive into creating this stunning, handcrafted wrap that you'll reach for all season long.
Gathering Your Materials: What You'll Need
Before you cast on, let's make sure you have everything ready. The beauty of this pattern lies in its simplicity, and the materials list is refreshingly straightforward. Here’s your complete shopping list for the Aurora Dune Cocoon:
Yarn & Colors
- Main Color (MC) – Sage Green: Approximately 800g of worsted weight yarn. A soft, heathered green works beautifully. (e.g., Lion Brand Wool-Ease)
- Contrast Color 1 (CC1) – Dusty Rose: Approximately 200g. This adds the first pop of subtle color.
- Contrast Color 2 (CC2) – Cream: Approximately 200g. This provides a bright, clean contrast for the second textured band.
Pro-Tip: Worsted weight yarn is ideal for this project because it provides excellent stitch definition for the slipped-stitch pattern while remaining drapey enough for the cocoon silhouette.
Tools & Notions
- Needles: US 9 (5.5mm) circular knitting needles, 32-inch length. The long cable is essential for holding the large number of stitches comfortably.
- Stitch Markers: To help you keep track of your pattern repeats and increases.
- Tapestry Needle: For weaving in ends and seaming the pieces together.
- Scissors: For cutting yarn.
Gauge (The Golden Rule)
To ensure your sweater drapes perfectly, take the time to check your gauge. In stockinette stitch (knit one row, purl one row) and after blocking, you should have 16 stitches and 22 rows = 4 inches. If your gauge is off, simply switch to a larger or smaller needle size until you match this. It makes all the difference!
Step-by-Step Instructions: Knitting Your Aurora Dune Cocoon
This pattern is broken down into simple, manageable sections. We'll start with the pattern stitch that gives this sweater its gorgeous texture, then move on to the panels and assembly. Don't be intimidated—take it one row at a time, and you'll be amazed at what you create.
Understanding the Pattern Stitch
This is the heart of the Aurora Dune. It's a simple 8-row repeat that uses knits, purls, and slipped stitches to create a rich, woven texture. The slipped stitches are worked with the yarn in the back (wyib) on knit rows and in the front (wyif) on purl rows, which creates those beautiful horizontal floats.
Abbreviations:
- K = knit
- P = purl
- Sl = slip stitch purlwise (as if to purl)
- wyib = with yarn in back
- wyif = with yarn in front
- St(s) = stitch(es)
- MC = Main Color
- CC1 = Contrast Color 1
- CC2 = Contrast Color 2
The Pattern (Multiple of 4 + 2):
- Row 1 (RS): With MC, K all.
- Row 2 (WS): With MC, P all.
- Row 3 (RS): With CC1, K1, *Sl 2 wyib, K2; repeat from * to last st, K1.
- Row 4 (WS): With CC1, P1, *Sl 2 wyif, P2; repeat from * to last st, P1.
- Row 5 (RS): With MC, K all.
- Row 6 (WS): With MC, P all.
- Row 7 (RS): With CC2, K1, *K2, Sl 2 wyib; repeat from * to last st, K1.
- Row 8 (WS): With CC2, P1, *P2, Sl 2 wyif; repeat from * to last st, P1.
Repeat Rows 1-8 for the pattern. You'll see the texture build beautifully as you go!
Knitting the Back Panel
- Cast On: With MC, cast on 90 stitches.
- Work Pattern: Begin working the pattern stitch as written above. Continue in pattern until the piece measures 24 inches from the cast-on edge, ending with a wrong-side row.
- Bind Off: Bind off all stitches loosely. This ensures the edge remains stretchy and drapes well. Set this piece aside.
Knitting the Front Panels (Make 2)
These panels are identical, so you'll make two of them.
- Cast On: With MC, cast on 45 stitches.
- Work Pattern: Work in the pattern stitch for 24 inches, ending with a wrong-side row.
- Bind Off: Bind off all stitches loosely. Repeat to create the second front panel.
Knitting the Sleeves (Make 2)
The sleeves are knit in simple stockinette stitch with increases for a comfortable, wide fit.
- Cast On: With MC, cast on 40 stitches.
- Cuff: Work in stockinette stitch (K on RS, P on WS) for 2 inches.
- Increase Section: On the next right-side row, increase 1 stitch at each end of the row (K1, M1, K to last st, M1, K1). Then, repeat this increase row every 6th row until you have 60 stitches on your needle.
- Continue Straight: Continue in stockinette stitch without further increases until the sleeve measures 18 inches from the cast-on edge.
- Bind Off: Bind off all stitches loosely. Repeat for the second sleeve.
Assembling Your Cocoon Sweater
Now for the magical part—bringing all the pieces together! Lay everything out flat to visualize the construction. This open-front design is simpler to assemble than a traditional sweater.
- Position the Panels: Lay the back panel flat. Place the two front panels on top, aligning their cast-on edges with the back panel's side edges. Leave a 12-inch gap in the center for the neck opening. The front panels should overlap the back panel by 2 inches on each side.
- Sew Shoulder Seams: Using your tapestry needle and MC yarn, sew the top 6 inches of each front panel to the back panel at the shoulders. This creates the shoulder structure.
- Attach Sleeves: Attach the bound-off edge of each sleeve to the side edges of the body. Position them starting 2 inches below the shoulder seam and going down 10 inches. This creates a dropped-shoulder effect.
- Sew Side Seams: Sew the side seams from the bottom of the sleeve down to the bottom of the body. Important: Leave a 4-inch slit at the bottom of the body for ease of movement.
- Weave in Ends: Carefully weave in all loose yarn ends with your tapestry needle to give your sweater a clean, professional finish.
Blocking: The Final Touch
Don't skip this step! Blocking is what transforms your knitting from good to absolutely gorgeous. Soak your finished sweater in cool water with a gentle wool wash for about 20 minutes. Gently squeeze out excess water (never wring!), then lay it flat on a towel. Shape it to the correct measurements, paying special attention to the textured panels. Allow it to dry completely. You'll see the slipped-stitch pattern open up and relax, creating that beautiful, drapey fabric you saw in the photos.
Congratulations! You've just created your very own Aurora Dune Cocoon Sweater. This piece is more than just clothing; it's a testament to your skill and a cozy companion for years to come. Whether you're curling up with a good book or heading out for a stylish evening, this textured wrap will keep you warm and looking effortlessly chic. Happy knitting!