Alpine Aurora Yoke Sweater Free Pattern – Knitted Northern Lights Pullover

Alpine Aurora Yoke Sweater Free Pattern – Knitted Northern Lights Pullover
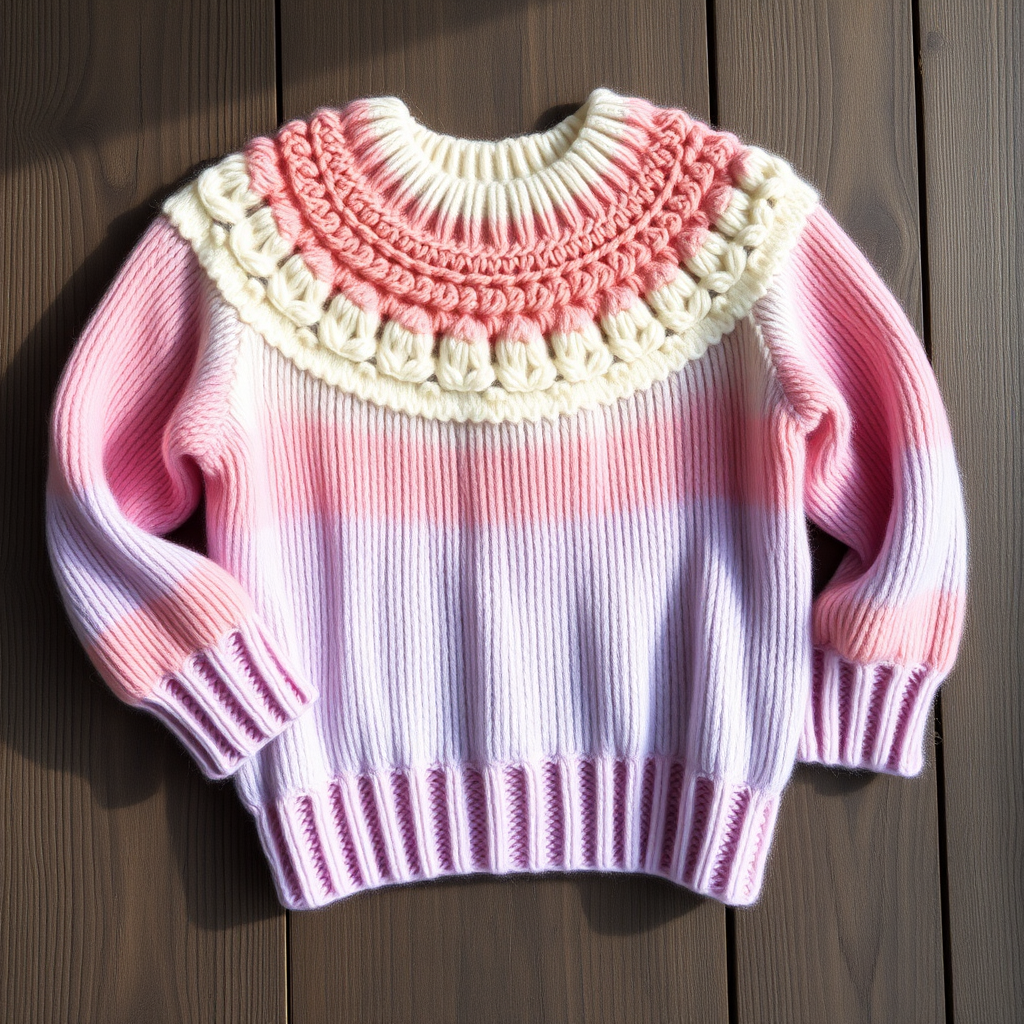
Wrap yourself in the magic of the aurora borealis with this cozy, colorwork yoke sweater. The stranded knitting technique creates a stunning gradient of twilight hues that feels like wearing a piece of the night sky. This free pattern is perfect for intermediate knitters ready to tackle their first colorwork project—or seasoned makers seeking a meditative, rewarding knit. The geometric diamond and wave patterns evoke the shimmering northern lights, while the deep navy body keeps it versatile and wearable. Let's cast on and bring the celestial beauty to your needles!
Materials Needed
Before you begin, gather these supplies to ensure a smooth knitting experience:
- Yarn: Worsted weight yarn in 4 colors:
- MC (Main Color): Deep navy – approximately 800 (900, 1000, 1100, 1200) yards
- CC1 (Contrast Color 1): Teal – approximately 150 (170, 190, 210, 230) yards
- CC2 (Contrast Color 2): Mint – approximately 150 (170, 190, 210, 230) yards
- CC3 (Contrast Color 3): Pale gold – approximately 100 (115, 130, 145, 160) yards
- Needles:
- US 7 (4.5 mm) 16-inch and 32-inch circular needles for the main body and yoke
- US 6 (4.0 mm) 16-inch and 32-inch circular needles for ribbing
- Notions: Stitch markers, stitch holders or waste yarn, tapestry needle for weaving in ends, tape measure
- Gauge: 20 stitches and 26 rows = 4 inches in stockinette stitch on larger needles. Always swatch to match gauge for the perfect fit!
Sizes and Measurements
This pattern is written for sizes XS (S, M, L, XL). Finished chest measurements are:
- XS: 34 inches
- S: 38 inches
- M: 42 inches
- L: 46 inches
- XL: 50 inches
Choose the size that gives you 2–4 inches of positive ease for a relaxed, cozy fit.
Step-by-Step Instructions
Yoke
Cast On and Ribbing: With smaller needles (US 6) and MC, cast on 80 (88, 96, 104, 112) stitches. Join in the round, being careful not to twist. Place a stitch marker to mark the beginning of the round. Work k1, p1 ribbing for 2 inches.
Switch to Larger Needles: Change to US 7 needles. Work 2 rounds in stockinette stitch (knit every round).
Increase Round: *K4, M1 (make one by lifting the bar between stitches and knitting through the back loop)*; repeat from * to end of round. You now have 100 (110, 120, 130, 140) stitches. Work 3 rounds even in stockinette.
Begin Colorwork: Now you'll work the stranded colorwork charts. Carry the unused yarn loosely across the back of the work, catching it every 3–4 stitches to avoid long floats. Work the charts in order:
Chart A (10 rounds):
- R1: *K4 MC, K1 CC1*; repeat to end
- R2: *K3 MC, K2 CC1*; repeat to end
- R3: *K2 MC, K3 CC1*; repeat to end
- R4: *K1 MC, K4 CC1*; repeat to end
- R5: *K5 CC1* (all CC1)
- R6: *K1 CC1, K4 CC2*; repeat to end
- R7: *K2 CC1, K3 CC2*; repeat to end
- R8: *K3 CC1, K2 CC2*; repeat to end
- R9: *K4 CC1, K1 CC2*; repeat to end
- R10: *K5 CC2* (all CC2)
After completing Chart A, you'll have 150 (165, 180, 195, 210) stitches.
Chart B (12 rounds):
- R1: *K2 CC2, K3 MC*; repeat to end
- R2: *K1 CC2, K4 MC*; repeat to end
- R3: *K5 MC* (all MC)
- R4: *K4 MC, K1 CC3*; repeat to end
- R5: *K3 MC, K2 CC3*; repeat to end
- R6: *K2 MC, K3 CC3*; repeat to end
- R7: *K1 MC, K4 CC3*; repeat to end
- R8: *K5 CC3* (all CC3)
- R9: *K1 CC3, K4 CC2*; repeat to end
- R10: *K2 CC3, K3 CC2*; repeat to end
- R11: *K3 CC3, K2 CC2*; repeat to end
- R12: *K4 CC3, K1 CC2*; repeat to end
After completing Chart B, you'll have 200 (220, 240, 260, 280) stitches.
Chart C (8 rounds):
- R1: *K1 CC2, K4 CC1*; repeat to end
- R2: *K2 CC2, K3 CC1*; repeat to end
- R3: *K3 CC2, K2 CC1*; repeat to end
- R4: *K4 CC2, K1 CC1*; repeat to end
- R5: *K5 CC2* (all CC2)
- R6: *K1 CC2, K4 MC*; repeat to end
- R7: *K2 CC2, K3 MC*; repeat to end
- R8: *K3 CC2, K2 MC*; repeat to end
After completing Chart C, you'll have 240 (264, 288, 312, 336) stitches.
Body Separation
Now you'll divide the work for the body and sleeves. With MC, knit across the first 36 (40, 44, 48, 52) stitches for the back. Place the next 48 (52, 56, 60, 64) stitches on a stitch holder or waste yarn for the first sleeve. Cast on 6 (8, 10, 12, 14) stitches for the underarm. Knit across the next 72 (80, 88, 96, 104) stitches for the front. Place the next 48 (52, 56, 60, 64) stitches on a holder for the second sleeve. Cast on 6 (8, 10, 12, 14) stitches for the second underarm. Knit the remaining 36 (40, 44, 48, 52) stitches to complete the round. Your body now has 156 (176, 196, 216, 236) stitches.
Body
Continue working in stockinette stitch with MC only. Knit every round until the body measures 12 (13, 14, 15, 16) inches from the underarm. Switch to smaller needles (US 6) and work k1, p1 ribbing for 2 inches. Bind off loosely in pattern to maintain elasticity.
Sleeves
Place the 48 (52, 56, 60, 64) held stitches from one sleeve onto larger needles. Pick up and knit 6 (8, 10, 12, 14) stitches from the underarm cast-on edge. Place a marker to indicate the beginning of the round. You now have 54 (60, 66, 72, 78) stitches.
Work in stockinette stitch with MC. Decrease 2 stitches every 8 rounds (knit 1, k2tog, knit to last 3 stitches, ssk, knit 1) until 40 (44, 48, 52, 56) stitches remain. Continue knitting even until the sleeve measures 14 (15, 16, 17, 18) inches from the underarm. Switch to smaller needles and work k1, p1 ribbing for 1.5 inches. Bind off loosely. Repeat for the second sleeve.
Finishing
Weave in all ends using a tapestry needle, being careful to secure the colorwork floats neatly. Block the sweater to the specified measurements—this is essential for the colorwork to lay flat and the stitches to even out. Lay flat to dry.
Pro Tips for Success
- Keep floats loose: When stranding, stretch the stitches on your right needle slightly before carrying the yarn across to prevent puckering.
- Use a lifeline: Before starting each chart, thread a contrasting scrap yarn through the stitches. If you make a mistake, you can easily rip back to the lifeline.
- Try ladderback jacquard: For long floats (more than 5 stitches), consider this technique to keep the back tidy and stretchy.
- Block before wearing: Colorwork transforms after blocking—the stitches bloom and the pattern becomes crisp.
Your Alpine Aurora Yoke Sweater is now complete! Slip it on and enjoy the celestial glow of your handiwork. This heirloom-quality piece will keep you warm and inspired for years to come. Happy knitting!