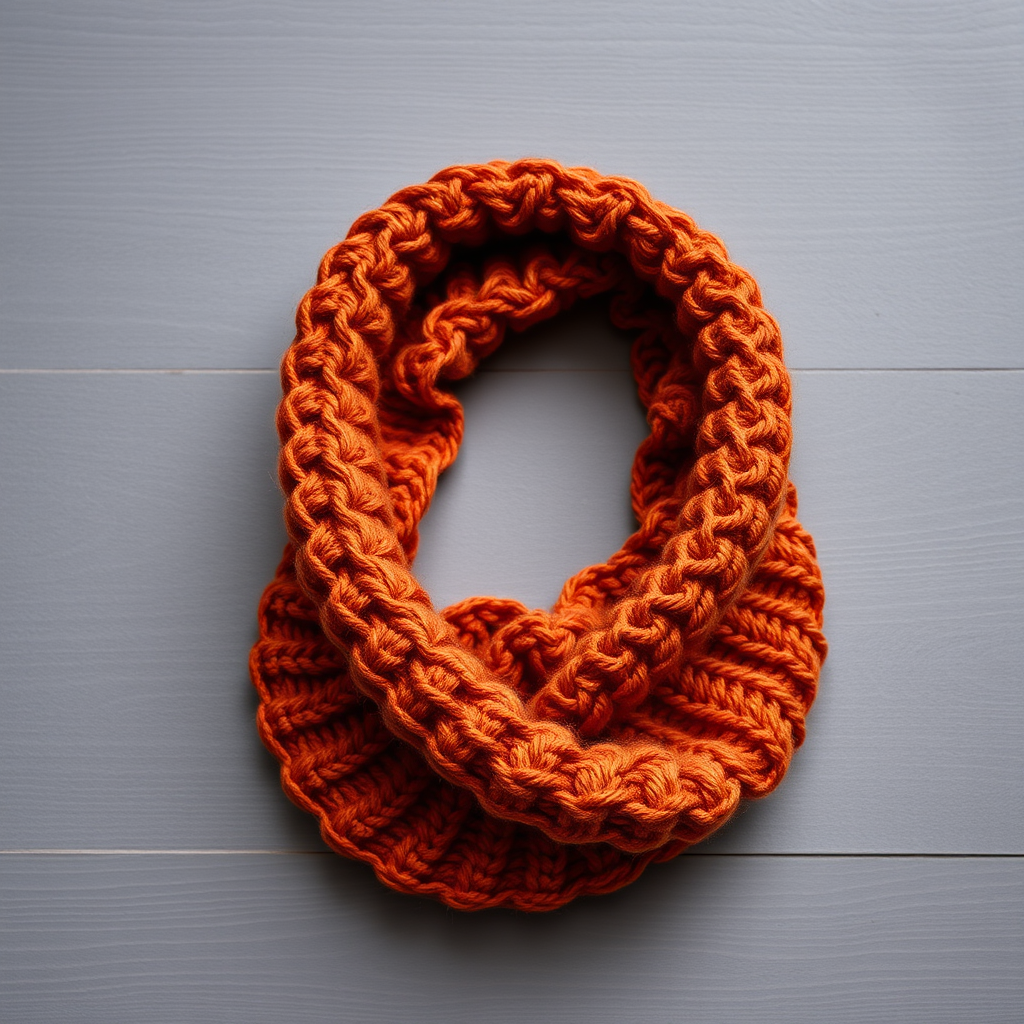
Whispering Woods Hooded Cat Cowl Free Knitting Pattern – Enchanted Forest Layers
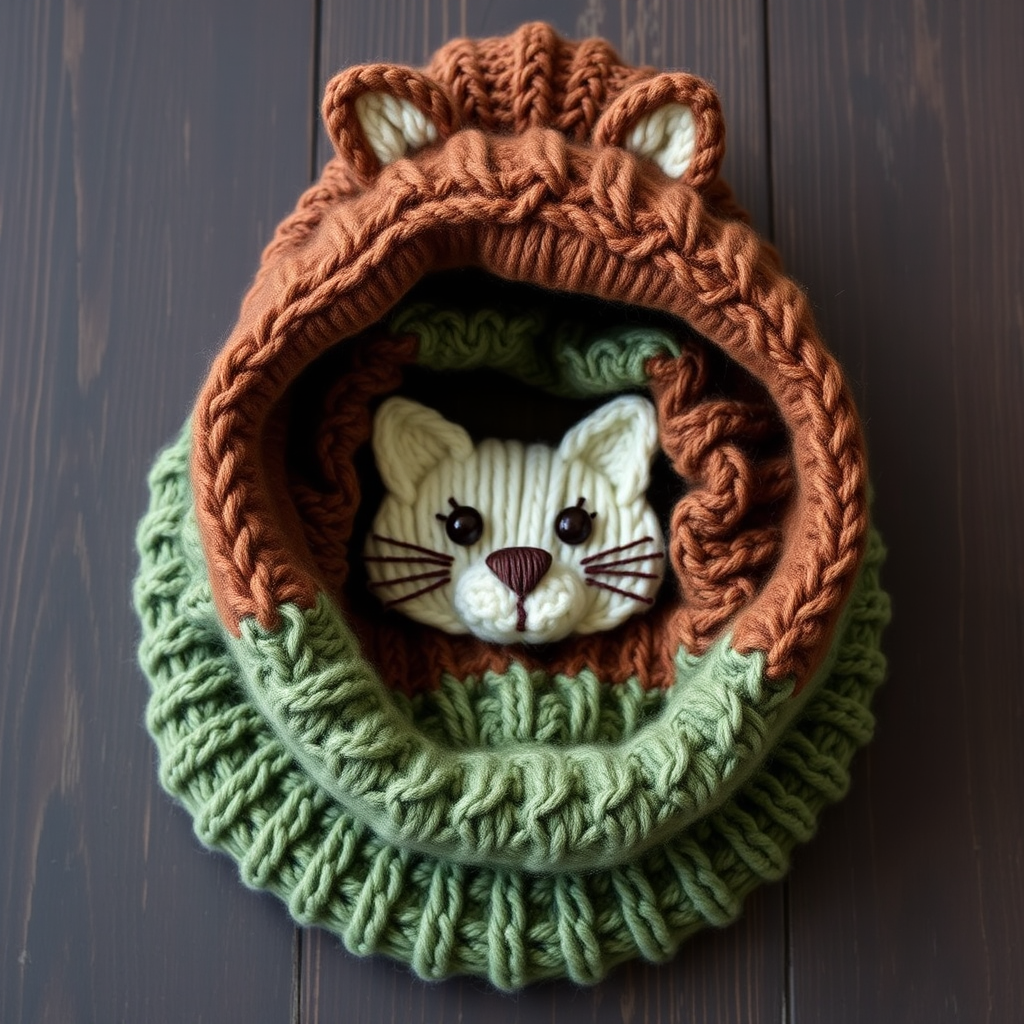
Wrap Yourself in Enchanted Forest Layers: The Whispering Woods Hooded Cat Cowl
There are some knitting projects that are more than just accessories—they are experiences. The Whispering Woods Hooded Cat Cowl is exactly that. Imagine wrapping yourself in the cozy mystery of a moonlit forest, complete with a whimsical cat face peeking out from a textured, leafy hood. This free knitting pattern blends the charm of the woodland with the modern comfort of a chunky, warm cowl.
Knitted in soft, heathered worsted weight yarns, this pattern is a joy to work up. The combination of a ribbed base, a lush leaf pattern, and a shaped hood creates a piece that is both visually stunning and deeply functional. Whether you are an intermediate knitter looking for a fun challenge or a confident beginner ready to stretch your skills, this hooded cowl is the perfect project to keep your hands busy and your neck toasty.
In this comprehensive guide, we will walk you through every step, from gathering your materials to sewing on the final whiskers. Let’s cast on and bring this little forest creature to life!
Materials Needed
Before you begin your journey into the woods, gather the following materials. Having everything ready will make the process smooth and enjoyable.
- Yarn: Worsted weight yarn in three colors (approx. 400g total):
- Color A (Mossy Green): For the cowl body and leaves.
- Color B (Earthy Brown): For the hood and facial features.
- Color C (Cream): For the cat face appliqué.
- Needles: US 8 (5mm) 16-inch circular needle for the cowl body, and double-pointed needles (DPNs) or a long circular for the small circumference of the hood if needed.
- Notions: Stitch markers, tapestry needle for weaving in ends and sewing, scissors.
- Gauge: 18 stitches and 24 rows = 4 inches in stockinette stitch. Always check your gauge to ensure the correct size!
Step-by-Step Instructions
This pattern is worked in the round for the cowl and then back-and-forth for the hood. Follow along carefully, and don't hesitate to refer back to the abbreviations and special stitches section.
Abbreviations
- CO: Cast on
- K: Knit
- P: Purl
- K2tog: Knit two together (decrease)
- SSK: Slip, slip, knit (decrease)
- M1L: Make one left (increase)
- M1R: Make one right (increase)
- St(s): Stitch(es)
- PM: Place marker
- SM: Slip marker
- BO: Bind off
Special Stitches: The Leaf Pattern
This pattern features a beautiful, cable-like leaf motif. It is worked over a base of 6 stitches and expands and contracts to create the leaf shape. Here is the exact sequence:
- Row 1 (RS): K2, P2, K2
- Row 2 (WS): P2, K2, P2
- Row 3: K2, M1L, K2, M1R, K2 (8 sts)
- Row 4: P2, K4, P2
- Row 5: K2, M1L, K4, M1R, K2 (10 sts)
- Row 6: P2, K6, P2
- Row 7: K2, M1L, K6, M1R, K2 (12 sts)
- Row 8: P2, K8, P2
- Row 9: K2, SSK, K4, K2tog, K2 (10 sts)
- Row 10: P2, K6, P2
- Row 11: K2, SSK, K2, K2tog, K2 (8 sts)
- Row 12: P2, K4, P2
- Row 13: K2, SSK, K2tog, K2 (6 sts)
- Row 14: P2, K2, P2
- Repeat rows 1-14 for the leaf pattern.
Part 1: The Cowl Body
We'll start with the ribbed bottom edge and work our way up to the leafy section.
- Cast On: With Color A (Mossy Green), CO 96 sts. Place a marker (PM) and join in the round, being careful not to twist the stitches.
- Ribbing: Work in K2, P2 ribbing for 2 inches. This creates a snug, stretchy base.
- Stockinette Base: Switch to stockinette stitch (knit every round) and work 4 rounds even.
- Begin Leaf Pattern: *Work the leaf pattern over the next 6 sts (following the special stitch instructions), then K10.* Repeat from * to * around. You will have 8 leaves total in the round.
- Continue Pattern: Keep working the leaf pattern as established on those 6-stitch sections, and knit the 10 stitches between them in stockinette. Continue until the cowl measures 8 inches from the cast-on edge. Tip: It helps to place a marker between each leaf section to keep your place.
- Color Change: Switch to Color B (Earthy Brown) and work in stockinette stitch for 2 inches.
- Bind Off: Bind off loosely in pattern (knit the knits and purl the purls) to maintain elasticity.
Part 2: The Hood
Now we will pick up stitches along the top edge of the cowl to create the hood.
- Pick Up Stitches: With Color B, pick up and knit 96 sts along the top edge of the cowl (the edge opposite the ribbing). This is the edge you just bound off.
- Work Flat: Turn your work and begin working back and forth in rows.
- Row 1 (WS): Purl all sts.
- Row 2 (RS): K1, M1L, knit until 1 st remains, M1R, K1. (98 sts)
- Repeat: Repeat these two rows until you have 120 sts. This means you will have increased 12 times on each side. This shaping gives the hood its rounded depth.
- Work Even: Work even in stockinette stitch (knit on RS, purl on WS) until the hood measures 10 inches from the pick-up row.
- Shape Top: Now we will decrease to close the top of the hood.
- Row 1 (RS): K1, SSK, knit until 3 sts remain, K2tog, K1. (118 sts)
- Row 2 (WS): Purl all sts.
- Repeat these two rows until 80 sts remain.
- Bind Off: Bind off all sts.
- Seam: Fold the hood in half (right sides together) and sew the top seam to close the hood. Weave in the ends.
Part 3: The Cat Face Appliqué
This is the star of the show! This piece is knitted flat and then sewn onto the hood. It creates a charming triangular cat face.
- Cast On: With Color C (Cream), CO 20 sts.
- Base: Work in stockinette stitch (knit on RS, purl on WS) for 10 rows.
- Shape Ears: Now we will decrease to form the ears and the pointed chin.
- Row 11 (RS): K1, SSK, K14, K2tog, K1 (18 sts)
- Row 12: Purl
- Row 13: K1, SSK, K12, K2tog, K1 (16 sts)
- Row 14: Purl
- Row 15: K1, SSK, K10, K2tog, K1 (14 sts)
- Row 16: Purl
- Row 17: K1, SSK, K8, K2tog, K1 (12 sts)
- Row 18: Purl
- Row 19: K1, SSK, K6, K2tog, K1 (10 sts)
- Row 20: Purl
- Row 21: K1, SSK, K4, K2tog, K1 (8 sts)
- Row 22: Purl
- Row 23: K1, SSK, K2, K2tog, K1 (6 sts)
- Row 24: Purl
- Row 25: K1, SSK, K2tog, K1 (4 sts)
- Row 26: Purl
- Row 27: K2tog twice (2 sts)
- Row 28: K2tog (1 st) – cut yarn, pull through the last loop to secure.
- Attach: Sew this triangular piece onto the front of the hood, centered. Use a whip stitch or mattress stitch for a clean finish.
- Embroider Face: Using Color B (Earthy Brown), embroider the eyes and nose.
- Eyes: Use duplicate stitch or French knots to create two cute eyes.
- Nose: Create a small triangle or vertical line for the nose.
- Whiskers: Use a backstitch to create three whiskers on each side of the face.
Finishing Touches
- Weave in Ends: Use your tapestry needle to weave in all loose ends securely.
- Block: Gently block the cowl to shape. This helps the leaf pattern lay flat and the hood keep its form.
- Optional: For extra charm, sew a pom-pom to the top point of the hood.
And there you have it—your very own Whispering Woods Hooded Cat Cowl! This piece is sure to become a favorite, offering warmth, whimsy, and a touch of forest magic to any outfit. Happy knitting!