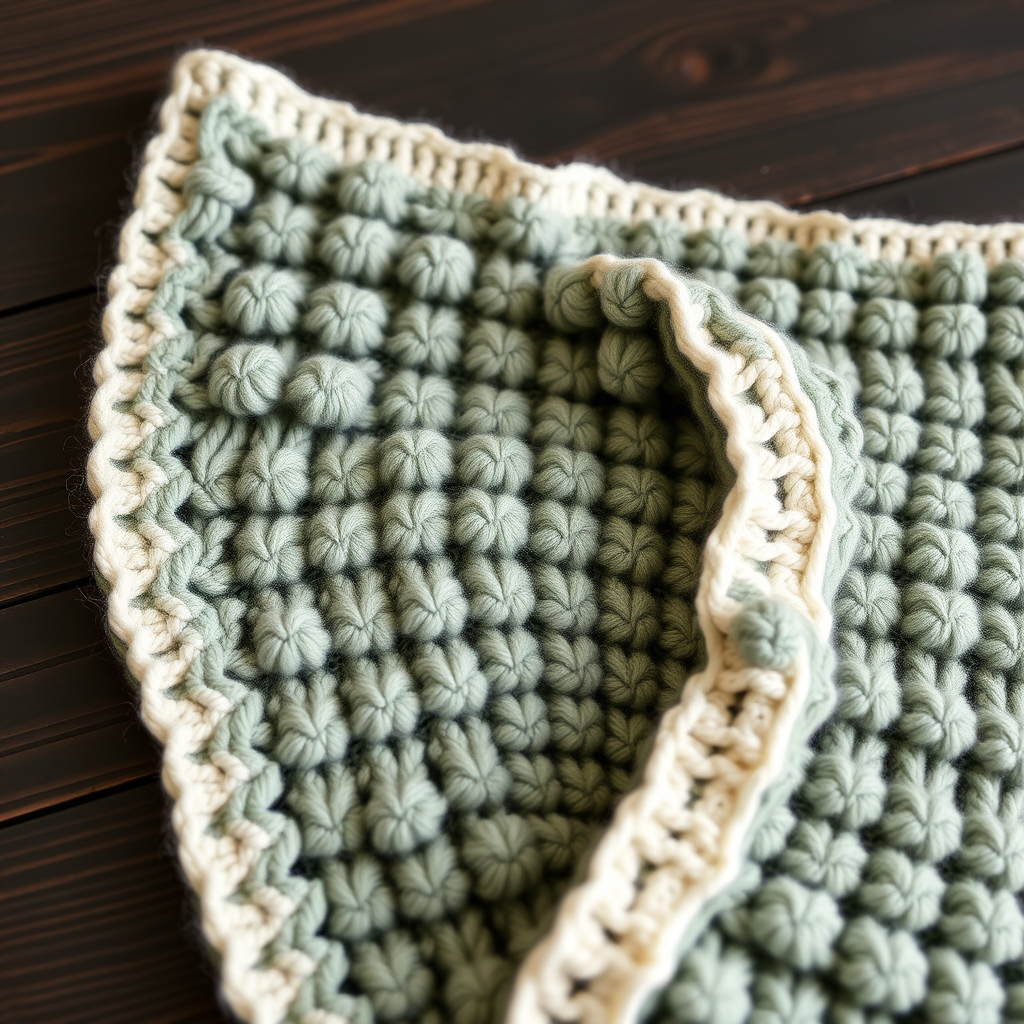
Whispering Willow Preemie Cocoon Knitting Pattern - Free Pattern

Whispering Willow Preemie Cocoon: A Free Knitting Pattern for Tiny Miracles
There is something profoundly tender about creating for a newborn—especially for the tiniest fighters who arrive early. The Whispering Willow Preemie Cocoon is designed to wrap your little one in a gentle, textured haven that mimics the soft sway of willow branches in a spring breeze. This free knitting pattern combines a delicate lace ripple stitch with a smooth, cozy base, creating a serene cocoon that is both practical and breathtakingly beautiful.
Whether you are knitting for a hospital charity, a baby shower gift, or simply to have something special ready for your own arrival, this pattern is accessible to confident beginners and a joy for experienced knitters. The combination of soft sage green and a cream accent band gives it a timeless, natural aesthetic that photographs beautifully and feels even better against delicate skin.
Let's dive into this meditative project that will become a cherished heirloom.
Materials Needed
Before you begin, gather your supplies. This project uses lightweight DK yarn, which is perfect for preemie-sized garments—warm without being bulky.
Yarn
- Main Color (Sage Green): DK weight (category 3) yarn, approximately 200 grams (about 400-450 yards). Look for a soft, machine-washable blend like cotton-bamboo or superwash merino for maximum comfort.
- Accent Color (Cream): DK weight yarn in a soft cream or off-white, approximately 50 grams (about 100-110 yards).
Needles & Notions
- Circular Needles: US 5 (3.75 mm) with a 16-inch cable. This length is ideal for knitting in the round for a cocoon of this size.
- Double-Pointed Needles (DPNs): US 5 (3.75 mm) for the i-cord tie (or use a small circular needle if you prefer).
- Stitch Markers: At least one marker for the beginning of the round, plus a few extra if you like to mark pattern repeats.
- Tapestry Needle: For weaving in ends and finishing.
- Scissors
Gauge
22 stitches and 30 rows = 4 inches in stockinette stitch (knit every round). Always knit a gauge swatch to ensure your finished cocoon is the correct size. If your gauge is off, adjust your needle size accordingly.
Step-by-Step Instructions
This cocoon is knit from the bottom up in one seamless piece, then cinched at the top with a charming i-cord tie. The pattern is worked in the round, so there is no seaming required—just pure, uninterrupted knitting.
Abbreviations
- k = knit
- p = purl
- yo = yarn over (creates a new stitch and a decorative hole)
- k2tog = knit two stitches together (right-leaning decrease)
- ssk = slip, slip, knit (left-leaning decrease)
- pm = place marker
- sm = slip marker
- st(s) = stitch(es)
Foundation
With your sage green yarn, cast on 80 stitches using your preferred method (long-tail cast-on works beautifully). Join in the round, being extremely careful not to twist your stitches. Place a stitch marker (pm) at the beginning of the round to mark your starting point.
Rounds 1-10: Smooth Base
Work in stockinette stitch—simply knit every round—for 10 rounds. This creates a smooth, solid foundation that will anchor the lace pattern above it.
The Lace Ripple Pattern
Now we begin the signature willow ripple. This 10-round repeat creates gentle, flowing waves that resemble leaves swaying in the wind. The yarn overs (yo) create the decorative holes, while the paired decreases (k2tog and ssk) keep your stitch count consistent.
Round 11: *Yo, k2tog, k6, ssk, yo, k1; repeat from * to end of round. (80 sts)
Tip: The yarn over at the start of the repeat creates a small eyelet, and the k2tog/ssk pair creates the leaf-shaped ripple.
Round 12: Knit all stitches.
Round 13: *K1, yo, k2tog, k4, ssk, yo, k1; repeat from * to end.
Round 14: Knit all stitches.
Round 15: *K2, yo, k2tog, k2, ssk, yo, k2; repeat from * to end.
Round 16: Knit all stitches.
Round 17: *K3, yo, k2tog, ssk, yo, k3; repeat from * to end.
Round 18: Knit all stitches.
Round 19: *K4, yo, ssk, k2tog, yo, k4; repeat from * to end.
Round 20: Knit all stitches.
Repeat Rounds 11-20 until the cocoon measures approximately 10 inches from the cast-on edge, ending with a Round 20 (a plain knit round). This will give you a snug, tapered sack perfect for a preemie.
Cream Accent Band
Now it's time to introduce your accent color. Cut the sage green yarn, leaving a 6-inch tail. Join the cream yarn at your marker.
Knit 6 rounds in stockinette stitch (knit every round) with the cream yarn. This creates a clean, crisp band that visually separates the lace body from the gathered top.
Decrease for the Top
We will now shape the top of the cocoon by working a series of decrease rounds. This creates a gentle taper that will gather beautifully with the i-cord tie.
Round 1: *K8, k2tog; repeat from * to end. (72 sts)
Round 2: Knit all stitches.
Round 3: *K7, k2tog; repeat from * to end. (64 sts)
Round 4: Knit all stitches.
Round 5: *K6, k2tog; repeat from * to end. (56 sts)
Round 6: Knit all stitches.
Round 7: *K5, k2tog; repeat from * to end. (48 sts)
Round 8: Knit all stitches.
Round 9: *K4, k2tog; repeat from * to end. (40 sts)
Round 10: Knit all stitches.
Round 11: *K3, k2tog; repeat from * to end. (32 sts)
Round 12: Knit all stitches.
Round 13: *K2, k2tog; repeat from * to end. (24 sts)
Round 14: Knit all stitches.
Round 15: *K1, k2tog; repeat from * to end. (16 sts)
Round 16: Knit all stitches.
Round 17: *K2tog; repeat from * to end. (8 sts)
Cut the yarn, leaving a long tail (at least 12 inches). Thread the tail through a tapestry needle, then pass the needle through the remaining 8 stitches. Pull tight to gather the top closed, and secure with a few small stitches. Weave the end inside the cocoon.
I-Cord Tie
The i-cord tie is the finishing touch that cinches the cocoon into a cozy, secure pouch. It's simple to make and adds a charming, handmade detail.
With your cream yarn and double-pointed needles, cast on 3 stitches.
Work an i-cord as follows:
Row 1: Knit 3 stitches.
Row 2: Without turning your work, slide the stitches to the other end of the needle. Knit 3 stitches again.
Repeat Row 2 until the cord measures approximately 20 inches.
Bind off all stitches. Weave in the ends.
To attach the tie, thread it through the top stitches of the cocoon, just below the gathered section (between the cream band and the gathered top). You can weave it in and out of the stitches or simply thread it through the eyelets created by the lace pattern. Tie into a neat bow.
Finishing Touches
Weave in all remaining ends using your tapestry needle, being careful to hide them within the stitches so they are invisible from the outside.
Blocking: This step is essential to open up the lace pattern and give your cocoon a professional finish. Soak the cocoon in lukewarm water with a gentle wool wash for 15-20 minutes. Gently squeeze out excess water (do not wring). Lay flat on a towel, shape it to the correct dimensions (about 10 inches long), and pin the lace edges if desired. Allow to dry completely before removing pins.
Final Thoughts
Your Whispering Willow Preemie Cocoon is now complete—a delicate, handcrafted haven for a tiny miracle. The combination of the flowing lace ripple and the soft, cozy yarn creates a piece that is both visually stunning and deeply comforting. Whether you gift it to a NICU, a friend, or keep it for your own little one, this cocoon is sure to be treasured.
Happy knitting, and may your stitches bring warmth and peace to the smallest among us.