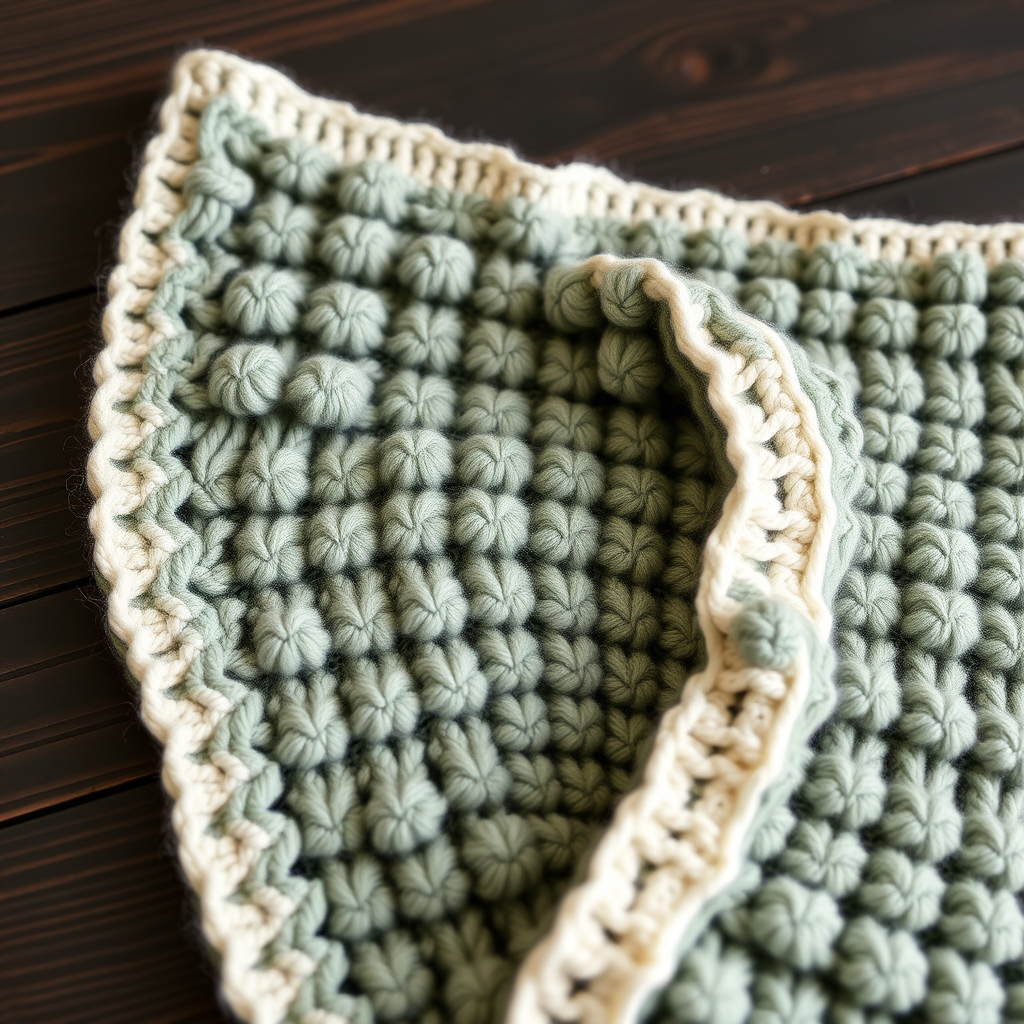
Sunbeam Ripple Baby Blanket Free Pattern

Wrap Your Little One in Sunshine: The Sunbeam Ripple Baby Blanket
There is something truly magical about creating a handmade heirloom for a new arrival. The Sunbeam Ripple Baby Blanket is more than just a knitting project; it's a labor of love designed to wrap your little one in the gentle glow of golden yellow and creamy white. This easy-to-knit pattern uses a classic ripple stitch to create soft, textured waves that mimic the warmth of a sunbeam filtering through a window. Whether you are a seasoned knitter looking for a quick gift or a confident beginner ready for your first big project, this pattern is the perfect way to craft a cozy, textured heirloom piece destined for countless naps and snuggles.
With its rhythmic stitch pattern and beautiful color alternation, this blanket is as enjoyable to knit as it is to cuddle. Let’s dive into how you can create this stunning piece for your nursery or as a heartfelt gift.
Materials Needed
Before you cast on, gather your supplies. This project requires minimal materials, making it a great travel project or a spontaneous weekend knit.
- Yarn: Worsted weight yarn in two colors:
- Color A (Sunny Yellow): 2 skeins (approx. 400 yards)
- Color B (Cream): 2 skeins (approx. 400 yards)
- Needles: US Size 8 (5.0 mm) knitting needles. A circular needle (32 inches or longer) is recommended to hold the large number of stitches comfortably, but straight needles work fine too.
- Notions: Tapestry needle for weaving in ends, scissors, and stitch markers (optional, but helpful for keeping track of pattern repeats).
Gauge: 18 stitches and 24 rows = 4 inches in stockinette stitch. Note: Gauge is not critical for a blanket, but maintaining consistent tension throughout will ensure your ripples are even and your edges are straight.
Step-by-Step Instructions
This pattern is worked flat in one piece. The ripple effect is achieved by alternating yarn overs (increases) and knit-two-togethers (decreases) to create the peaks and valleys. Follow these detailed instructions carefully, and you will see the pattern emerge beautifully.
Finished Size
Approximately 30 inches wide by 36 inches long. (You can easily adjust the size by adding or removing pattern repeats in multiples of 14 stitches.)
Abbreviations
- K = knit
- P = purl
- K2tog = knit two stitches together (right-leaning decrease)
- YO = yarn over (increase)
- Sl = slip stitch purlwise
- Rep = repeat
Pattern Notes
- The blanket is worked flat in one piece from the bottom border up.
- The first and last 3 stitches of every row are your border stitches, worked in garter stitch (knit every row) to prevent curling.
- Use a loose cast-on and bind-off to ensure a stretchy, non-puckered edge.
Getting Started: Cast On & Border
Cast On: With Color A (Sunny Yellow), cast on 120 stitches loosely. Tip: Use a needle one or two sizes larger for the cast-on row to ensure it is extra stretchy.
Bottom Border (Garter Stitch):
Rows 1–6: Knit all stitches. This creates a solid, flat border that frames the ripples.
The Main Ripple Pattern
Now you will begin the rhythmic ripple pattern. Pay close attention to the sequence of decreases and yarn overs. The pattern repeat is between the asterisks (*).
Row 7 (Right Side, Color A): K3 (border), *K2tog, K2tog, K1, YO, K1, YO, K1, YO, K1, YO, K1, K2tog, K2tog*, rep from * to * until 3 stitches remain, K3 (border).
Breakdown of the repeat (14 stitches): You are decreasing 4 stitches total (two K2togs on each side) and increasing 4 stitches (four YOs) to keep the stitch count consistent. The YOs create the "peaks" and the K2togs create the "valleys."
Row 8 (Wrong Side, Color A): K3, Purl across until 3 stitches remain, K3.
Row 9 (Right Side, Color B): Switch to Color B (Cream). K3, *K2tog, K2tog, K1, YO, K1, YO, K1, YO, K1, YO, K1, K2tog, K2tog*, rep from * to * until 3 stitches remain, K3.
Row 10 (Wrong Side, Color B): K3, Purl across until 3 stitches remain, K3.
Rows 11–12: Repeat Rows 7 and 8 with Color A.
Rows 13–14: Repeat Rows 9 and 10 with Color B.
Continue the Pattern: Keep alternating colors every two rows (two rows of Color A, two rows of Color B) until the blanket measures approximately 34 inches from the cast-on edge. Tip: Always end with a wrong-side row of Color B to ensure your color blocks are even.
Finishing Touches: Top Border & Bind Off
Final Border: With Color A, knit 6 rows of garter stitch (all knit stitches) to perfectly match the bottom border. This anchors the ripples and gives the blanket a polished, symmetrical look.
Bind Off: Bind off loosely in knit on the right side. Tip: Just like the cast-on, use a larger needle for the bind-off to keep the edge from pulling in.
Weave in Ends: Thread your tapestry needle and carefully weave in all loose ends along the side seams or through the border stitches to hide them securely.
Blocking for Perfection
Blocking is the secret to a professional-looking ripple blanket. It evens out the stitches and sharpens the peaks and valleys.
- Fill a basin with cool water and a drop of mild wool wash.
- Submerge the blanket and let it soak for 15–20 minutes. Do not agitate.
- Gently squeeze out excess water (do not wring). Roll the blanket in a clean towel to remove additional moisture.
- Lay the blanket flat on a blocking mat or dry towel. Gently stretch it to the desired dimensions (30" x 36").
- Pin the peaks and valleys if necessary to define the zigzag edges. Allow it to dry completely before unpinning.
Once dry, your Sunbeam Ripple Baby Blanket is ready to be gifted or used. The soft texture and cheerful colors are sure to bring warmth and joy to any nursery. Happy knitting!