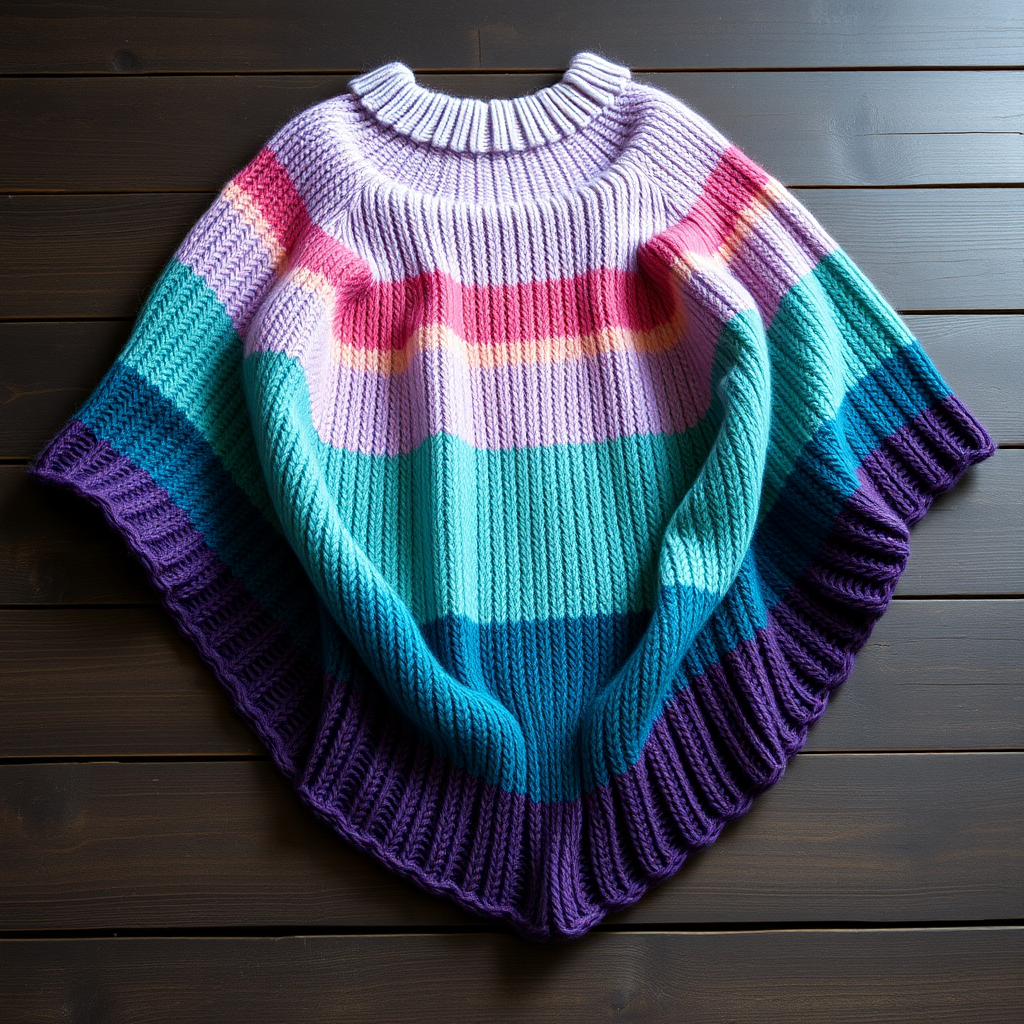
Whispering Willow Lace Poncho Free Pattern – Airy Knitted Cover-Up

Whispering Willow Lace Poncho: A Beginner-Friendly Knitting Pattern for an Airy, Botanical Cover-Up
Embrace the gentle transition of seasons with the Whispering Willow Lace Poncho—a breezy, botanical-inspired layer that combines delicate leaf lace panels with a soft, drapey silhouette. Whether you're strolling through a cool summer evening or layering over a simple tee for a touch of handmade elegance, this lightweight poncho is your perfect companion. The pattern is thoughtfully designed with a simple 8-row repeat that's easy to memorize, making it an ideal project for knitters ready to explore lacework without feeling overwhelmed. Let's dive into creating this ethereal, handmade treasure.
Materials Needed
Before you begin, gather the following supplies to ensure a smooth and enjoyable knitting experience:
- Yarn: Worsted weight cotton or cotton-blend yarn (approximately 600-700 yards) in a soft sage green or misty blue. The natural drape of cotton enhances the lace pattern beautifully.
- Needle: US Size 7 (4.5 mm) circular knitting needle with a 32-inch cable. The long cable is essential for holding the 90 stitches comfortably.
- Gauge: 18 stitches and 24 rows = 4 inches in stockinette stitch (after blocking). Achieving the correct gauge ensures your poncho drapes perfectly.
- Notions: Stitch markers (optional), tapestry needle for weaving in ends, and blocking mats with pins for finishing.
Step-by-Step Instructions
This poncho is worked flat in two identical rectangular panels, then seamed at the shoulders to create a draped, open-sided silhouette. Follow these detailed instructions carefully, and you'll have a stunning, handmade layer in no time.
Knitting the Panels (Make 2)
Cast On: Cast on 90 stitches loosely. A loose cast-on is crucial for the lace edges to lie flat and drape nicely.
Setup Row (Wrong Side): Purl all stitches. This row establishes the base for the lace pattern.
Row 1 (Right Side): K4, *yo, k2tog, k6, repeat from * to last 6 stitches, yo, k2tog, k4. (90 stitches)
Tip: The yarn over (yo) creates the decorative hole, and the k2tog (knit two together) decreases to maintain the stitch count. This forms the leaf's base.
Row 2 (Wrong Side): Purl all stitches.
Row 3 (Right Side): K1, *k2tog, yo, k1, yo, ssk, k3, repeat from * to last 8 stitches, k2tog, yo, k1, yo, ssk, k1. (90 stitches)
Tip: The ssk (slip, slip, knit) is a left-leaning decrease that pairs with k2tog to shape the leaf's point. The double yarn overs in this row create the open, airy center of the leaf.
Row 4 (Wrong Side): Purl all stitches.
Row 5 (Right Side): K2, *yo, ssk, k1, k2tog, yo, k3, repeat from * to last 7 stitches, yo, ssk, k1, k2tog, yo, k2. (90 stitches)
Tip: Notice how the decreases and yarn overs shift slightly, creating the staggered, organic leaf pattern. Keep your tension even for a consistent look.
Row 6 (Wrong Side): Purl all stitches.
Row 7 (Right Side): K3, *yo, ssk, k1, k2tog, yo, k3, repeat from * to last 6 stitches, yo, ssk, k1, k2tog, yo, k3. (90 stitches)
Tip: This row mirrors Row 5 but with a different starting point, which completes the leaf motif's symmetry.
Row 8 (Wrong Side): Purl all stitches.
Repeat: Continue repeating Rows 1-8 until the panel measures 28 inches from the cast-on edge, ending with a Wrong Side row. This length ensures a generous, draping fit.
Bind Off: Bind off loosely in pattern. To do this, knit the first stitch, then knit the next stitch, and pass the first stitch over the second. Continue this across the row. A loose bind-off prevents the edge from pulling or curling.
Repeat the entire process to create the second panel.
Finishing and Assembly
Now that both panels are complete, it's time to transform them into a beautiful poncho.
- Block the Panels: Soak both panels in lukewarm water with a mild wool wash for 20 minutes. Gently squeeze out excess water (do not wring). Lay them flat on blocking mats and pin them to the measurements: 22 inches wide by 28 inches long. Allow them to dry completely. Blocking opens up the lace pattern and gives the poncho its professional, finished look.
- Prepare for Seaming: Lay the panels flat, one on top of the other, with right sides together. Ensure the edges are aligned perfectly.
- Sew the Shoulder Seams: Measure 8 inches from the top corner on each side. Sew a 6-inch seam on each shoulder, leaving the center 10 inches open for the neckline. Use a mattress stitch or a simple whip stitch for a secure, invisible seam.
- Turn Right Side Out: Carefully turn the poncho right side out. The side edges remain open, creating natural armholes that drape beautifully over your shoulders.
- Optional Edging: For a polished finish, add a crochet edging around the neckline and bottom edge. Use a simple single crochet stitch or a delicate picot stitch. This step is optional but adds a lovely, refined touch.
- Final Touches: Weave in all loose ends with a tapestry needle. Give the poncho a light steam or a gentle re-block to ensure all seams lie flat and the lace pattern is crisp.
Your Whispering Willow Lace Poncho is now complete! This airy, botanical layer is perfect for adding a touch of handmade elegance to any outfit. The open, drapey silhouette and delicate leaf pattern make it a versatile piece you'll reach for season after season. Enjoy wearing your beautiful, handcrafted creation!