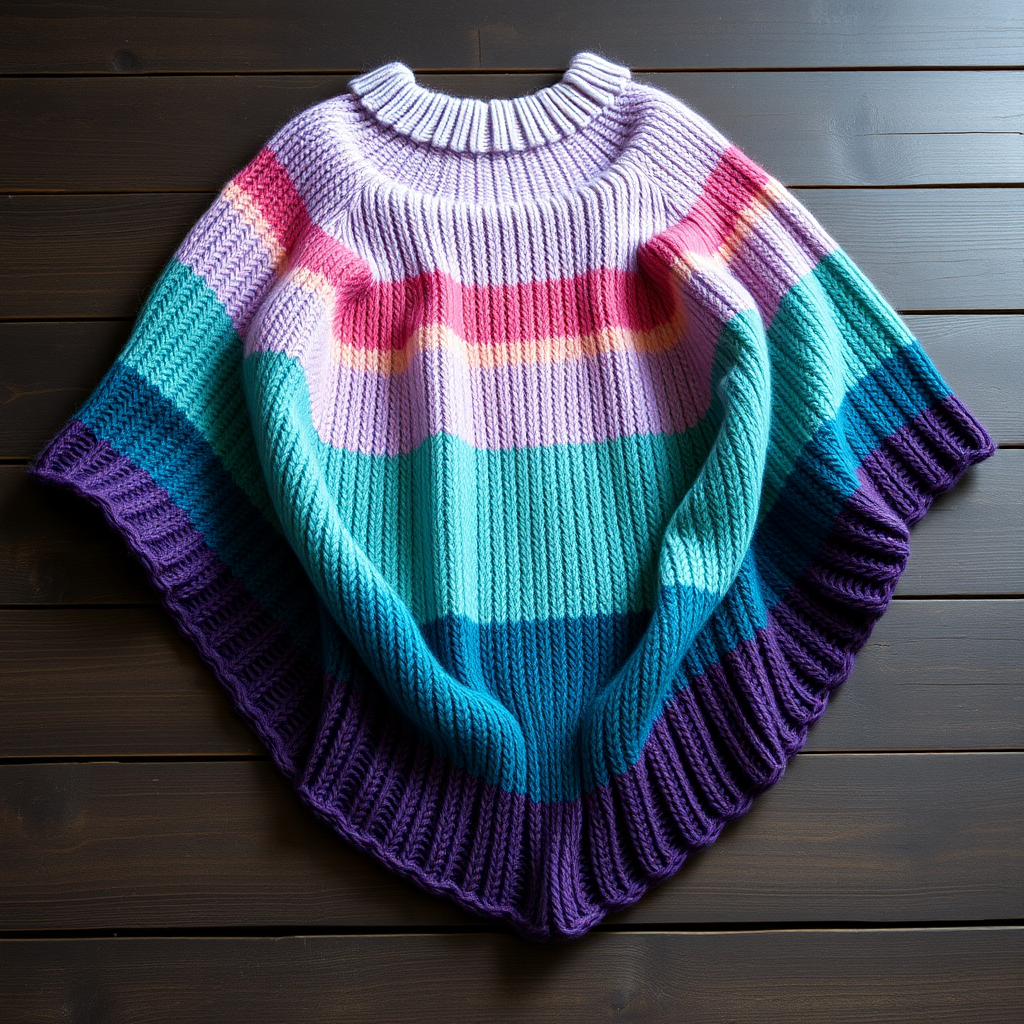
Whispering Meadow Poncho Wrap with Tassel Trim - Free Pattern

Whispering Meadow Poncho Wrap with Tassel Trim – Free Knitting Pattern
Wrap yourself in the soft, flowing elegance of this open-sided poncho, featuring a delicate lace stitch that mimics a gentle breeze through a meadow. This versatile piece transitions beautifully from cool summer evenings to crisp autumn days. The combination of a muted sage green body with cream tassels creates a bohemian, natural aesthetic that is both cozy and stylish. Whether you are a seasoned knitter looking for a relaxing project or a confident beginner ready for a new challenge, this pattern is designed to guide you through every step with clarity and ease.
Materials Needed
Before you begin, gather the following materials to ensure a smooth and enjoyable knitting experience:
- Yarn: Worsted weight yarn (Category 4) in two colors:
- Main Color (MC) – Sage Green (approx. 500g)
- Contrast Color (CC) – Cream (approx. 200g)
- Needles: US Size 8 (5mm) circular knitting needles, 24-inch or longer (circular needles are recommended to accommodate the large number of stitches, but you will be knitting flat, not in the round)
- Notions: Tapestry needle for weaving in ends and seaming, stitch markers (optional but helpful), crochet hook (for attaching tassels), and scissors
Gauge
18 stitches and 24 rows = 4 inches in stockinette stitch (knit one row, purl one row) after blocking. Always take time to check your gauge to ensure your poncho drapes correctly. If your gauge is off, adjust your needle size accordingly.
Step-by-Step Instructions
This poncho is knitted flat in two identical panels, then seamed at the shoulders, leaving openings for the arms. The lace pattern is simple and repetitive, perfect for a relaxing knit. Follow the instructions carefully, and you will have a beautiful, handmade wrap in no time.
Abbreviations
- K = knit
- P = purl
- YO = yarn over (bring the yarn to the front, then over the needle to the back, creating a new loop)
- K2tog = knit two stitches together (decrease)
- SSK = slip, slip, knit (slip two stitches knitwise, then knit them together through the back loop – a left-leaning decrease)
- RS = right side (the front of the work)
- WS = wrong side (the back of the work)
Panel 1 (Make 2)
You will make two identical panels. Follow these instructions for the first panel, then repeat for the second.
Cast On
With your Main Color (MC) yarn, cast on 80 stitches loosely. A loose cast-on is essential to prevent the bottom edge from being too tight. You can use the long-tail cast-on method, but be sure to keep it relaxed.
Border Rows (Garter Stitch)
Garter stitch (knitting every row) creates a sturdy, non-curling edge.
- Rows 1-6: Knit all stitches. This creates a 6-row garter stitch border at the bottom of the panel.
Begin Lace Pattern
Now you will start the beautiful lace pattern. Pay close attention to the stitch counts and the placement of the yarn overs and decreases.
- Row 7 (RS): K4, *YO, K2tog, K6; repeat from * until last 6 stitches, YO, K2tog, K4. (You will have 4 knit stitches at the beginning and end of the row, creating a garter stitch edge.)
- Row 8 (WS): Purl all stitches. (This is a purl row, which creates the stockinette background for the lace.)
- Row 9 (RS): K4, *K2tog, YO, K6; repeat from * until last 6 stitches, K2tog, YO, K4. (Notice how the decreases and yarn overs are staggered to create the lace pattern.)
- Row 10 (WS): Purl all stitches.
- Rows 11-14: Repeat Rows 7-10. This completes one full repeat of the lace pattern.
Continue in Lace Pattern
Repeat Rows 7-14 until the panel measures approximately 20 inches from the cast-on edge, ending with a WS row (a purl row). This ensures you are ready to start the neckline shaping on the right side.
Shape Neckline
This is where you will create the opening for your head. You will be binding off the center stitches and working each shoulder separately.
- Next Row (RS): K4, work in lace pattern across the next 30 stitches, bind off the next 12 stitches (center neck), continue in lace pattern across the remaining 34 stitches. (You will now have 34 stitches on each side of the neck opening.)
Now, you will work each side of the neck separately. It is often easiest to place the stitches for one shoulder on a stitch holder or spare needle while you work the other.
Right Shoulder (as facing)
This is the shoulder on your right as you look at the right side of the fabric.
- Row 1 (WS): Purl across the 34 stitches.
- Row 2 (RS): K4, work lace pattern to last 4 stitches, K4. (Remember to maintain the 4-stitch garter edge on both sides.)
- Repeat these two rows until the panel measures 24 inches from the cast-on edge, ending with a WS row.
- Bind off all stitches loosely.
Left Shoulder
Attach yarn to the remaining 34 stitches at the neck edge.
- Row 1 (WS): Purl across.
- Row 2 (RS): K4, work lace pattern to last 4 stitches, K4.
- Repeat until the panel measures 24 inches from the cast-on edge, ending with a WS row.
- Bind off all stitches loosely.
Panel 2
Repeat exactly as Panel 1. You should now have two identical panels, each with a neckline in the center and two shoulder sections.
Finishing
Now it's time to assemble your poncho. This is a simple seaming process that creates the armholes.
- Lay both panels flat with the right side (RS) facing up. Place them side by side so the necklines are at the top center, touching each other.
- Seam the shoulders: Using a mattress stitch or whip stitch, sew the outer 10 inches of the shoulder edges together on each side. This means you will sew from the outer edge of the shoulder inward, leaving the center 12 inches open for the neck. This seaming creates the armholes – the open space between the seamed shoulders and the side edges of the poncho.
- Weave in all ends using your tapestry needle to hide any loose yarn tails.
Tassel Trim
The cream tassels are the perfect finishing touch, adding a bohemian flair and beautiful contrast to the sage green.
- Cut 12-inch lengths of your Contrast Color (CC) yarn. You will need many pieces, so cut a generous amount.
- For each tassel, take 4 strands of yarn and fold them in half to create a loop.
- Using a crochet hook, pull the loop through the edge of the poncho (through the bound-off edge or the garter stitch border).
- Pull the ends of the yarn through the loop and tighten to secure the tassel.
- Attach tassels evenly around the entire outer edge of the poncho, spacing them about 1 inch apart. This includes the bottom edge, the side edges, and the neckline if desired.
- Once all tassels are attached, trim the ends to even lengths, about 4 inches long.
Blocking
Blocking is crucial for this project as it opens up the lace pattern and gives the poncho its beautiful drape.
- Gently hand wash the poncho in cool water with a mild soap. Do not wring or twist the fabric.
- Press out excess water by rolling the poncho in a clean towel.
- Lay flat on a dry towel to dry, shaping it to the correct dimensions. Gently stretch the lace pattern to open it up and ensure the edges are straight.
- Allow it to dry completely before wearing.
Congratulations! You have completed your very own Whispering Meadow Poncho Wrap. This beautiful, handmade piece is perfect for layering and will be a cherished addition to your wardrobe. Enjoy the compliments and the cozy warmth of your creation!