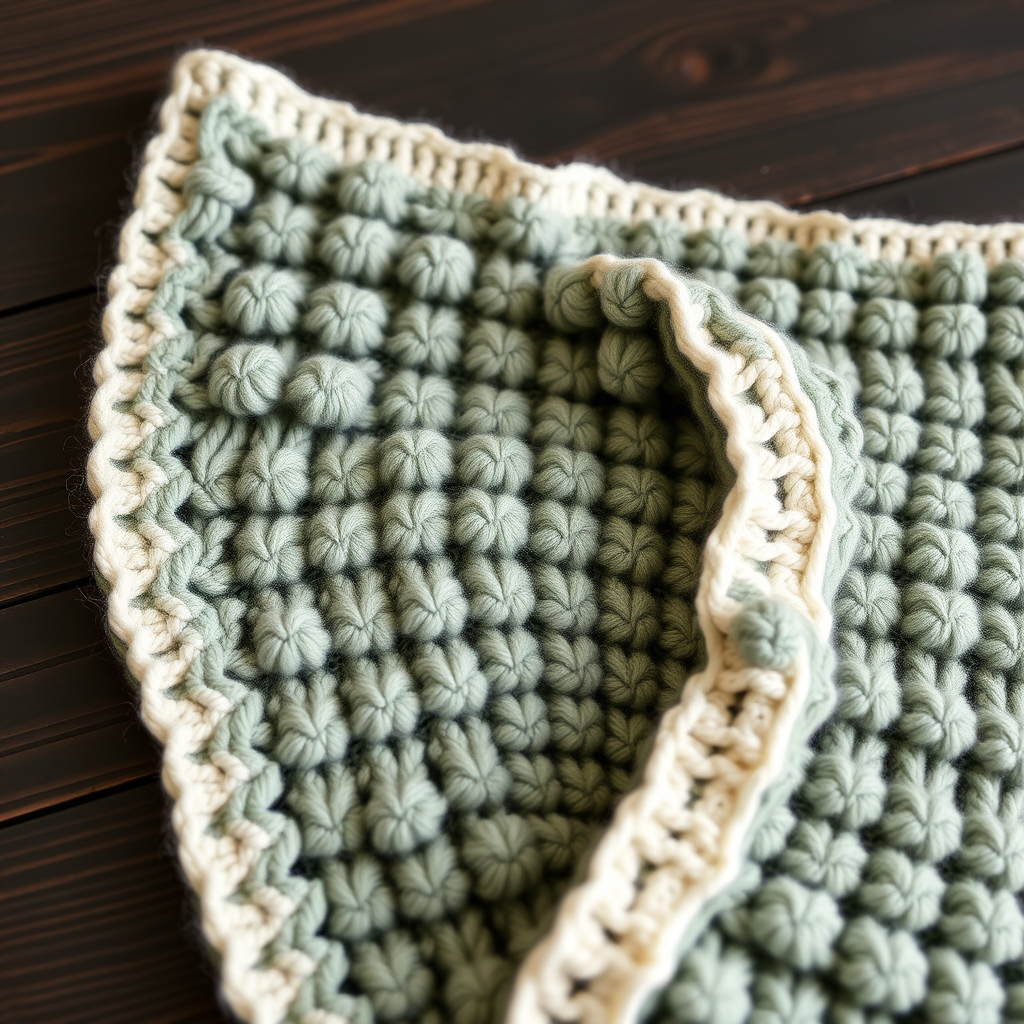
Whispering Willow Bonding Squares Free Knitting Pattern – Textured Baby Blanket

Whispering Willow Bonding Squares: A Heirloom Baby Blanket Knitting Pattern
There's something truly special about creating a handmade gift for a new arrival. The Whispering Willow Bonding Squares pattern captures that magic, combining the serene texture of a moss stitch with delicate leaf motifs to create a baby blanket that feels both modern and timeless. This is more than just a blanket; it's a piece of art meant to be snuggled, loved, and passed down through generations.
This pattern is thoughtfully designed for knitters who want to create an heirloom-quality piece. The modular square construction makes it manageable and portable, while the alternating textures keep the knitting engaging. The result is a beautifully textured, cozy blanket with a gentle drape, perfect for a nursery. Whether you're a seasoned crafter or a confident beginner looking for a rewarding project, the Whispering Willow blanket is a joy to knit and an even greater joy to give.
Materials Needed
Before you begin, gather your supplies. This pattern calls for simple, worsted-weight yarn, making it accessible and affordable.
- Yarn: Worsted weight yarn in two colors:
- Main Color (MC): Soft sage green – approximately 800 yards
- Contrast Color (CC): Cream – approximately 200 yards
- Needles: US 7 (4.5 mm) knitting needles. You will need either a straight pair or a circular needle (at least 32 inches long) for the border.
- Notions: Tapestry needle for weaving in ends and seaming, stitch markers (optional), and scissors.
Gauge: 20 stitches and 28 rows = 4 inches in stockinette stitch. Always take time to check your gauge to ensure your blanket turns out the correct size.
Step-by-Step Instructions
This blanket is constructed from 12 individual 6-inch squares, which are then seamed together and finished with a ribbed border. Follow these detailed instructions to create your own Whispering Willow masterpiece.
Part 1: Knitting the Squares (Make 12 Total)
You will make a total of 12 squares. The pattern alternates between two designs: Square A (Moss Stitch) and Square B (Leaf Motif). You will need 6 of each.
Square A: Moss Stitch Square (Make 6 in MC)
This square features a beautiful, bumpy texture that is both classic and soothing.
- Cast On: Cast on 40 stitches with your Main Color (MC).
- Row 1 (Right Side): *Knit 1 (K1), Purl 1 (P1); repeat from * to the end of the row.
- Row 2 (Wrong Side): *Purl 1 (P1), Knit 1 (K1); repeat from * to the end of the row.
- Repeat: Continue repeating Rows 1 and 2. This creates the moss stitch pattern. Keep going until the piece measures 6 inches from the cast-on edge.
- Bind Off: Bind off all stitches in pattern (knit the knits and purl the purls as you bind off). Weave in the yarn end.
Square B: Leaf Motif Square (Make 6 in MC with CC accents)
This square features a delicate leaf shape in the center, created with simple colorwork and decreases.
- Cast On: Cast on 40 stitches with your Main Color (MC).
- Rows 1-4: Work in stockinette stitch (Knit on the Right Side, Purl on the Wrong Side) using MC.
- Row 5 (RS): Knit 16 stitches in MC. Join your Contrast Color (CC) yarn. Knit 8 stitches in CC. Drop the CC yarn (do not cut it). Knit the remaining 16 stitches in MC.
- Row 6 (WS): Purl 16 stitches in MC. Purl 8 stitches in CC. Purl the remaining 16 stitches in MC. Remember to carry the CC yarn loosely up the side of the work.
- Rows 7-16: Continue working the center 8 stitches in CC and the side 16 stitches on each side in MC, following the stockinette pattern (K on RS, P on WS) for 10 more rows. You will have a solid cream rectangle in the center.
- Row 17 (RS): K16 in MC. With CC: Knit 2 together (K2tog), Knit 4, K2tog. Drop CC. K16 in MC.
- Row 18 (WS): P16 in MC. Purl 6 in CC. P16 in MC.
- Row 19 (RS): K16 in MC. With CC: K2tog, Knit 2, K2tog. Drop CC. K16 in MC.
- Row 20 (WS): P16 in MC. Purl 4 in CC. P16 in MC.
- Row 21 (RS): K16 in MC. With CC: K2tog, K2tog. Drop CC. K16 in MC.
- Row 22 (WS): P16 in MC. Purl 2 in CC. P16 in MC.
- Row 23 (RS): K16 in MC. With CC: K2tog. Drop CC. K16 in MC.
- Row 24 (WS): P16 in MC. Purl 1 in CC. P16 in MC.
- Row 25 (RS): Knit all 40 stitches with MC. The leaf motif is now complete.
- Rows 26-28: Work in stockinette stitch with MC.
- Bind Off: Bind off all stitches. Weave in all yarn ends.
Part 2: Assembling the Blanket
Once all 12 squares are complete, it's time to bring them together.
- Layout: Arrange your squares in a 3x4 grid (3 squares wide, 4 squares tall). Alternate the squares: Place a Moss Stitch Square (A) in the top left, a Leaf Motif Square (B) next to it, and so on. Ensure the pattern alternates both horizontally and vertically for a balanced look.
- Seaming: With the Right Sides of the squares facing each other, use your Main Color (MC) yarn and a tapestry needle to whip stitch the squares together. For a truly invisible seam, use the mattress stitch on the vertical and horizontal edges. This will create a beautiful, professional finish on the front of the blanket.
Part 3: Adding the Ribbed Border
The border gives the blanket a polished, finished look and helps it lie flat.
- Pick Up Stitches: With the Right Side of the blanket facing you and using your MC yarn, pick up and knit stitches along the edges. Pick up approximately 120 stitches along each of the two side edges and 140 stitches along the top and bottom edges. Adjust your stitch count so that the total number of stitches on each side is a multiple of 4. Place a stitch marker at each corner.
- Round 1: *Knit 2 (K2), Purl 2 (P2); repeat from * around the entire blanket, working (K2, P2) in the corners as well to maintain the pattern.
- Rounds 2-4: Repeat Round 1 for three more rounds. This creates a neat, stretchy ribbed edge.
- Bind Off: Bind off all stitches in pattern (knit the knits and purl the purls).
Finishing Touches
- Weave in Ends: Carefully weave in all remaining yarn ends on the wrong side of the blanket using your tapestry needle. This is a crucial step for a durable, long-lasting finish.
- Blocking (Optional but Recommended): To give your blanket a professional, polished look and to even out the stitches, gently wet-block the finished blanket. Soak it in lukewarm water with a mild wool wash, gently squeeze out excess water (do not wring), and lay it flat on a towel to dry, shaping it to the correct dimensions.
Your Whispering Willow Bonding Squares blanket is now complete! This beautiful, textured heirloom piece is ready to be gifted, destined to become a cherished keepsake for years to come.