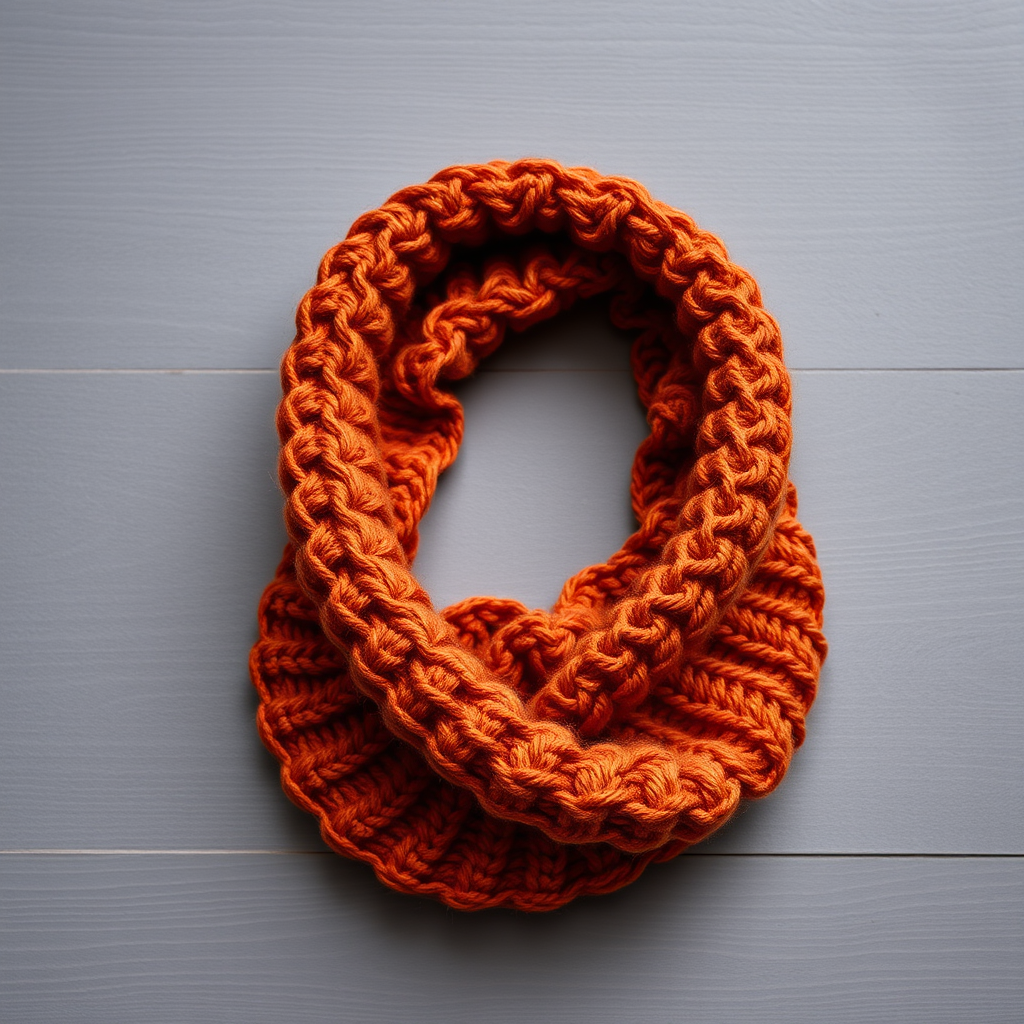
Whispering Pines Tube Scarf Free Knitting Pattern – Textured Butterfly Stitch Neck Warmer

Wrap Yourself in Woodland Charm: The Whispering Pines Tube Scarf
There's something magical about wrapping a hand-knit scarf around your neck as the air turns crisp. The Whispering Pines Tube Scarf captures that feeling perfectly—a seamless, cozy cowl featuring the elegant butterfly stitch in a serene forest-inspired palette. This free knitting pattern is designed to be both accessible for beginners and satisfying for more experienced knitters, creating a textured masterpiece that looks far more complex than it actually is.
With its rich forest green base and soft cream butterfly motifs, this scarf brings a touch of artisanal charm to any winter wardrobe. The seamless cylinder design means no bulky seams, just pure, uninterrupted coziness. Whether you're knitting for yourself or gifting to a loved one, this pattern delivers warmth, beauty, and the deep satisfaction of creating something truly special.
Materials Needed
Before you begin your knitting journey, gather these essential supplies:
Yarn
- Main Color (MC): Forest Green – approximately 220 yards of worsted weight yarn
- Contrast Color (CC): Soft Cream – approximately 180 yards of worsted weight yarn
- Suggested Yarn: Lion Brand Wool-Ease Worsted (or any worsted weight yarn of your choice)
Tools & Notions
- US Size 8 (5.0 mm) 16-inch circular knitting needle
- Stitch marker (to mark the beginning of rounds)
- Tapestry needle for weaving in ends
Gauge Information
Gauge: 18 stitches and 24 rows = 4 inches in stockinette stitch. While gauge isn't critical for this project, it will affect the final size. For a scarf that fits as designed, aim to match this gauge.
Step-by-Step Instructions
Understanding Your Pattern
Finished Size: Approximately 9 inches wide and 24 inches in circumference (the fabric is stretchy, so it will accommodate various neck sizes comfortably).
Abbreviations:
- CO: Cast on
- K: Knit
- P: Purl
- Yo: Yarn over
- K2tog: Knit two stitches together
- Sl: Slip stitch purlwise
- St(s): Stitch(es)
- Rep: Repeat
Pattern Notes:
- This scarf is worked in the round on a circular needle, creating a seamless tube.
- The butterfly stitch is a 4-row repeat that creates a lovely textured 'butterfly' motif.
- Always use a stitch marker to mark the beginning of your round—this is crucial for keeping your pattern aligned.
Step 1: Cast On and Ribbing
With your Main Color (Forest Green) yarn, cast on 96 stitches using your preferred method (long-tail cast on works beautifully here).
Place your stitch marker on the right needle and join in the round, being extremely careful not to twist your stitches. This is one of the most important steps—a twisted cast-on will ruin the entire project, so take your time and double-check that all stitches are facing the same direction.
Rounds 1-6: *K2, P2* repeat around. This creates a classic ribbed edge that will keep your scarf neat and prevent curling. Complete all 6 rounds of ribbing.
Step 2: Begin the Butterfly Stitch Pattern
Now it's time to introduce your Contrast Color (Soft Cream) and start the magical butterfly stitch. Switch to CC at the beginning of Round 1.
Round 1 (CC): *K1, yo, K2tog, K1* repeat around. (You'll still have 96 stitches—the yarn over and decrease balance each other out.)
Round 2 (CC): *K1, P1, K1, P1* repeat around. This round creates the foundation for the butterfly wings.
Round 3 (CC): *K2tog, yo, K1, yo, K2tog* repeat around. (96 stitches maintained.)
Round 4 (CC): *P1, K1, P1, K1* repeat around. This completes the first butterfly motif in cream.
Step 3: Switch Back to Main Color
After completing Round 4, switch back to your Main Color (Forest Green). You'll now repeat the same 4-row sequence in green.
Round 5 (MC): *K1, yo, K2tog, K1* repeat around.
Round 6 (MC): *K1, P1, K1, P1* repeat around.
Round 7 (MC): *K2tog, yo, K1, yo, K2tog* repeat around.
Round 8 (MC): *P1, K1, P1, K1* repeat around.
Step 4: Repeat the Pattern
Now that you've completed one full 8-round sequence (4 rounds in cream, 4 rounds in green), you'll continue repeating Rounds 1-8 until your scarf measures approximately 20 inches from the cast-on edge.
Pro Tip: Always end with Round 8 of the pattern before moving to the finishing ribbing. This ensures your butterfly motifs are complete and your edges will be symmetrical.
As you knit, you'll see the beautiful butterfly shapes emerge—each one with a central "body" formed by the yarn overs and decreases, and "wings" created by the slipped stitches that puff out slightly. The cream butterflies will dance across the deep green background, creating that woodland-inspired aesthetic.
Step 5: Final Ribbing
Once your scarf reaches approximately 20 inches, switch back to your Main Color (Forest Green) for the finishing ribbing.
Rounds 1-6: *K2, P2* repeat around. This mirrors the bottom ribbing and gives your scarf a polished, professional finish.
Step 6: Bind Off and Finish
Bind off loosely in pattern (meaning if you're on a knit stitch, bind off knitwise; if purl, bind off purlwise). A loose bind-off is essential here—if it's too tight, the edge will pucker and ruin the beautiful drape of your scarf.
Cut your yarn, leaving a 6-inch tail. Thread the tail through your tapestry needle and pull it through the last stitch to secure. Weave in all ends carefully, making sure to weave them through the wrong side of the work so they're invisible from the outside.
Step 7: Blocking for Perfection
Blocking is the final secret to a professional-looking finished piece. Gently wet-block your scarf by soaking it in lukewarm water with a drop of mild wool wash, then pressing out excess water (never wring!). Lay it flat on a towel, shape it gently, and allow it to dry completely. This will even out your stitches and enhance the butterfly texture beautifully.
Wearing and Caring for Your Scarf
Your Whispering Pines Tube Scarf is now ready to wear! Slip it over your head and arrange it comfortably around your neck. The seamless design drapes elegantly, and the ribbed edges keep everything in place.
To care for your handmade treasure, hand wash in cold water with gentle soap and lay flat to dry. With proper care, this scarf will be a beloved companion for many winters to come.
Happy knitting, and may your needles always be busy and your heart always be warm!