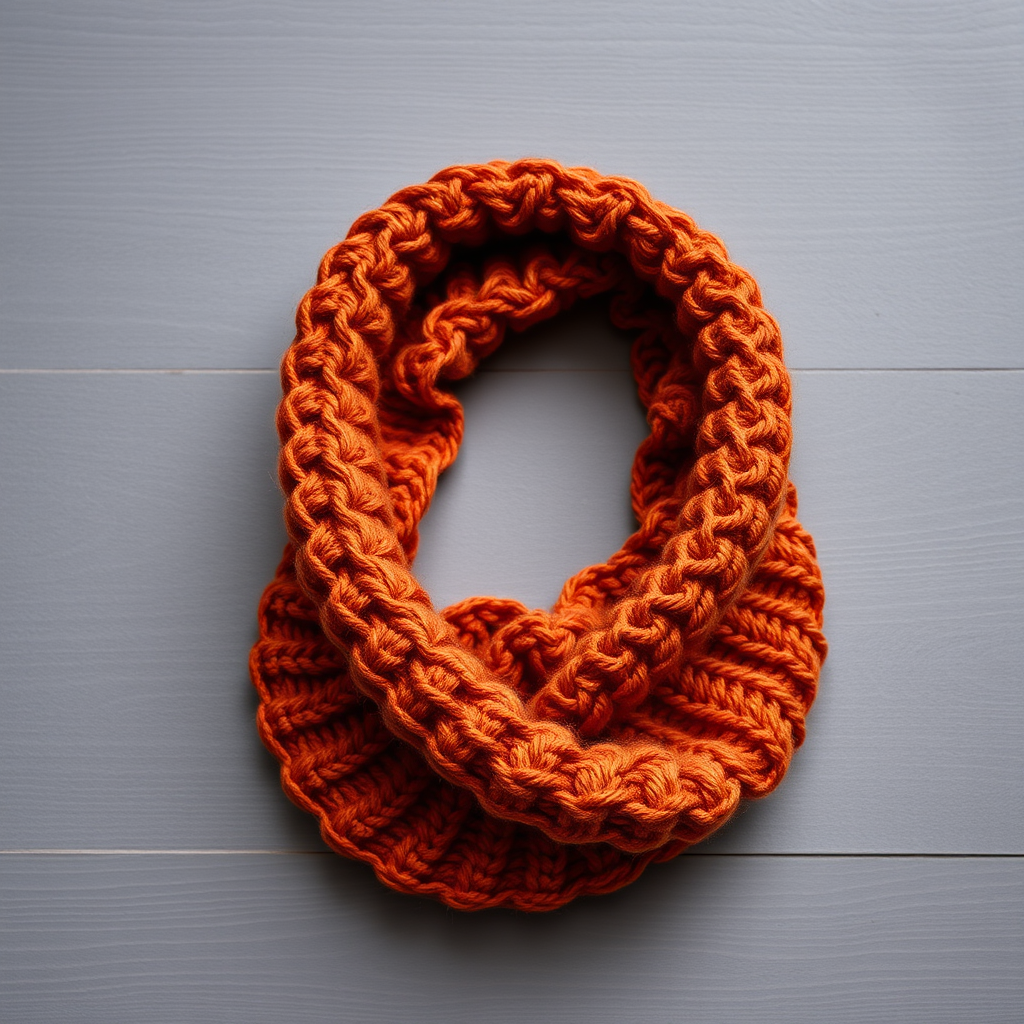
Whispering Pines Triple Braided Cowl Free Knitting Pattern – Cozy Forest Layers

Wrap Yourself in Cozy Forest Layers: The Whispering Pines Triple Braided Cowl
Imagine wrapping yourself in the serene beauty of a misty pine forest—that's the feeling you'll get every time you wear the Whispering Pines Triple Braided Cowl. This free knitting pattern creates a luxurious, chunky accessory that's both stylish and deeply comforting. With its rich evergreen, warm oatmeal, and soft cream tones, this textured knit evokes the quiet calm of nature while adding a bold, elegant statement to any winter outfit.
What makes this cowl truly special is its unique construction: you'll knit three separate strips, braid them together, and sew them into a seamless loop. The result is a substantial, voluminous ring with a striking braided texture that's sure to turn heads. Best of all, this pattern is beginner-friendly—if you can knit and purl, you can create this stunning piece. Let's dive in!
Materials Needed
Before you begin, gather the following supplies. This project uses super bulky yarn, so it works up quickly—perfect for a weekend project or a last-minute gift.
Yarn
- Lion Brand Wool-Ease Thick & Quick (or any super bulky weight yarn, 106 yds/97 m per 170g skein):
- 2 skeins in Forest Green (A) – for the dominant strand
- 1 skein in Oatmeal (B) – for the warm middle strand
- 1 skein in Cream (C) – for the soft accent strand
Needles & Notions
- US 13 (9 mm) circular knitting needle, 24-inch length (or straight needles if preferred)
- Stitch markers (optional, for tracking rows)
- Tapestry needle for weaving in ends and sewing
- Safety pins or stitch holders for braiding
Gauge
10 stitches and 14 rows = 4 inches in stockinette stitch (knit one row, purl one row) after blocking. Exact gauge is not critical for this project, but consistency is key to achieving an even, beautiful braid. If your tension varies, the strips may be uneven, so try to maintain a steady rhythm.
Step-by-Step Instructions
This cowl is knitted in three separate strips, then braided together and sewn into a loop. Each strip is worked flat back and forth in simple stockinette stitch. Follow along carefully, and you'll have a gorgeous, cozy accessory in no time.
Strip 1: Forest Green (Yarn A)
- Cast on 14 stitches with yarn A. Leave a tail of about 6 inches for weaving in later.
- Row 1 (Right Side): Knit all stitches. This creates the smooth "V" pattern on the front.
- Row 2 (Wrong Side): Purl all stitches. This forms the bumpy texture on the back.
- Repeat Rows 1-2 until the strip measures 60 inches (152 cm) from the cast-on edge. This will take some time, but the super bulky yarn makes it work up quickly. Keep your tension even—don't knit too tightly or too loosely.
- Bind off all stitches loosely. To bind off, knit the first two stitches, then pass the first stitch over the second. Knit one more stitch, pass the previous stitch over, and continue until one stitch remains. Cut the yarn, leaving a 6-inch tail, and pull it through the last loop to secure.
- Set aside. Don't weave in the ends yet—you'll do that after assembly.
Strip 2: Oatmeal (Yarn B)
- Cast on 14 stitches with yarn B, leaving a 6-inch tail.
- Row 1 (RS): Knit all stitches.
- Row 2 (WS): Purl all stitches.
- Repeat Rows 1-2 until the strip measures 60 inches (152 cm). Use a measuring tape to check periodically—consistency between all three strips is crucial for a neat braid.
- Bind off loosely as described for Strip 1, leaving a 6-inch tail.
- Set aside.
Strip 3: Cream (Yarn C)
- Cast on 14 stitches with yarn C, leaving a 6-inch tail.
- Row 1 (RS): Knit all stitches.
- Row 2 (WS): Purl all stitches.
- Repeat Rows 1-2 until the strip measures 60 inches (152 cm).
- Bind off loosely, leaving a 6-inch tail.
- Set aside.
Braiding and Assembly
Now comes the fun part—transforming three simple strips into a stunning braided cowl!
- Lay the three strips flat on a large, clean surface (a bed or table works well). Place them side by side, with the right sides (the smooth knit side) facing up. Make sure they're not twisted.
- Align the top ends of all three strips together. Use a safety pin or stitch holder to secure them in place, keeping them perfectly even.
- Braid the three strips together just like a classic three-strand braid. Here's how:
- Take the left strip (Forest Green) and cross it over the middle strip (Oatmeal), so it becomes the new middle.
- Take the right strip (Cream) and cross it over the new middle strip (Forest Green), so it becomes the new middle.
- Continue this pattern—left over middle, right over middle—until you reach the end of the strips.
- Once the entire length is braided, pin the bottom ends together with a safety pin or stitch holder to secure the braid and prevent it from unraveling.
- Thread the tapestry needle with a length of yarn A (about 12 inches). Starting at one end, sew the top ends of the three strips together securely using a whip stitch—insert the needle through all three layers, wrap the yarn over the edge, and repeat. Make several passes to ensure it's sturdy. Repeat this process for the bottom ends, creating a seamless loop.
- Weave in all loose ends with the tapestry needle. Thread each tail through the needle and weave it back and forth through the stitches on the wrong side of the fabric, then trim the excess. Do this for all six ends (two per strip).
- Optional: Steam block the cowl to relax the yarn and even out the stitches. Hold a steam iron or steamer about 2 inches above the cowl and steam gently, being careful not to touch the yarn directly. Lay flat to dry completely.
Wear It Your Way
Your Whispering Pines Triple Braided Cowl is now ready to wear! Here are two stylish ways to rock it:
- Double Wrap: Wrap the braided loop around your neck twice for a cozy, layered look that's perfect for chilly days.
- Single Drape: Let it hang once for a longer, more dramatic drape that adds elegance to any outfit.
Final Thoughts
This pattern is a wonderful way to practice your knitting basics while creating something truly special. The combination of forest green, oatmeal, and cream creates a rich, natural palette that pairs beautifully with everything from denim to wool coats. Whether you're making it for yourself or as a heartfelt handmade gift, the Whispering Pines Triple Braided Cowl is sure to become a winter favorite.
Happy knitting, and may your days be filled with cozy, forest-inspired warmth! 🌲