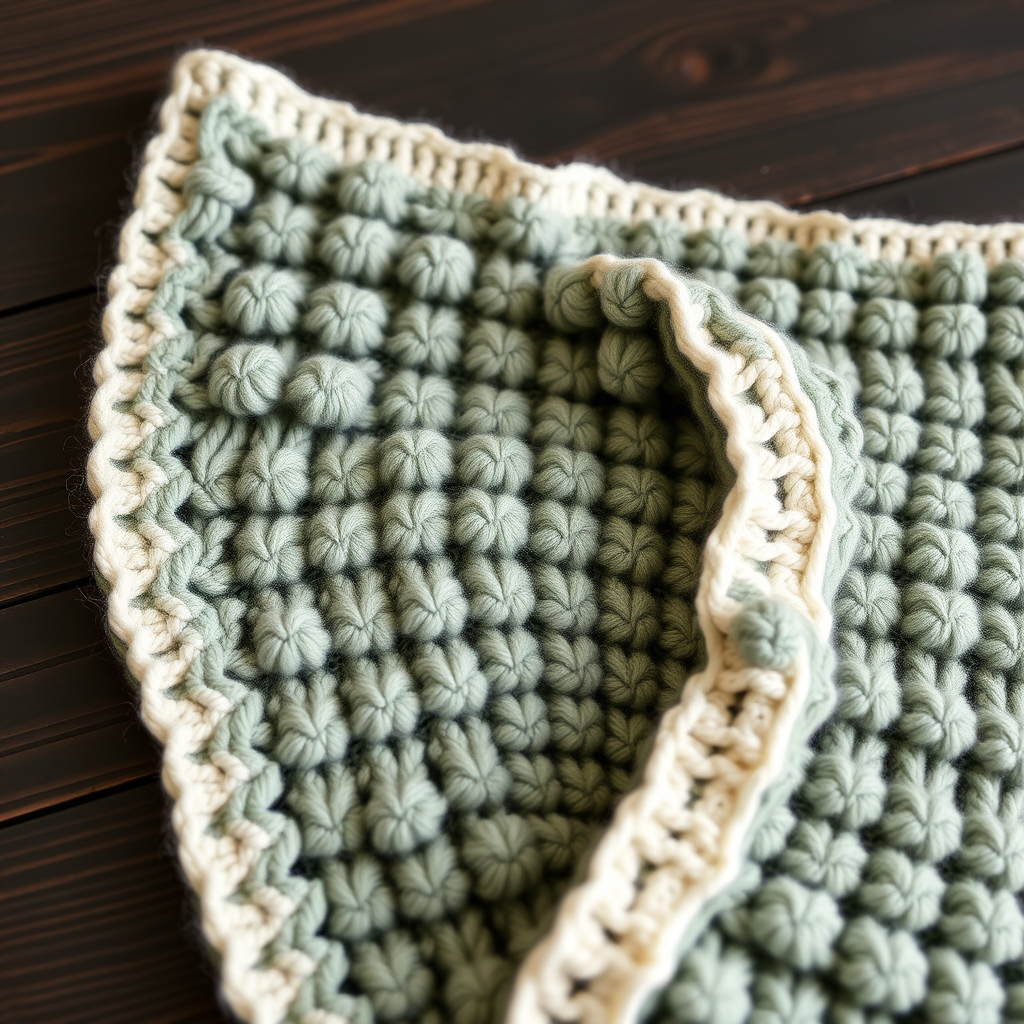
Whispering Pines Textured Baby Blanket Free Pattern

Whispering Pines Textured Baby Blanket: A Beginner-Friendly Knitting Project
There's something truly special about wrapping a new baby in a blanket made with your own hands. The Whispering Pines Textured Baby Blanket is a modern, forest-inspired design that combines the soothing rhythm of garter stitch with the beautiful dimensionality of a basket weave pattern. This free knitting pattern is perfect for beginners who want to create a heirloom-quality gift, and equally satisfying for experienced knitters seeking a relaxing, meditative project. The alternating knit and purl panels create a plush, reversible fabric that's as delightful to make as it is to cuddle. Let's dive into this wonderful pattern and create something truly special.
Materials Needed
Before you begin, gather the following materials to ensure a smooth and enjoyable knitting experience. This pattern is designed to be accessible, using readily available worsted weight yarn and standard needles.
- Yarn: Worsted weight (4) yarn in a soft, washable fiber like cotton or acrylic. The sample shown uses a muted sage green, requiring approximately 800-900 yards. Choose a machine-washable yarn for easy care—a must for baby items!
- Needles: US 8 (5 mm) knitting needles. You can use straight needles, but a 24-inch or longer circular needle is highly recommended. The circular needle will hold the large number of stitches more comfortably and is easier on your wrists.
- Gauge: 18 stitches and 24 rows = 4 inches in stockinette stitch (after blocking). While gauge is not critical for this blanket (it only affects the final size), it's always good practice to check. A swatch will help you get the feel of the yarn and needles.
- Extras: A tapestry needle for weaving in ends, scissors, and stitch markers (optional, but helpful for keeping track of the border sections).
Step-by-Step Instructions
This pattern is a wonderful introduction to texture. The key is the basket weave effect, created by knitting and purling blocks of stitches. Don't worry if it seems complex at first—the instructions below break it down into simple, repeatable rows. The finished blanket will measure approximately 30 x 34 inches, but you can easily adjust the size by changing your starting stitch count (just keep the pattern multiples in mind).
Stitch Glossary
- K = Knit
- P = Purl
- Rep = Repeat
- RS = Right Side (the front of the work)
- WS = Wrong Side (the back of the work)
Getting Started: Cast On
Loosely cast on 136 stitches. A loose cast-on is crucial here to prevent the bottom edge from being too tight. You can use a long-tail cast-on, but make sure to cast on over two needles or use a larger needle for the cast-on row to ensure plenty of stretch.
Border: The Foundation (Worked first and last 8 rows)
The garter stitch border frames the blanket beautifully and prevents curling. It's simple—just knit every stitch!
- Row 1 (and all odd rows): K all stitches.
- Row 2 (and all even rows): K all stitches.
- Repeat these 2 rows until you have 8 rows total (this will create 4 garter ridges on both sides).
Main Body: Creating the Basket Weave
Now we begin the textured pattern. The border stitches (8 on each side) are always knit, which creates a clean, flat frame. The center 120 stitches form the basket weave. Pay close attention to the pattern repeats—it's easier than it looks!
Section 1: First Block Pattern (Rows 9-16)
- Row 9 (RS): K8 (border), *K8, P8; rep from * to last 8 stitches, K8 (border).
- Row 10 (WS): K8, *K8, P8; rep from * to last 8 stitches, K8. (Note: On the wrong side, you are knitting the knit stitches and purling the purl stitches as they appear, but the border is always knit.)
- Rows 11-16: Repeat Rows 9 and 10 three more times. You will have 8 rows total of this pattern. This creates a vertical column of knit stitches (which look like "V"s) and a column of purl stitches (which look like bumps).
Section 2: Shifted Block Pattern (Rows 17-24)
This is where the magic happens! We shift the pattern to create the checkerboard effect.
- Row 17 (RS): K8, *P8, K8; rep from * to last 8 stitches, K8. (Notice how the purl blocks are now over the knit blocks from the previous section.)
- Row 18 (WS): K8, *P8, K8; rep from * to last 8 stitches, K8.
- Rows 19-24: Repeat Rows 17 and 18 three more times. You will have 8 rows total of this shifted pattern.
Repeating the Pattern
Now you have the complete 16-row pattern (Rows 9-24). Repeat these 16 rows until the blanket measures approximately 30 inches from the cast-on edge. It's best to end with a Row 24 of the pattern (the completion of a full 16-row cycle) to ensure your texture is symmetrical.
Finishing Border
Just like the beginning, we finish with a garter stitch border to bookend the design.
- Repeat the border rows (K all stitches) for 8 rows.
Bind Off and Finishing
Bind off all stitches loosely. A tight bind-off will make the edge flare or pucker. You can use a larger needle (like a US 10) to bind off, or use a stretchy bind-off method like the "Jeny's Surprisingly Stretchy Bind-Off." Once bound off, cut your yarn leaving a 6-inch tail, and weave in all ends with your tapestry needle.
Blocking: Finally, block your blanket gently. This means wetting it (or steaming it) and pinning it to the correct dimensions. Blocking evens out the stitches, relaxes the yarn, and makes the basket weave texture really pop. Lay it flat on a towel, shape it to 30x34 inches, and let it dry completely.
And there you have it—a beautiful, cozy, and textured baby blanket that looks like it came straight from a boutique. The Whispering Pines pattern is a joy to knit, and the result is a timeless piece that will be treasured for years. Happy knitting!